
 Lessons: 23Length: 2.5 hours
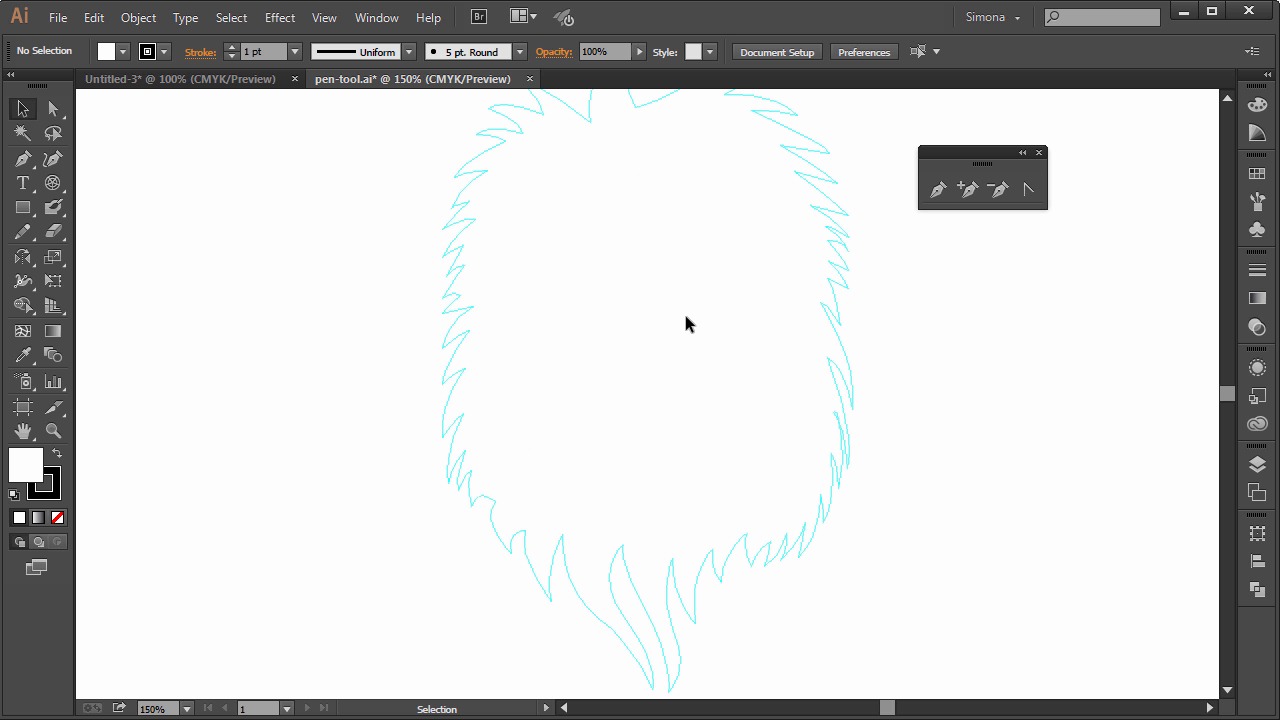
- Overview
- Transcript
3.4 The Pen Tool
In this lesson we will learn all about the Pen Tool, one of the most important tools in Adobe Illustrator. It might be daunting at first, but don’t worry, once you know how to tame it, you are all set to go pro.
1.Introduction
1.1Introduction01:24
2.Program Overview
2.1Workspace and Document Setup07:21
2.2Adobe Illustrator Tools07:34
2.3Art Boards09:04
2.4Pixels vs. Vector, and the Vector Path Explained10:41
3.Drawing Shapes and Lines
3.1Creating Shapes07:38
3.2Making Lines06:03
3.3Drawing Tools07:42
3.4The Pen Tool08:34
4.Manipulating Shapes and Lines
4.1Select, Align, and Group05:30
4.2The Transform Tools10:24
4.3The Cutting Tools05:37
4.4Special Transform Tools09:27
5.Colors and Effects
5.1The Color Panel09:25
5.2Patterns08:31
5.3The Live Paint Tool06:41
6.The Type Tool
6.1The Type Tool05:23
6.2Formatting Text04:36
6.3Special Text Techniques04:53
7.Save, Export and Print
7.1Saving Your File03:04
7.2Exporting Your File03:00
7.3Printing Your File03:49
8.Conclusion
8.1Conclusion01:35
3.4 The Pen Tool
Hi, my name is Simona and welcome to tuts+. You are watching the course The Fundamentals of Adobe Illustrator and this is lesson The Pen Tool. In this lesson, we will learn all about the pen tool, one of the most important tools in Adobe Illustrator. It might be daunting at first, but don't worry. Once you know how to tame it, you're all set to go pro. So let's get started. With Adobe Illustrator open, we can find the pen tool right here. And as so many other tools, the pen tool also has hidden tools within its group. So we want to separate the tool panel again for easier use. The pen tool is the most important tool to manipulate and create vector art. And it is extremely powerful. But at the same time, it can be frustrating when you start out using it. So let me show you how the pen tool works, in its essence. We will select the pen tool. And as you can see, the icon for it resembles an old style fountain, or quill pen. Before we start to click, you can see an asterisk next to it. This means we are about to start a new path. So let's click once and then go over here and click again, and then again. All I'm doing is just clicking away and you can see that I'm creating a zigzag-like path. Each click creates an anchor point. Remember, I talked about anchor points in a previous lesson, when I explained the anatomy of a vector path. Each vector point is connected with a path segment. I also talked about control handles, and that each curve path has control handles with the anchor points. And all straight paths don't have them. Our anchor point resembles more like a corner than a curve. Now in order to select anchor points, we need the direct selection tool. And when we are working with the pen tool, it can be quite tedious to switch back and forth. So Illustrator has a neat shortcut to simply get the last used tool by pressing the Ctrl or Cmd key. In my case, I used the selection tool last, but I need the direct selection tool. So I will select it, then go and select the pen tool again. And when I press now the Ctrl or Cmd key on the keyboard, I will switch back to the direct selection tool. And when I let go of the key, then I will go and get back the pen tool. This is really helpful when working with the pen tool, and when you want to manipulate or move anchor points just like this. Now, at the moment we have an open path. And what can we do to close it? When I hover over the first anchor point of our path, you will see a forward dash appearing next to the icon of the pen tool. Now, when we click on the anchor point, we will close the path. But, what if you wanted to create a curved line? Let me show you how we can do this. So, we create another path by clicking and holding down the mouse key. And when we move around, we will see the control handles coming out of the anchor point. Now, when I let go and move, you can see the path segment is curved. Then I click again, hold and drag, then let go, and click and drag, let go and then close the path. Now by pressing the Ctrl or Cmd key, and click on an anchor point, I will see the control handles. And I can click on them and drag them around and change the look of the curved path segment. Now, let's create a path that we will use for the line illustration. Please open up your exercise file called pen tool in your source file folder. Here you can see that I made a template for you of the lion. It is a guide and with the smart guides turned on, you will have a nice template that you can follow and practice the pen tool on. So let's start and get to know the pen tool. Don't give up. I needed some training before I was comfortable with the pen tool, but once you know it, it's like riding a bike. You will never forget it. So we start clicking ones here, then move over there, and then click and hold, and drag like this. Now if we were to click again, we will have another curved path. But we want to follow the guide, so all we have to do is move over the last anchor point, and the pen tool will show us an arrow like icon. This means we will use the anchor point tool, and this tool lets us manipulate the control handles. It lets us basically get rid of them to start with a regular anchor point again. So if you click once on it, it'll give us a straight point again. And now, we only have a control handle on the other side here. Then we continue, same as before. Click, hold, drag. Anchor point tool, click once. Now if I click, hold, and drag, and I'm too short for our example, remember the pencil tool, the space bar trick. Just hold down the space bar and then we go to reposition the anchor point and when we are right at the spot, we let go of the space bar and then we go click and use the anchor point tool and then we can continue. Now if you want to remove an anchor point, all you have to do is have the path selected. And then, with the pen tool, hover over the anchor point, and you will see a minus. Now, click it, and the anchor point disappears. Same thing applies to adding an anchor point. The path is selected, and you hover over it, and you will see a plus sign. Then click, and you will have an added anchor point. Or you can select the tools over here for adding or deselecting points. At any time you can manipulate the path by selecting an anchor point with the direct selection tool and you can move it around or select the control handles. I finished template for you and here's a speedy demonstration. And please don't give up on the pen tool at first. I know you can do it. Since we are working with Adobe Illustrator CC, I would like to show you a new tool that was added to the last update. It is called the curvature tool. It is an exciting new tool, and if you are struggling with the pen tool, maybe you would like to use the curvature tool, too. So it works like this. I selected here and then I click once. All I see is a straight line, or so it appears. Then I click over there again and I can see a red curve. Then I click here again and look. I just created a semi-circle. All without click, hold, and drag. Now I click down here and then over there and then the circle is done. I can alter the anchor points simply by double-clicking on them. And then the curve is taken away just like this. But if I double-click again, boom, a curve is added again. Now is that neat, or what? If I want a straight line I just double-click, then double-click over here and then I can continue. And if I don't like the straight line, I can double-click on the anchor point with the curvature tool and I will get a curve. No need to switch to the direct selection tool. But, of course, the path can still be altered with it. I'm really excited about this and although I'm a defender of the ultimate pen tool, but for starting out, the curvature tool could be a big contender. Just try it out and you will be the judge. And this is the end of this lesson. The pen tool is still one of the strongest and hardest tools to master, but once you know how to use it, you will use it over and over again. The curvature tool has big promises, especially if you're starting out with Illustrator and you get too intimidated by the pen tool. So, let's stop here and let's go to the next lesson, how to select, align, and group.


