
 Lessons: 23Length: 2.5 hours
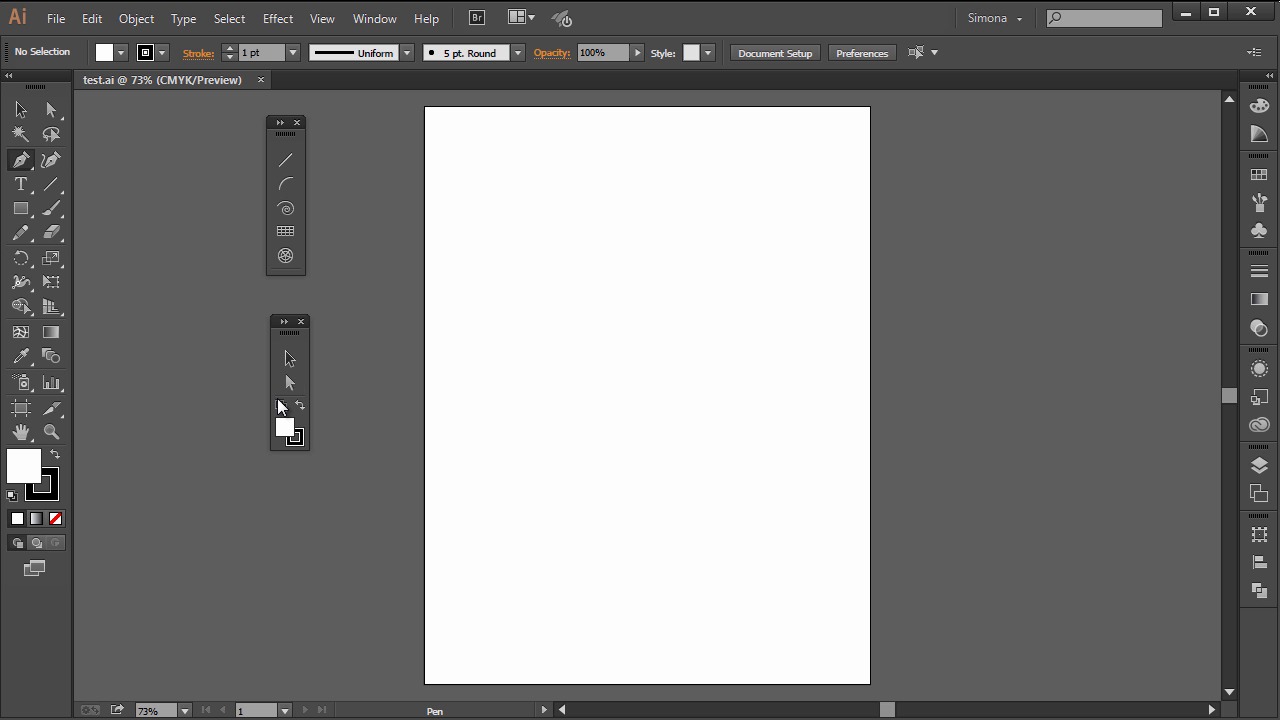

- Overview
- Transcript
2.2 Adobe Illustrator Tools
In this lesson we will be looking at the Illustrator tools and panels, and we’ll talk about their layout.
1.Introduction
1.1Introduction01:24
2.Program Overview
2.1Workspace and Document Setup07:21
2.2Adobe Illustrator Tools07:34
2.3Art Boards09:04
2.4Pixels vs. Vector, and the Vector Path Explained10:41
3.Drawing Shapes and Lines
3.1Creating Shapes07:38
3.2Making Lines06:03
3.3Drawing Tools07:42
3.4The Pen Tool08:34
4.Manipulating Shapes and Lines
4.1Select, Align, and Group05:30
4.2The Transform Tools10:24
4.3The Cutting Tools05:37
4.4Special Transform Tools09:27
5.Colors and Effects
5.1The Color Panel09:25
5.2Patterns08:31
5.3The Live Paint Tool06:41
6.The Type Tool
6.1The Type Tool05:23
6.2Formatting Text04:36
6.3Special Text Techniques04:53
7.Save, Export and Print
7.1Saving Your File03:04
7.2Exporting Your File03:00
7.3Printing Your File03:49
8.Conclusion
8.1Conclusion01:35
2.2 Adobe Illustrator Tools
Hi, my name is Simona, and welcome to Tuts+. You are watching the course the fundamentals of Adobe Illustrator and this is lesson, Adobe Illustrator Tools. In this lesson, we will be looking at the Adobe Illustrator CC tools and panels and talk a bit more about the layout of them. So let's get right on it. When you first open Adobe Illustrator, you will find a pop-up window in the middle introducing the latest added tools and a short explanation with links to find out more. You can check the Don't Show Again, so when you close Illustrator and then open it up again, it won't show. And just in case you forgot what is new, you can easily find the newly added features under Help > What's New. When you look at the interface on the left, we find the toolbar. We can move the toolbar around, place it wherever you like. And also snap it back to the left. When you click the small double arrow here on the top-left, the toolbar collapses the tools into two columns. This can be quite convenient with smaller screens or if you are using additional tools and plug-ins. When you hover over the tools, it will tell you what kind of tool it is. And, in brackets, it will give you the keyboard shortcut for it. I tend to use a lot of keyboard shortcuts. Once you're familiar with the tools, I bet you might end up doing the same. It really saves some time. Tools that have small triangle on the bottom-right have hidden tools, and you can show those by clicking on them and holding down the mouse button. Once the tools are shown to you, as you can see here, you will find a small arrow inside a tab on the right. You can expand the tools by clicking on the tab, and then move them around. This is really useful when you know that you will use a particular tool set a lot and you would like to have the tools in a separate panel. The tools are still within the toolbar, and by expanding them into a separate panel away from the toolbar is similar to making a copy of the tools. The same way you can collapse the toolbar into a single and double column, you can do the same with the expanded tools, just like that. If you don't need them anymore, you can just close them by clicking the small X here. In case you would like to have your very own toolbar with a set of tools that you always use, you can create and save your own toolbar with Adobe Illustrator CC, which is version 17.1. It is super easy. Just go to Windows > Tools > New Tools Panel. In the pop-up window, give it a name that makes sense to you. I will call mine for now Simone, then click OK. Then you will be presented with a new toolbar. Now all you have to do is drag the tools you would like to add to your new toolbar onto the plus sign here. When you hover over it with your cursor, it will tell you to drag tools to Tools panel. So let's grab a few tools and add them. Let's add the Selection tool. See the plus sign when dragging it on to the new tool panel? This will tell you that the tool will be added. Next, the Direct Selection tool. Then, the Pen tool. Notice that you cannot add a whole group at once, only the top tool within the group. If you haven't expanded the tools in a group into a new separate folder like these ones here, you can use a simple keyboard shortcut to cycle through the tools in a group. Just hold down the Alt key or Option key on the Mac and click on the tools that have hidden tools within that group. And click. See how we are now cycling through all the tools within this group? Once the tool you want to like to add is on top, drag it over to the new tool panel, and add it. If you decide that you do not want this specific tool anymore, you can just simply remove it from the tool panel. The cursor with the minus sign will let you know that you are about to remove the tool, just like how I'm doing it right now. Once you added all the tools, you could then close the default toolbar by dragging it out and clicking the X just like here. And then add your custom tool bar. In case you want to close your custom tool bar too, just do the same. Click the small X. Now when you go back to Windows > Tools, you can show the Default Tool Panel again. Your own, or Manage Tool Panels. In the pop-up, you will see a list of custom tool panels. Right now, it's only the one shown that we created, which is called Simona. You can either delete the tool panel, rename it, or create a new tool panel. Now let's talk quickly about the panels on the right. As you remember from the previous lesson, here we have the tool panels according to the workspace selected. The best way, if space allows it, is to have the panels expanded. You can do so by just clicking on the double arrow here. On the lower-left edge of the window, we will find the status bar. It can tell us the current zoom level, the number of art boards, and the current selected tool. You can click the status bar to change the type of information that is displayed. And then show a different type of information. For example, the date and time, our output name, our document color profile and so forth. You can also reveal the current file that is open in Adobe Bridge if you choose Reveal in Bridge. At the top of the window, you have the Application Bar, which contains the workspace feature, menus and the search. Underneath, you can find the Control Panel. It displays options of the current selected tool that you are using. In Adobe Photoshop, this bar is called Options Bar and it might be familiar to you. With the Control Panel, you can easily change preferences, document setups or files and strokes and positioning. You can dock it to the top, that's the default, or at the bottom by simply clicking the arrow here. And select dock to bottom or vice versa. You can deselect which tools will be shown, but for now, let's leave it all as it is. And this is it for our lesson about Adobe Illustrated CC tools and tool panels and an overall interface look. Once you are a bit more familiar with the tools, it is much easier to find your way around without being overwhelmed. So let's head straight to the next lesson and get a bit more informed about art boards and how to use them.


