
 Lessons: 23Length: 2.5 hours
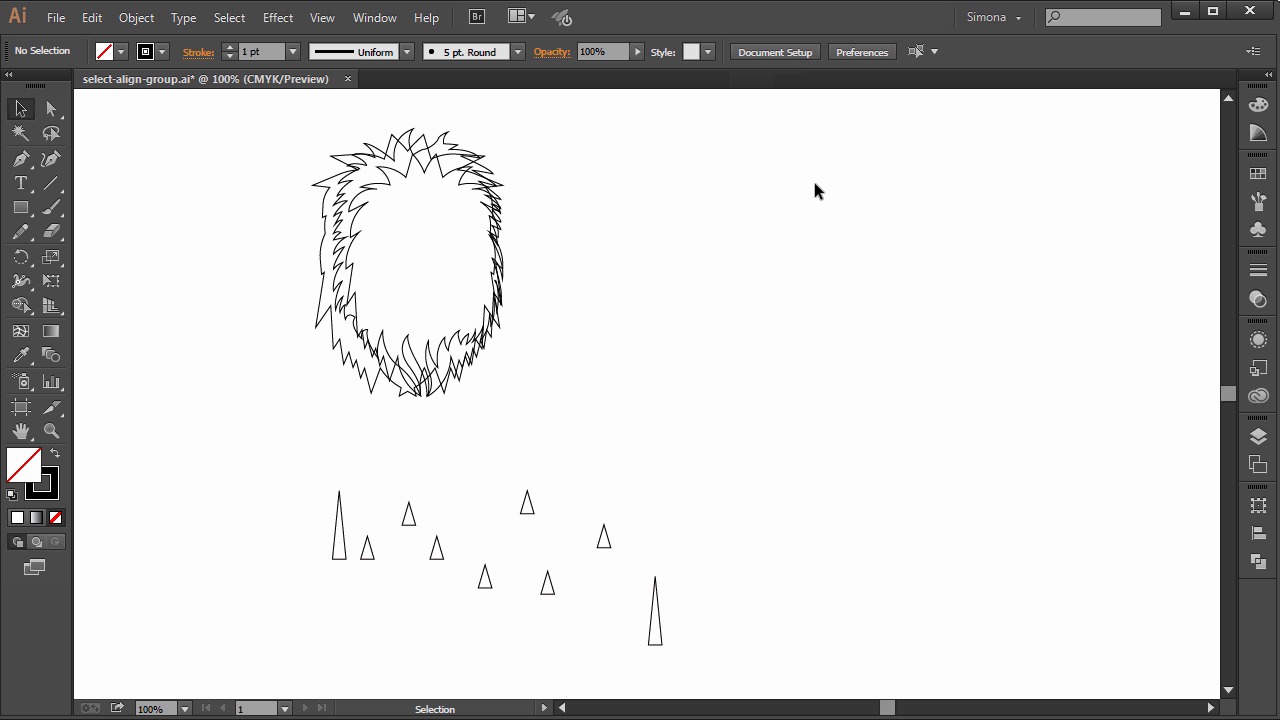
- Overview
- Transcript
4.1 Select, Align, and Group
Now you will learn all about the selection tools, how to align objects, and how to group.
1.Introduction
1.1Introduction01:24
2.Program Overview
2.1Workspace and Document Setup07:21
2.2Adobe Illustrator Tools07:34
2.3Art Boards09:04
2.4Pixels vs. Vector, and the Vector Path Explained10:41
3.Drawing Shapes and Lines
3.1Creating Shapes07:38
3.2Making Lines06:03
3.3Drawing Tools07:42
3.4The Pen Tool08:34
4.Manipulating Shapes and Lines
4.1Select, Align, and Group05:30
4.2The Transform Tools10:24
4.3The Cutting Tools05:37
4.4Special Transform Tools09:27
5.Colors and Effects
5.1The Color Panel09:25
5.2Patterns08:31
5.3The Live Paint Tool06:41
6.The Type Tool
6.1The Type Tool05:23
6.2Formatting Text04:36
6.3Special Text Techniques04:53
7.Save, Export and Print
7.1Saving Your File03:04
7.2Exporting Your File03:00
7.3Printing Your File03:49
8.Conclusion
8.1Conclusion01:35
4.1 Select, Align, and Group
Hi, my name is Simona, and welcome to tuts+. You are watching the course The Fundamentals of Adobe Illustrator, and this is lesson Select, Align, and Group. In this lesson, we will learn all about the selection tools, how to align objects, and how to group them. So let's get started. Open up Adobe Illustrator and the exercise file called Select Line Group in your source file folder. I placed a few vector objects that we have for the lion illustration on separate layers. Now here we have the main object for the lion. The one on the right we created with the pen tool. And the one in the middle is similar to the first one we created with the pencil tool. So just to quickly talk about the selection tools. We already know about the selection tool and the direct selection tool. The first will select the whole object just like this. The direct selection tool, the anchor points, if you click on them. Now in the toolbar, we have a tool for selecting, called the lasso tool. A similar tool exists in Photoshop, so you might be familiar with the term. And it sort of works a little bit like it. You can select a group of vector objects by drawing a lasso around them, or even just a group of anchor points. Another way to select objects is the keyboard shortcut Ctrl or Cmd+A, or by going to Select, then click All. If one object is selected and you want to select either the next object above, or the next object below in the layer, just choose Ctrl, or Cmd on the Mac, and Alt, or Option key on the Mac. Press the open bracket key or the closed bracket key. See how we can cycle through the objects? Next, let's talk about to align shapes or objects. When aligning shapes, you have two major options. One to align them to each other, or to align them onto the art board. So, let me demonstrate the tool. When we select all the lion shapes, and then we go up to the control panel. In here we see several options. Here in the drop-down, we have Align to Selection, Align to Key Object, and Align to Artboard. So let's start with the first one. Align the Left Edge, or Align to Center, Align to Right Edge, Align to Top, Align to Center Horizontally, and Align to Bottom. When we select the Align to Key Object, the center object is selected and all other objects will be aligned to it. We can easily change the key object by clicking on another selection. And you can see that the selection outlines it in a kind of thicker blue. So, let's quickly go through a few align options to demonstrate it. I selected the right as the key object, and watch how the others will be aligned with it. Then we have the align options to align everything to the Artboard. Now, all we have to do is select Align to Artboard. And then, for example, we hit the Align to Left, and all selected shapes jump to the left edge of the Artboard. Or we choose center, and everything will be aligned to the center of the Artboard. Now, if I want to align the teeth like shapes, and align them to the bottom of the big teeth shape, all I have to do is select them all by creating a rectangle with the selection tool around them, and then I click the big tooth to make it a key selection and then, up here, I hit the bottom align. I then can select and distribute them by hitting the horizontal distribute center tool. And by the way, the Align Panel is also available in the Tool Panels of the work space. Now let's group the lion shapes. All we have to do is select them all, and then go to object group, or press Ctrl, or Cmd on the Mac, plus G. Now the three shapes are grouped and we can move them around by selecting them only once. This is really helpful when you have tons of shapes that sort of belong together, and you need to duplicate them or move them without having to click a thousand shapes. We can still access each shape singly though. Just double-click the shape, and see on the top left here, it says Layer 1 group. We are now within this group, and we can select the shapes individually with the selection tool. You can leave the group simply by double-clicking anywhere on the Artboard. And this is it of this lesson. These tools, like Select, and Align, and Group don't mean much at first. But they can become super helpful when working with tons of shapes and objects that you need to group, or align, or select individually. So let's go to the next lesson and learn how to transform, rotate, shear, duplicate, and reflect shapes or objects.


