
 Lessons: 23Length: 2.5 hours
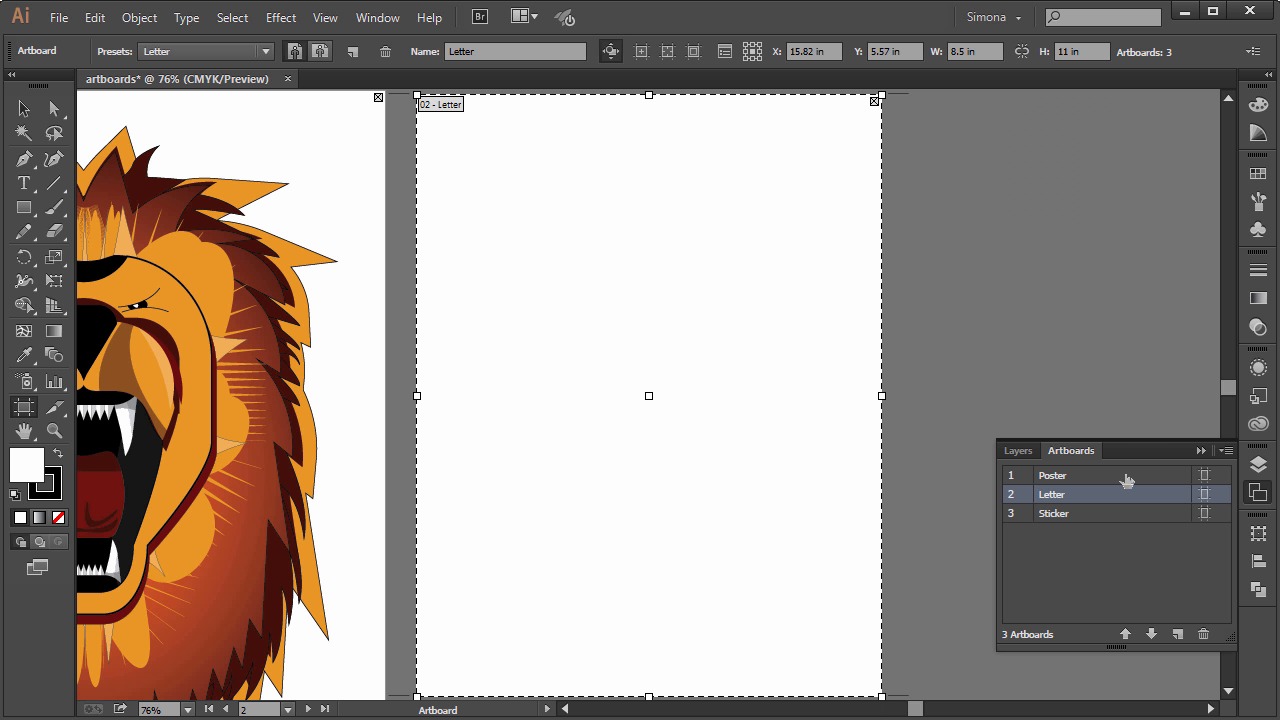
- Overview
- Transcript
2.3 Art Boards
Let's now take a look at the Art Board panel in Adobe Illustrator CC and how to use the art board options.
1.Introduction
1.1Introduction01:24
2.Program Overview
2.1Workspace and Document Setup07:21
2.2Adobe Illustrator Tools07:34
2.3Art Boards09:04
2.4Pixels vs. Vector, and the Vector Path Explained10:41
3.Drawing Shapes and Lines
3.1Creating Shapes07:38
3.2Making Lines06:03
3.3Drawing Tools07:42
3.4The Pen Tool08:34
4.Manipulating Shapes and Lines
4.1Select, Align, and Group05:30
4.2The Transform Tools10:24
4.3The Cutting Tools05:37
4.4Special Transform Tools09:27
5.Colors and Effects
5.1The Color Panel09:25
5.2Patterns08:31
5.3The Live Paint Tool06:41
6.The Type Tool
6.1The Type Tool05:23
6.2Formatting Text04:36
6.3Special Text Techniques04:53
7.Save, Export and Print
7.1Saving Your File03:04
7.2Exporting Your File03:00
7.3Printing Your File03:49
8.Conclusion
8.1Conclusion01:35
2.3 Art Boards
Hi, my name is Simona, and welcome to tuts+. You are watching the course The Fundamentals of Adobe Illustrator, and this is lesson Artboards. In this lesson, we will be looking at the Artboard panel in Adobe Illustrator CC, and how to use the Artboard options. So let's get started. So let's create a new document and call it art boards. Select tabloid from the drop down menu. We now just have a blank art board in the size of 11 by 17 inches. I already copied the line illustration we will be creating in this course to the clip board. So I will just add it so we have a little bit of a visual interest. And here we go. Artboards are great if you want to have different sizes and different elements all within one document. Now let's say that you would like to have another small poster of illustrational artwork. For example in letter size. We can now add another artwork to our document. We have several ways to add a new artwork. Either by choosing the artwork tool, the shortcut is shift plus O, or via the artwork panel. If you do not see the artwork panel on the right side. Just go to windows and select art boards. So let's have a closer look at the art boards panel. As you can see in the art boards panel, we currently have one art board called Art Board 1. You can rename the art board easily by just double clicking the name and giving it the name Poster. Or we can use the art board tool from the tool panel and the art board will automatically be highlighted and in the control panel on top, you can rename it as well. Now let's add another art board and letter size. Watch the cursor showing a plus with a square attached. Now if I hold down the mouse key and start dragging, I will add another art board to the canvas. Just like this. You can see the size of it here at the bottom right. Now I won't be able to be exactly accurate and have a new art board in the other size. But Illustrator lets me adjust the size and set exact dimensions. You can see that the art board is highlighted via a dashed line, a number telling me it's the second art board, and the default name. So let's go to the control bar up here, and let's type 8.5 inches for the width, just in here, and 11 inches for the height, just over there. This gives us letter size artboard. If you like to align it with the first artboard, you can drag it and move it around and place it where you think it's best suited. The only thing we have to pay attention to, that it is selected, which the dashed line will tell us that it is. Now in our art boards panel, the new art board is listed. I don't really care for the name so let's rename it and call it Letter. Again, we can just do so by double clicking on it, and typing letter. Now, if you decided to get some stickers printed of your artwork. Well, let's add another art board to the canvas. This time, will use the art board's panel. Click on the new art board icon. See what happened? A new artwork with the exact same size as the one before was added. Of course this would be a big sticker. So we want to resize it again. Let's say we want the sticker in the size of, 2 by 3 inches. All we have to do is add those dimensions up in the control bar again. 2 inches for the width and 3 inches for the height. And then we move it down a bit. Of course the name makes no sense again so let's double click on the name in the outports panel. See what happened? We automatically zoomed in center to our canvas. This is really a neat feature. And no matter how many outputs you have, you do not have to go hunting for them. Just double click on the output layer. Just like that. And we will bring it into the middle of our window. Now, let's change the name of the sticker artwork to "sticker". Double click it. And we type ticker. Maybe we will add one more art port in postcard size. So In new art port, the size is 4 x 6 inches. And we will call that postcard. And drag it over here. I bet by now you're pretty familiar with art boards. Now we have four Artboards in different sizes. Name neatly and numbered from one to four. If we needed to change any of the settings of the Artboard, we can easily do this by clicking on the icon here on the right. And the dialog box for the Artboard options will pop up. There we can change size, position, and so forth. Now let me add some of the lion faces to the art boards. One for the letter size. I will resize it so it fits. I copy another one for the postcard, and resize it. And a small one for the sticker. Now since you have noticed that the art boards are all listed in the Art Boards Panel, we can change the order there of them, of course, too. You can either drag them around, up and down just like this or use the up and down arrows here. Notice artwork and art board position will not change. Just the ordering number, which can be helpful for printing only one of the outputs. You can also delete an output, either via the outputs panel or the output tool. Let me show you how. Just click on the trash can icon and the output will be deleted. See how the artwork will not be effected? You can also use the artboard tool and click the small x on the top right to close an artboard. Since we know that each artboard is numbered, we can easily print only that number without printing the others. Just remember the output number you would like to print and in your print dialogue box choose to arrange instead of all for artboards put more later on you can also duplicate an existing art board let's have a look at the control panel here select the art board tool In the control panel you can then choose tabloid art board, which is selected. Now when you click on the new art board icon here, and you move the mouse over the canvas, you can place the new duplicate art board of the tablet size anywhere. If you wanted multiple duplicates just press the alt key and click. And place as many as you wish, just like this. You can do the same via the art board panel. Just click on the art board you would like to duplicate and click the new art board icon here. Of course you can also duplicate an art board with existing content. Just select the artboard tool, and click on the artboard you wish to duplicate with it's content, then press Alt, or Option on the Mac, and drag the artboard with artwork anywhere on the canvas. One neat thing I would like to mention is how to arrange artboards using the grid. You can arrange your art boards with the grid by a row, a column or arrange by a row or a column near the art boards panel option. You can find those under the options flyout menu here. Just select rearrange art boards under the dialog box that pops up. You can arrange them grid by row, grid by column, arrange by row, or arrange by column, or change to right to left layout. You can specify the column numbers and the spacing. Make sure to move Artwork with Artboards is checked. And this is it for this lesson about Adobe Illustrator art boards and their use. Multiple art boards are useful for creating a variety of things, such as letterheads, business cards, envelopes, and so forth, on multiple page PDFs, elements, websites, video story boards Or printed pages with different sizes or different artworks. So, let's move on to the next lesson and talk about pixels versus vectors and the anatomy of a vector path.


