- Overview
- Transcript
5.3 The Live Paint Tool
Once a laborious activity, adding colors or "painting" defined areas in Adobe Illustrator is a lot easier when you use the Live Paint Tool. In this lesson you will learn how to use the Live Paint Tool to color parts of our lion illustration.
1.Introduction1 lesson, 01:24
1.1Introduction01:24
2.Program Overview4 lessons, 34:40
2.1Workspace and Document Setup07:21
2.2Adobe Illustrator Tools07:34
2.3Art Boards09:04
2.4Pixels vs. Vector, and the Vector Path Explained10:41
3.Drawing Shapes and Lines4 lessons, 29:57
3.1Creating Shapes07:38
3.2Making Lines06:03
3.3Drawing Tools07:42
3.4The Pen Tool08:34
4.Manipulating Shapes and Lines4 lessons, 30:58
4.1Select, Align, and Group05:30
4.2The Transform Tools10:24
4.3The Cutting Tools05:37
4.4Special Transform Tools09:27
5.Colors and Effects3 lessons, 24:37
5.1The Color Panel09:25
5.2Patterns08:31
5.3The Live Paint Tool06:41
6.The Type Tool3 lessons, 14:52
6.1The Type Tool05:23
6.2Formatting Text04:36
6.3Special Text Techniques04:53
7.Save, Export and Print3 lessons, 09:53
7.1Saving Your File03:04
7.2Exporting Your File03:00
7.3Printing Your File03:49
8.Conclusion1 lesson, 01:35
8.1Conclusion01:35
5.3 The Live Paint Tool
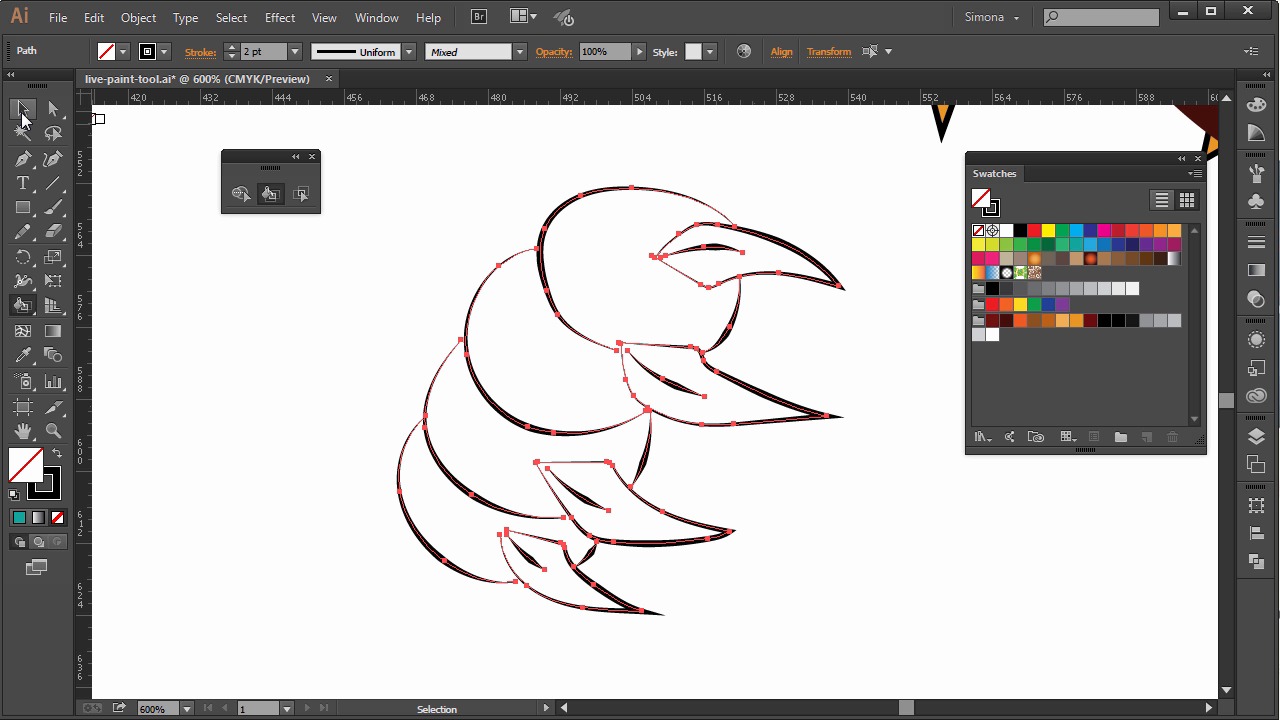
Hi, my name is Simona, and welcome to tuts+. You are watching the course The Fundamentals of Adobe Illustrator, and this is lesson the Live Paint Tool. In this lesson we will learn how to use the Live Paint tool to color parts of our illustration. So let's get started right away. Let's open up Adobe Illustrator in the exercise file called Live Paint Tool in your source file folder. I created several shapes and objects for us to demonstrate the Live Paint tool on. And as you can see we have a paw, the lion's nose, and mouth shapes, that still do not have any color applied. Now let's zoom in on the paw. I created the paw with the paintbrush tool. And as you see, most of the lines and shapes are not closed. Now, if we were to fill one of those shapes, like this one for example, and then select the color, you can see that some weird things happen. The path is now closed and the fill sort of creates a line from one endpoint to the other. So let's undo this. We don't want this to happen at all. Now this is where the Live Paint tool comes really handy. What is so special about the Live Paint tool is that we can fill shapes that are not closed. And we don't have to select the shape at all in order to fill it. Now let me show you how this tool can be used. First we have to select the shapes we want to color. So with the selection tool, I will draw a rectangle around the shapes of the paw to select them. Now the Live Paint tool we can find here in the Tool panel. It is located underneath the shape builder tool, so let's separate the panel. Now since I created the paw with the paintbrush tool and I used a different brush definition, you can see this up here in the Control panel and therefore the attributes of the brush stroke is different to the default. I have to do one step before I can use the Live Paint tool. Let me explain why. So when we select the shapes we want to color, and then we select the Live Paint Bucket tool and then hover over the selected shapes, I will see a notification saying Click to make Live Paint group. Anytime we want to color with the Live Paint tool, we need to convert a group of shapes or a shape into a Live Paint group. So we have two ways to do that, either we will click on the selection with the Live Paint Bucket or we go to Object > Live Paint > Make. So let's click on the shapes with the Live Paint Bucket tool. And now we are presented with a pop up saying, complex visual appearance attributes such as brushes, live effects, transparency, and stroke, alignment options may be lost when converting to a Live Paint group. Now, when we click OK, see what happens. Now we have a Live Paint group, but my stroke or paintbrush attributes disappeared. Now, we do not want that. So, let's undo this. In order to keep the brush attributes, we need to do following. We need to convert the brush strokes into a path. And to do that we will go to Object > Path > Outline Stroke. This will turn the stroke into a path. See when I hover over the shapes now, I can see that all my strokes are now paths. Now we can make the shapes into a Live Paint group without losing any of the attributes. And then we can apply color to the shapes. So let's start. When we select the shapes, go to Object > Live Paint > Make. And then we select the Live Paint Bucket. And now when we hover over a part of the object we want to color we can see how the Live Paint Bucket highlights it with a thicker red stroke. And then when we select the color from the Swatch panel, we can start coloring the shapes. Even if I deselect all the shapes, it's still remembered as a Live Paint group. And if I take the Live Paint Bucket and hover over the shapes, it highlights them again, and I can fill them with color. And the shapes do not have to be closed either. They can have gaps. The Live Paint tool will recognize gaps and still treat it as a closed shape anyway. If the gaps are too big though, you might have to change some settings. You can find those options under Object > Live Paint > Gap Options. And in the pop-up we can change the gap detection from small gaps, to medium, large, or custom gaps. So let's fill in the paw with color. I can select some brown and beige colors from the Swatch panel and fill the shapes. And I can even select a gradient that I have placed into the Swatch panel, and apply it to the shapes. Isn't this neat? Let me show you how we can use this on other drawings of the line illustration. Let's zoom in onto the eyes. Then we select the shape. And then we pick the Live Paint Bucket tool. And the shortcut for this is K. And then we click to make it into a Live Paint group, and then start coloring. I already had turned the stroke into a path before. And look, now the eye is getting colored in. Now, one more time. And let's color the nose. One side black and the other side a charcoal. And then some other parts. We turn them into a Live Paint group, then we select the Live Paint Bucket and then we color away. Just make sure when you hover over the shape that you want to color that the shape is highlighted with the red stroke before you click. And here are some other shapes I have colored in. The Live Paint tool is really cool when you have a sketch, and most of your shapes are open paths. And you can easily color them without having to worry about closing those paths. And now we are at the end of this lesson about the Live Paint tool. It is a really neat tool to color in any of your drawings, your shapes, or your artwork. So let's move on to the next lesson, and get an introduction to the type tool in Adobe Illustrator.


