- Overview
- Transcript
2.4 The Three Brushes
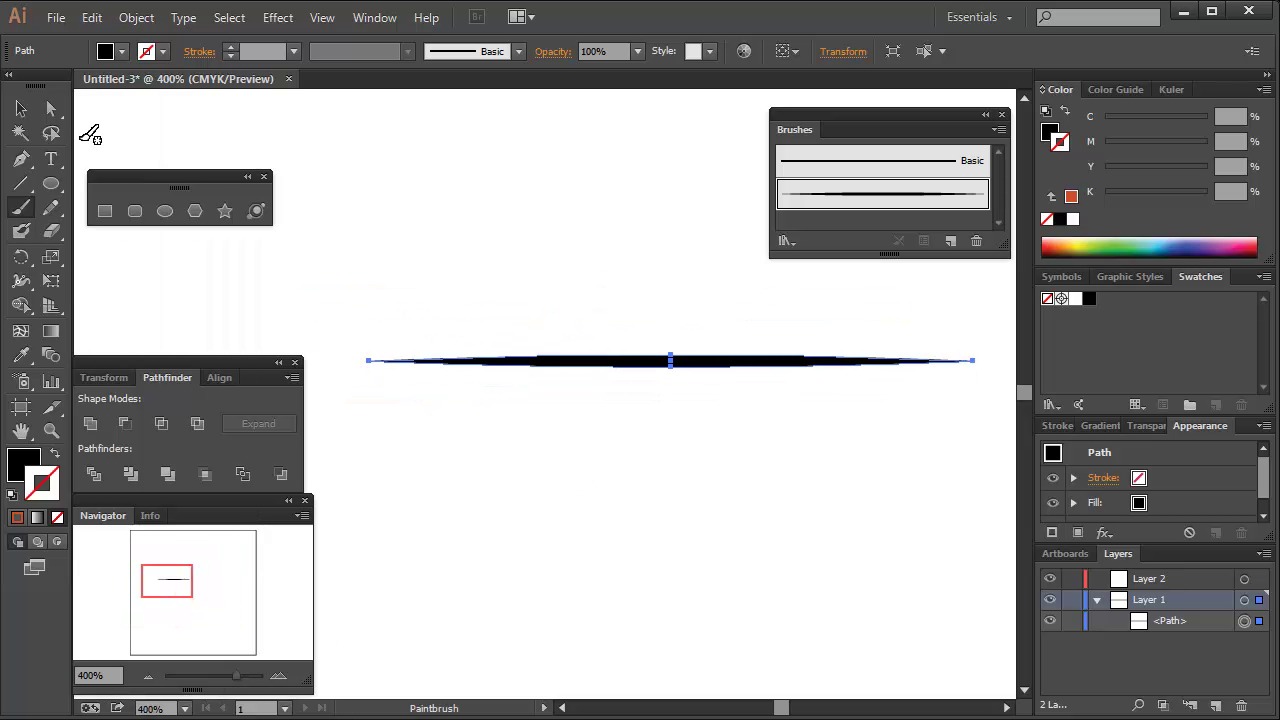
In this lesson we’ll create three tapered Art Brushes which will be used throughout this course. You’ll find them not only helpful for this purpose, but for many other vector projects. They really are a must-have set of brushes.
1.Introduction1 lesson, 02:32
1.1Welcome and Course Overview02:32
2.Pre Portrait Lessons4 lessons, 14:58
2.1Prerequisites to the Course03:05
2.2Choosing the Right Stock03:35
2.3Skin tones and Picking Colors03:49
2.4The Three Brushes04:29
3.Create a Basic, Cartoon/Line Art Style Portrait8 lessons, 31:07
3.1Set Up Your Document03:29
3.2Base Shapes05:07
3.3Creating the Line Art06:34
3.4Focus on the Mouth02:43
3.5Focus on the Eyes03:24
3.6Focus on the Eyelashes and Eyebrows02:15
3.7Focus on the Hair04:12
3.8Finishing Touches03:23
4.Create a Basic, Color Portrait with Simple Shading8 lessons, 32:19
4.1Introduction04:46
4.2Basic Portrait Theory06:26
4.3Skin Shading: The Shadows05:27
4.4Skin Shading: The Highlights02:00
4.5Lip Shading and Eye Shading03:49
4.6Creating Shadows and Highlights for Hair04:35
4.7Make Up02:15
4.8Final Touches03:01
5.Conclusion1 lesson, 00:59
5.1Conclusion00:59
2.4 The Three Brushes
Hey, all! Welcome back to Vector Portraits for Beginners on tuts+. My name is Sharon Millin and in this lesson we're gonna go through creating three tapered art brushes in Adobe Illustrator. These are ideal brushes not only to use in this series of tutorials, but are great for other projects. They're great for illustrating hair, eyelashes, eyebrows, and intricate line art. So let's get cracking. Let's start with a new blank document. The tapered brushes themselves are based on circles. So what we're going to do is go into the Toolbar, and go to the ellipse tool. We'll draw out a small squashed ellipse. Now if you're not happy with how thick it is, you can always use the Free Transform tool and just squash it a little bit further. Then with the Direct Selection tool, select each one of the endpoints. And then along the top go on Convert Selected Anchor Points to Corner. Now this will remove the curves from either side of the shape. Once you're satisfied with the shape, we're going to go into the Brush panel and click on New Brush and the dialog window select Art Brush. Just name your brush something that you'll remember for future use. [BLANK_AUDIO] And from the Colorization Method, select Tints. The reason why we're selecting Tints is that you'll be able to select any color you wish and the brush will take on that color. This is useful if you're doing detailed hair or you're wanting to add sort of texture to your illustrations. Then just click on OK when you're done. [BLANK_AUDIO] I usually use the Paintbrush tool to use my art brushes. And as you can see with this used, I can easily draw tapered lines. And for an example, here's me using different colors, so you can see it takes on the color that you actually specify. Now there's two basic variations you can create from this original brush, so let's go back to the original shape. The first one is shifting the weight from the center to the left of the shape. So just select those two center points from the top and bottom with the Direct Selection tool and with your arrow keys on your keyboard shift them along to the left. When you're done, go through the usual process of creating a new Art Brush. Remember to select the colorization method as Tints. [BLANK_AUDIO] The second variation of this brush is more of a squashed triangle. What we're gonna do is select the far left anchor point. And then select Delete on your keyboard. Now this will leave an open path and if you've got a fill shape that's got an open path, then the best thing to do is select those two joins and go to Object > Path > Join. Once you're done, go through the same process of creating a new art project, and selecting the colorization process as tense. [BLANK_AUDIO] And that's your three taper brushes created. And I'm gonna go back to using the paintbrush tool, just to show you the subtle differences between each one. Now, the original tapered brush is great for creating detailed hair. And subtle line art, the other is perhaps more useful for creating eyebrow hair, for eyelashes, and for the triangle base tapered brush, this is great for line art and sometimes for adding texture, but we'll see further along down the line in the project. So now that we're finished the brushes. Let's go ahead and save them for future use. I'm going to go into the brushes panel. Click into the drop down menu. And select save brushes as library. This should automatically open into where your preset brushes are. So just simply name the file something you'll remember for later use. Next time on vector portraits for beginners, we're going to start creating a basic line-art style portrait, and you'll be using these very brushes, so you'll see them first hand in action. Thanks for listening.


