- Overview
- Transcript
3.8 Finishing Touches
Although the core of the portrait is now complete, there are some finishing touches we can add to make it more presentable.
Color Guide
- Eye color: #00a79d
- Background color: #eeb8ce
1.Introduction1 lesson, 02:32
1.1Welcome and Course Overview02:32
2.Pre Portrait Lessons4 lessons, 14:58
2.1Prerequisites to the Course03:05
2.2Choosing the Right Stock03:35
2.3Skin tones and Picking Colors03:49
2.4The Three Brushes04:29
3.Create a Basic, Cartoon/Line Art Style Portrait8 lessons, 31:07
3.1Set Up Your Document03:29
3.2Base Shapes05:07
3.3Creating the Line Art06:34
3.4Focus on the Mouth02:43
3.5Focus on the Eyes03:24
3.6Focus on the Eyelashes and Eyebrows02:15
3.7Focus on the Hair04:12
3.8Finishing Touches03:23
4.Create a Basic, Color Portrait with Simple Shading8 lessons, 32:19
4.1Introduction04:46
4.2Basic Portrait Theory06:26
4.3Skin Shading: The Shadows05:27
4.4Skin Shading: The Highlights02:00
4.5Lip Shading and Eye Shading03:49
4.6Creating Shadows and Highlights for Hair04:35
4.7Make Up02:15
4.8Final Touches03:01
5.Conclusion1 lesson, 00:59
5.1Conclusion00:59
3.8 Finishing Touches
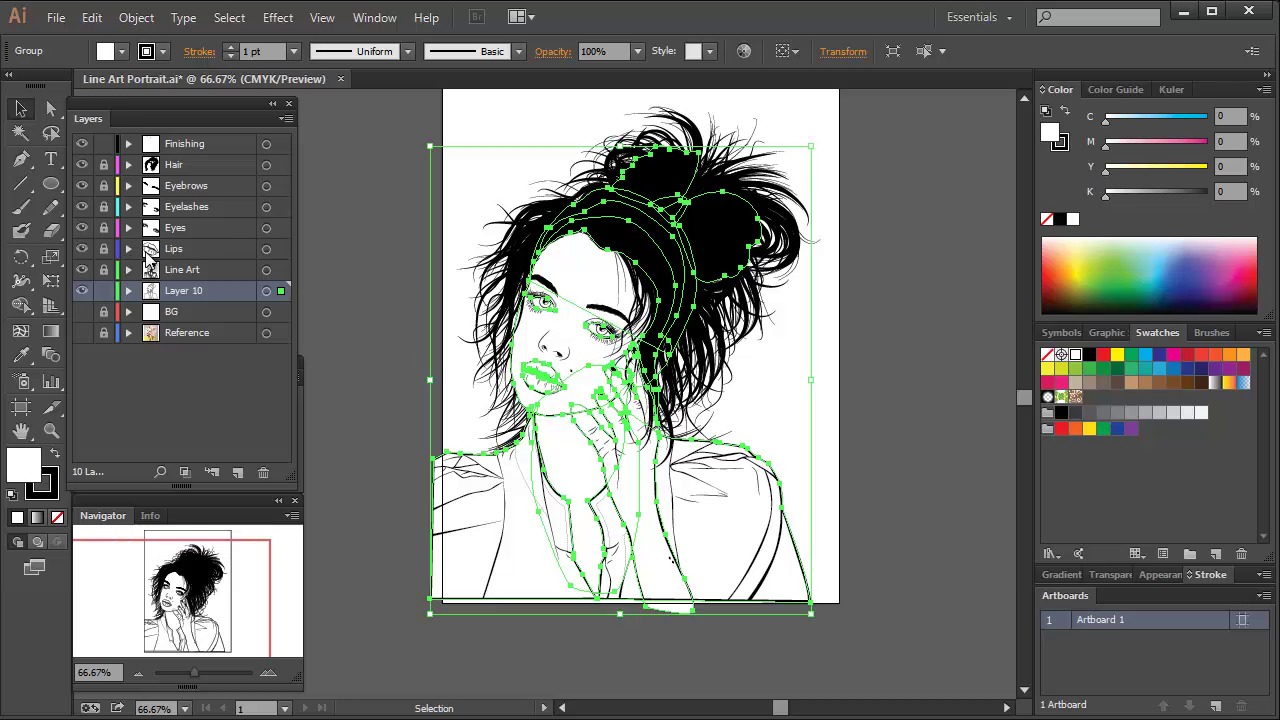
Hey all, welcome back to Vector Portraits for Beginners on Tutsplus. My name is Sharon Miller, and in this lesson we're gonna be looking at the finishing touches for this line art based portrait. We're just going to be adding some small finishing touches to this. But as you'll see it will radically change the portrait and make it a lot more presentable. The first thing we need to do is to add a sparkle to the eyes. We'll do this by using the Ellipse tool with a white fill and a black stroke, about an 0.5 stroke weight, and draw a large and a small circle for the sparkle in the eye. Once you're done group them together and duplicate them. Drag the duplicate over to the other eye. I like to add moles and freckles to my portraits. These little flaws bring character to a portrait and make them seem a lot more human. These are quite simply black filled ellipses. Draw a circle and then with the Free Transform tool, modify it. You can also rotate it depending on the direction of the skin. I've added one to the face, and then a couple to the arm. We're now going to add some color to the background. First thing you need to do is to drill down into your Layers panel and select all your base shapes. Copy and paste in front. [BLANK_AUDIO] Go into Pathfinder and then select Unite. [BLANK_AUDIO] We need to determine what size we're gonna have our art board. So use the Art Board tool to modify the dimensions of your art board. Once you're happy with the composition, use the Rectangle tool to cover the entire art board. Select the Rectangle and the United base shapes and use Pathfinder Minus Front. I'm now going to make the stock image visible from underneath. Use the Eyedropper tool to sample colors from the original photo. In this case, I'm gonna go for a pink color, which is quite helpful, because the recent panatone color of the air is a dusky pink. I'm going to add a complementary color. And the most obvious place to do that would be the eyes. Play with colors to find which one you like the best. I've chosen a green-bluish shade. I feel like these complement the pink a lot better. And with the eyes complete, your portrait is now done. You have now finished going through the process of creating a line art base portrait. Next time in Vector Portraits for Beginners we're going to use this line art to create a shaded portrait. So you'll learn how to add shading to portraits, both the highlights and the shadows. As we've already drawn the base shapes and the core line art, half the work is already done. Thanks for listening.


