
 Lessons: 22Length: 1.4 hours
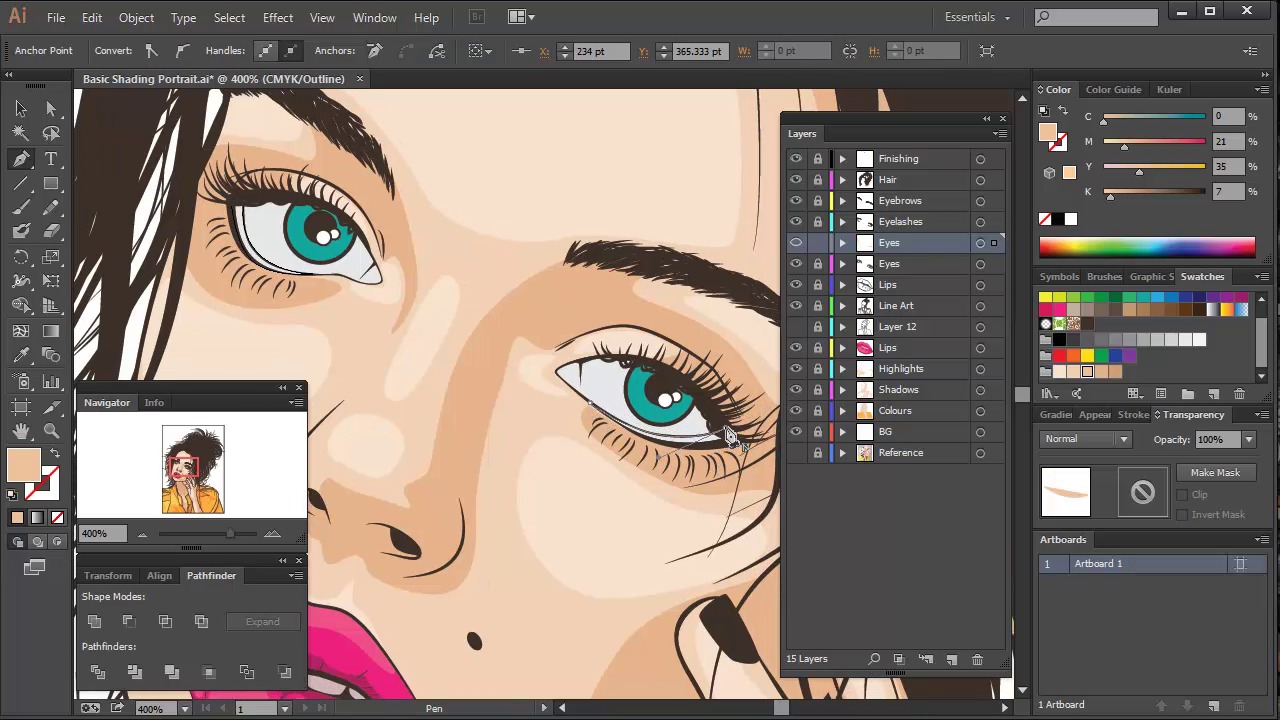
- Overview
- Transcript
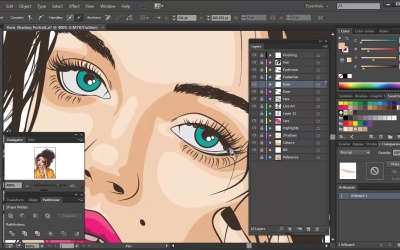
4.5 Lip Shading and Eye Shading
With shading complete on the skin, it’s time to add shadows and highlights to the lips and eyes. This will help bring these key focal points to life.
Color Guide
- Lip shadow: #9e1e62 / Blending Mode Multiply, Opacity 80%
- Lip highlight: #f05a28 / Blending Mode Screen, Opacity 60%
- Waterline: #f5e0cd / Blending Mode Normal, Opacity 100%
- Corner of eye: #ed2a7b / Blending Mode Normal, Opacity 30%
- Eye ball shadow: #3c3029 / Blending Mode Multiply, Opacity 20%
- Eye ball highlight: #f1f1f2 / Blending Mode Screen, Opacity 80%
- Iris highlight: #c39a6b / Blending Mode Screen, Opacity 60%
1.Introduction
1.1Welcome and Course Overview02:32
2.Pre Portrait Lessons
2.1Prerequisites to the Course03:05
2.2Choosing the Right Stock03:35
2.3Skin tones and Picking Colors03:49
2.4The Three Brushes04:29
3.Create a Basic, Cartoon/Line Art Style Portrait
3.1Set Up Your Document03:29
3.2Base Shapes05:07
3.3Creating the Line Art06:34
3.4Focus on the Mouth02:43
3.5Focus on the Eyes03:24
3.6Focus on the Eyelashes and Eyebrows02:15
3.7Focus on the Hair04:12
3.8Finishing Touches03:23
4.Create a Basic, Color Portrait with Simple Shading
4.1Introduction04:46
4.2Basic Portrait Theory06:26
4.3Skin Shading: The Shadows05:27
4.4Skin Shading: The Highlights02:00
4.5Lip Shading and Eye Shading03:49
4.6Creating Shadows and Highlights for Hair04:35
4.7Make Up02:15
4.8Final Touches03:01
5.Conclusion
5.1Conclusion00:59
4.5 Lip Shading and Eye Shading
Hey all. Welcome back to Vector Portraits for Beginners on Tuts Plus. My name is Sharon Miller and in this lesson we're gonna be adding the shading shapes to the lips and to the eyes. After some further tweaking of the base shapes for the lips create a new layer above the highlight layer. Starting on the lips we're going to use a plum filled shape for the parting of the mouth, so this include the top of the bottom lip and the bottom of the top lip. Then add a shape for the shading of the bottom of the bottom lip. I'm going to use an orange fill to add a highlight shape to the lips. I will be setting the blending mode to screen opacity 60%. Use the lines that you've drawn on the lips as texture, as a guide to creating the shapes. The highlights shouldn't touch the lines. We want some of the color of the base of the lips to shine through between the detailing lines. As we've added the shading shapes on top of the base shapes, it will distort the color of the teeth. What we're going to do is, copy the base shapes for the lips into our new layer. Then I'm going to draw the shape for the teeth in this layer. [BLANK_AUDIO] Remember to reduce the opacity to about 70%, as again, teeth aren't bright white. The lips are now done. Create a new layer for the eye shading and place this under the eye layer. The eye shading is a little bit more unique as it's placed above the line art layer. Let's first add color to the inside of the lower lid, or the water line. Although traditionally, some women will add white makeup to this line to make the eyes look bigger, we still want to have it more of a skin tone to make it look more natural. I'm going to be using a light skin tone color for this line. And I'm gonna reduce the opacity. I'm then gonna add pink to the corners of the eyes and reduce the opacity there. Go into the line art layer for the eyes. I'm gonna be adding shading to the iris and to the eyeball. The eyeball itself is an off-white color. It has no hues in it at all. So any coloring that you put on top of this, it will take on that hue. When you're working with colorless shapes, it's best to use the color of your line art to add any sort of shadows, so in this case we're gonna be using the brown that we used for the rest of the line art. Draw along the top of the eye, as well as the corners of the eyes and change the blend in mode to multiply. Set the opacity to 20%, then place these shade in shapes within the clipping mask for the eye. This will be the same clipping mask that the iris and the pupil will be contained within. I'm gonna be adding a highlight shape to both of the eyeballs. This is gonna be an off white and it's gonna be set to blending mode screen. Finally, add a highlight to the iris. I'll doing this by drawing two tapered shapes that go along the curve of the iris. I'm gonna set the Fill to Golden Brown and set it to Blended Mode screen. And that's your eye shading and lip shading complete. Next time on Vector Portraits for Beginners, we're gonna be looking at adding details to the hair. This includes shadow and highlights. Thanks for listening.


