- Overview
- Transcript
2.1 Prerequisites to the Course
There are several tools which are going to be used throughout this course. This lesson briefly goes over the tools you’ll need to know before being able to do this course.
Related Links
1.Introduction1 lesson, 02:32
1.1Welcome and Course Overview02:32
2.Pre Portrait Lessons4 lessons, 14:58
2.1Prerequisites to the Course03:05
2.2Choosing the Right Stock03:35
2.3Skin tones and Picking Colors03:49
2.4The Three Brushes04:29
3.Create a Basic, Cartoon/Line Art Style Portrait8 lessons, 31:07
3.1Set Up Your Document03:29
3.2Base Shapes05:07
3.3Creating the Line Art06:34
3.4Focus on the Mouth02:43
3.5Focus on the Eyes03:24
3.6Focus on the Eyelashes and Eyebrows02:15
3.7Focus on the Hair04:12
3.8Finishing Touches03:23
4.Create a Basic, Color Portrait with Simple Shading8 lessons, 32:19
4.1Introduction04:46
4.2Basic Portrait Theory06:26
4.3Skin Shading: The Shadows05:27
4.4Skin Shading: The Highlights02:00
4.5Lip Shading and Eye Shading03:49
4.6Creating Shadows and Highlights for Hair04:35
4.7Make Up02:15
4.8Final Touches03:01
5.Conclusion1 lesson, 00:59
5.1Conclusion00:59
2.1 Prerequisites to the Course
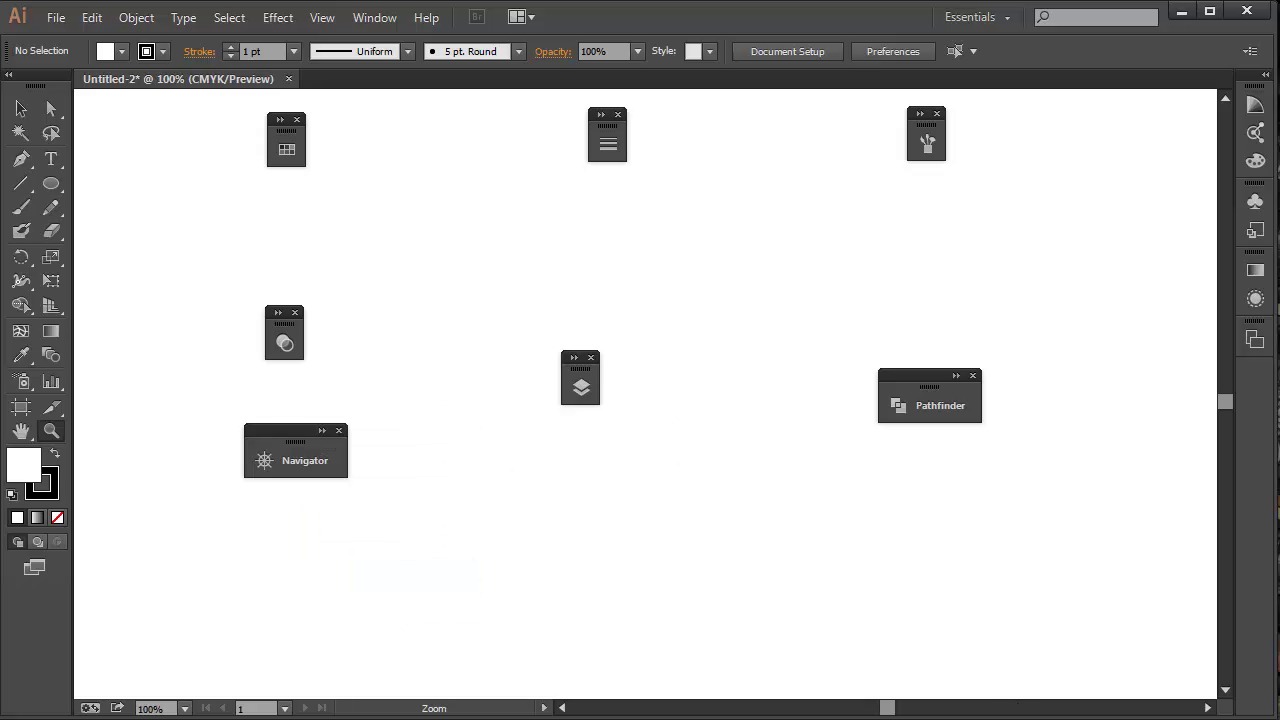
Hey all. Welcome back to Vector Portraits for Beginners on Tuts Plus. My name is Sharon Millan and in this lesson, we're just going to look at the pre-requisites for this course. These are the things that you need to be confident in using, in order to progress through this course. Although this course is for beginners in vector portraits, you will need to know certain tools within Adobe Illustrator. First we're gonna have a look at the panels. The first is the Swatches panel. You'll need to know how to add swatches to this panel and how to apply a stroke and a fill. Moving on to the stroke panel. You'll need to know how to set a stroke rate and how to apply a dashed line. In the brushes panel, you'll need to know how to add a new brush, how to remove brushes, and how to select a brush. The transparency panel is next, and you'll need to know how to set a blending mode and how to set an opacity. For the layers panel, you'll need to know how to move layers, name layers, add layers, and delete layers. The next one is path finder panel, we'll be using two specific options here. This will be unite and minus front. The next one is optional, it depends exactly how you zoom in and out. I personally used the navigate panel, but others use the zoom tool or shortcut keys. Next we'll be looking at the tools that we'll be using throughout this tutorial. The main tools that we'll be using throughout this tutorial are, the pen tool. The paintbrush tool. The direct selection tool. The free transform tool. The ellipse tool, the rectangle tool. The shape builder tool. The blob brush tool, and the art board tool. The processes we'll be using, are, creating a new art brush. [BLANK_AUDIO] Using clipping masks. [BLANK_AUDIO] Changing the stroke to a fill via object, Expand Appearance. [BLANK_AUDIO] And adding a feather to a shape. [BLANK_AUDIO] If you feel as if you can use these panels, tools, and processes confidently. Then you're half way there into creating a portrait. In addition you can use a tablet or a mouse for this tutorial. When I first started out creating vector portraits, I just used a mouse. Ever I use the paint brush tool, and you're a mouse user, feel free to use the pen tool as its a lot more comfortable to use. Next time on vector portraits for beginners, we'll be looking at choosing the right stock. Until then, thanks for listening.


