
 Lessons: 32Length: 4.1 hours
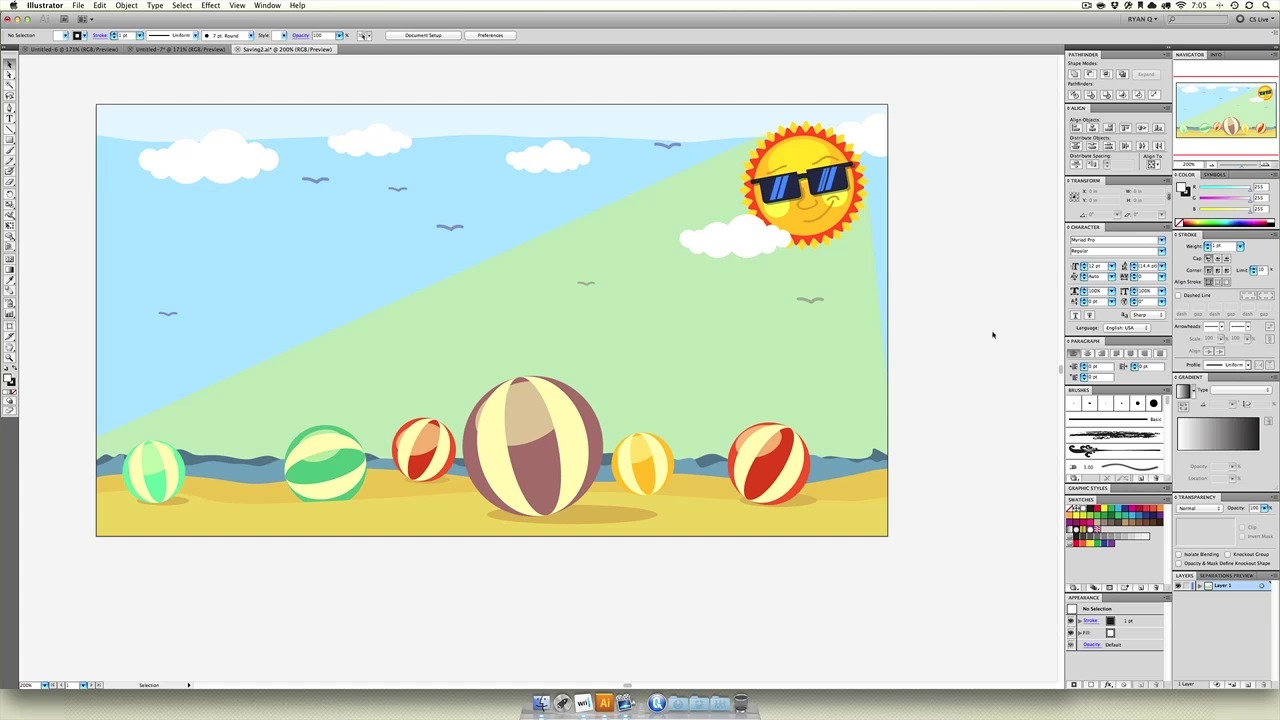

- Overview
- Transcript
5.2 Using Masks
Let’s look at how to use masks to isolate and eliminate vector elements.
1.Introduction
1.1Introduction01:11
1.2Getting Started06:56
2.Get to Know Illustrator
2.1Illustrator Interface04:52
2.2Your First Document05:02
2.3Basic Tools11:27
2.4Creating Objects09:26
2.5The Pen Tool11:54
2.6Selection Tools06:41
2.7Settings04:43
2.8End of Week One00:26
3.Object Oriented Design
3.1Object-Oriented Design04:02
3.2Grouping11:34
3.3Layerless Thinking11:51
3.4Locking & Hiding05:21
3.5Saving Files09:02
3.6End of Week Two00:24
4.Powerful Palettes
4.1The Align Palette11:24
4.2Pathfinder Palette11:38
4.3The Type Palette11:05
4.4The Stroke Palette16:09
4.5Symbols Palette09:35
4.6The Magic Wand04:23
4.7Art Boards06:14
5.Effects and More
5.1Gradients12:53
5.2Using Masks06:05
5.3Vector Effects13:53
5.43D Tools09:38
5.5Gradient Mesh and Shading09:59
5.6Tracing and Live Paint09:24
5.7End of Week Four00:35
6.Final Project
6.1Your Final Project05:23
7.Conclusion
7.1Conclusion00:35
5.2 Using Masks
All right Illustrator aficionados, now you know about Art Boards, Magic Wand, all the pallets, all the everything. You've got gradients. Now the next thing you really should know about and we're gonna need this when it comes to creating our vector hero cover, is masks. So let's open up Illustrator. I've got a fresh document ready to go. And we're gonna be creating masks. Now what's a mask? A mask is basically, you saying I wanna hide a piece of what I've created so that it's no longer visible. And what we mean by that is, make it so that it's still there. We can still edit it and we can still bring it back if we need it, but we essentially aren't using it at the moment. So on my desktop I'll go into the in class folder, and open up my old folder where we have mister sun. I'm just going to take him and copy and paste him into a new document where he's nice and big. He looks pretty excited to have this mask applied, don't you think? [LAUGH] So what essentially a mask will do is, we'll draw a circle here. Hold down Shift and select the object you want to mask. Right-click and hit Create a clipping mask. Now you can see, we only see part of the sun but when I hover over the sun, all the lines still get hovered. In fact, when I hit Cmd+Y, our entire sun is still there. It just creates a group where we can only see part of the sun. Now if we use Direct Select like usual, grabbing part of the sun will totally change what happens with the mask. You can see our mask edges are over there. And we can use the Direct Selection tool to grab the invisible edge of this mask, or Cmd+Y to see the edge. Find the invisible edge and edit that. So, we're only seeing part of our design. Now masks are super useful for having complex stuff in your scene but being able to chop it off. Now if we go back and open up that same file, you remember everything was kind of going off the canvas. What we could do is select all of this, right? Group it with Cmd+G, then take a rectangle. Draw it exactly to the document bounds. Select everything, right-click and hit, Make a Clipping Mask. And now it looks like we have a perfectly cut together document that we went right to the edge with, only it's really a mask and it's hiding all that extra stuff. So if I decide later on, oh, I'm gonna need no more of this, and I'm gonna want more sand. I'll take this and drag it way off. I could make those decisions without having to worry about how will this effect my scene or do I have enough of that object to continue expanding? Yeah, make more than what you need and then just mask the rest. While there's even more you can do with masks, we're gonna close this. Let's take our object right-click and release the mask. Now, even though this may have been a solid color, we mask it. Right-click, release the mask, and then it becomes invisible but it's still there. Now we're gonna make another type of mask, called an opacity mask. And the way I'm gonna demonstrate that to you is, I'm gonna take this sun, I'm gonna make a copy with Cmd+C. We're gonna hit Cmd+F to paste a second one right on top. Now that gives me a sun that I can pull down like this. Now this type of mask is called an Opacity Mask. Let me show you what this. You make a block and you color it somewhere between black and white, select everything. And then over in the Transparency menu let's create an Opacity Mask or Make Opacity Mask. And you see that makes it semi-see-through, that whole mask. Well watch this, we combine it with the power of gradients that we learned a little bit earlier. Put a gradient on there. Make it go from top to bottom. Select everything. Go to transparency and make an Opacity mask, and you can see now, we have a sun that fades away. Now we can double-click on this, and still edit the sun as if it were in a group. Or we can come over here and double-click on the Opacity Mask to edit that. Bring the black up. And then finally we'll take the whole thing and make that super transparent. And then we have ourselves a nice little reflection. So Opacity Masks and Regular Clipping masks are two ways for you to do advanced stuff to your artwork without needing to necessarily hurt the objects that you've created. Next, we're gonna be learning about Effects. And effects in Illustrator is huge. It's probably the most important lesson so far. So get ready for some seriously cool stuff with Effects, coming up.

