
 Lessons: 32Length: 4.1 hours
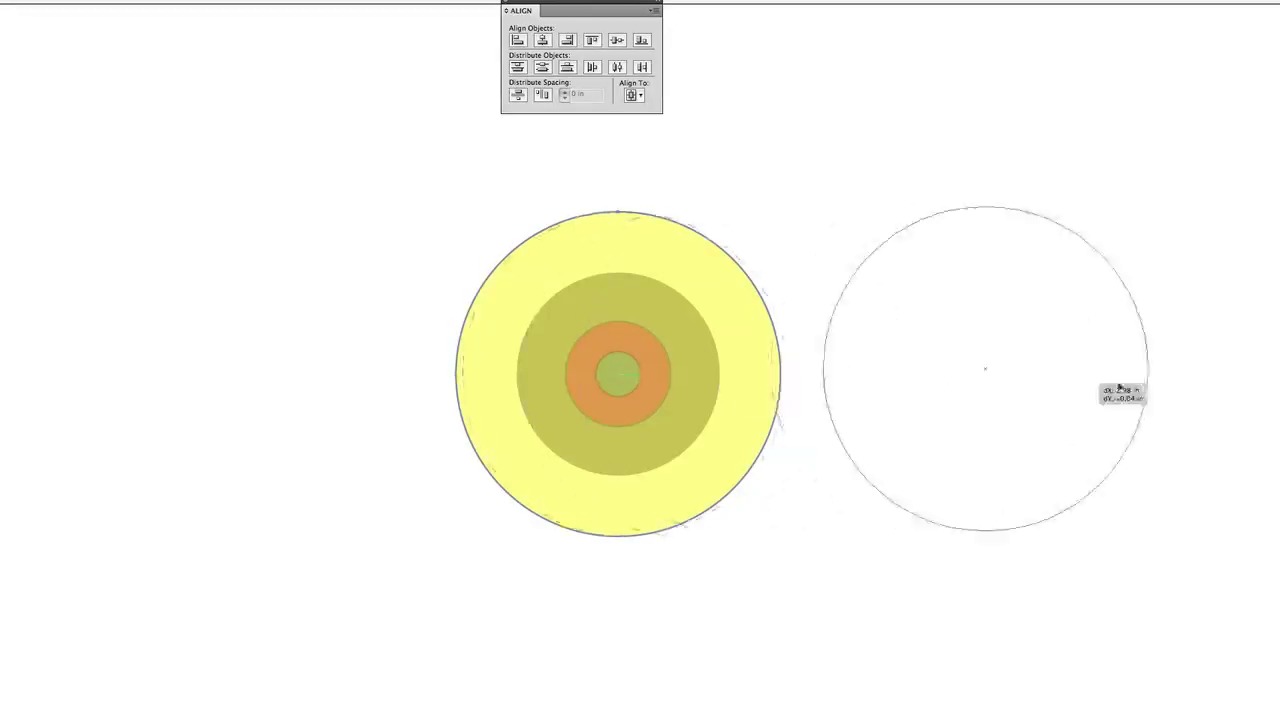
- Overview
- Transcript
4.1 The Align Palette
Let’s look at how to organize and distribute your items with the Align palette.
1.Introduction
1.1Introduction01:11
1.2Getting Started06:56
2.Get to Know Illustrator
2.1Illustrator Interface04:52
2.2Your First Document05:02
2.3Basic Tools11:27
2.4Creating Objects09:26
2.5The Pen Tool11:54
2.6Selection Tools06:41
2.7Settings04:43
2.8End of Week One00:26
3.Object Oriented Design
3.1Object-Oriented Design04:02
3.2Grouping11:34
3.3Layerless Thinking11:51
3.4Locking & Hiding05:21
3.5Saving Files09:02
3.6End of Week Two00:24
4.Powerful Palettes
4.1The Align Palette11:24
4.2Pathfinder Palette11:38
4.3The Type Palette11:05
4.4The Stroke Palette16:09
4.5Symbols Palette09:35
4.6The Magic Wand04:23
4.7Art Boards06:14
5.Effects and More
5.1Gradients12:53
5.2Using Masks06:05
5.3Vector Effects13:53
5.43D Tools09:38
5.5Gradient Mesh and Shading09:59
5.6Tracing and Live Paint09:24
5.7End of Week Four00:35
6.Final Project
6.1Your Final Project05:23
7.Conclusion
7.1Conclusion00:35
4.1 The Align Palette
You made it to week three. How exciting is that? Well, I'm just glad you survived, quite frankly, because there's a lot to take in when it comes to learning Illustrator, and it's about to get a whole lot cooler. Let's open up Illustrator and get started. Now, you can see this super, super complex layout that I have going. Some people might say it's not that complex, but I think there's a lot of gadgets and widgets going on. Let's create a new Illustrator document, 6 by 12 or 12 by 6, and we're gonna call it Palettes. Now I'm gonna be basically, using this document for the entire week. So I didn't supply anything in the class file because all the stuff we're gonna be doing is really basic. Let's start by just creating some shapes. If you have a pre-existing file with different shapes in it, feel free to use that. Now what I'm also doing here is making sure these shapes are different colors. I want you to be able to see the contrast because that's gonna matter a lot when it comes to noticing what's happening inside of our documents. Also gonna take them and make them all 50% see through. Just put them on the board here. So we have four circles, our small cyan, our medium or medium small magenta, our regular size black and our large yellow. And we're working here, and we want these all to be in a row. But we didn't draw them in row or we didn't know we wanted them in a row, at first. We just basically want to align them. Well, that's where the Align palette comes in. So I'm going to pull this right off so we can just focus in on this and what this align pallet looks like. You'll also notice that these things appear in the toolbar when I select multiple things. So here, up here now, we see in Illustrator, the Align pallet is basically, put up your force. So it's really an option whether or not you wanna have these Align palettes even showing in your toolbar. I like to have them there all the time. The first thing to note about Align is there's two basic modes, and that is in the Align to section. There's Align to Artboard, Align to Selection, and Align to key object. I don't really consider it a third state because you can do it automatically, without having one or the other selected. So let's start with Align to Selection. Here, you see we have Horizontal Align Left, Horizontal Align Center and Horizontal Align Right. And just remember, If you have a hard time remembering, horizontal is the horizon line. So that's a left to right, and you can see here, vertical is up and down, right? If one is left to right, the other one's up and down. But they all have these kind of intuitive icons to let you know what's gonna happen. So I'm gonna click on Horizontal Align Center. And remember, what mode are we in? Align to Selection mode. So let's click that. And you can see what it did, if I hit Undo, is it took an average of all the space that these take up, found the middle of it, and aligned all these objects. And you can see its a perfect up and down alignment. Now what if we said Horizontal Align Left? Well, it took the leftmost object and made everything snap to its leftmost side. So now they're all perfectly aligned left. So you can imagine doing it to the right, they all go to the rightmost object, which I believe was the yellow. It might be the blue. Yep, it was definitely the yellow. So, that is by selection. Now if we say by Artboard. We will get everything perfectly in the center of our document. So it doesn't matter if they're all not right in by Selection, they would align right down the middle, these two dots here in our selection. But by Artboard, they go to the center of the entire document. So that's two important distinctions with the Align palette. And it does a lot, a lot for your artwork. In fact, very quickly, I could take a circle, and say I wanted to make a target, well, I'll select them all, even if they're scattered about. So we'll scatter them a little bit, just to make it a little bit more dramatic. And then very quickly, I can Horizontal Align Center, Vertical Align Center, and we have concentric circles, right? So that's how the Alignment palette works. And of course, you could do that by selection as well. It just kind of changes where it would align those things. Let's show it over here. Right, so, center to the objects but not center to the document. The final is Key Object Alignment, and you can do that by setting that in the Align palatte, sure, Align to Key Object. But the other way to do it is to simply click again, once you have a group selected. So say I wanna make this pink circle my key object. I'll select everything, and then I'll select the pink circle again. And you can see it gets this thick blue outline or whatever our layer color is at. And you can see, our line changes to Align to Key Object. Well now, when we do this, they're gonna go to the pink circle, right? Now if I'm going to stay to the left, it normally would choose the yellow circle. I have to make my circle the key object, see it's easy to forget. Normally it would go to the yellow circle, but now it goes to the pink. So that's what key objects are all about. You would select a group, pick say this little blue one, that's our key object, And you could see they types of fun things you can do with the Align pallet, right? So maybe I want them all to share the same top, Vertical Align Top. There you go. Now the next thing you can do with the Align palette is pretty cool. It's Distribute Objects. And you can see here how they're going to automatically distribute the objects. Let's again scatter our circles in random positions. It doesn't matter. We're gonna put our smallest over here. And we decide that we want even spacing between all of these objects. Now, even spacing would be near impossible to do with your eye. So what we wanna do is use the align pallet to automatically calculate what that even spacing is. So let's take all of our objects first and do a Vertical Align Center. Now we can really see how uneven that spacing is. This is just a little bit, this is negative space, and this is a ton of space. We'll select them all again, and we'll do a Distribute Objects, Horizontal Distribute Center. So what that's saying is, I'm finding the very middle point of each object, and making it an equal distance between the middle points of each object. And it's doing it in a horizontal distribution. So it's gonna distribute them this way. Likewise, if I had them like this, and I selected them, and I did the Vertical, you would see it's putting equal space in between the dots, up and down. It'd be easier to see if I synced them up like this for you. Now again you're like, oh well the space isn't even. But if you look between this dot, this dot, this dot and this dot, the spacing is actually very even. So that is distributing and aligning objects, and as you can imagine, it's very, very helpful. Let's just delete a bunch of these and just show you how quickly nine random circles can really be made to be quite useful. So we'll select three here and align those, these, and we'll align these. These, we'll align these. Then finally, we'll take our top three circles. And then we'll align them to the top. These three, we'll do the top again, and these three, we'll do the top. Then finally, we'll take each row, and we'll do the horizontal distribution, and then each column, we'll do the vertical distribution. And we have a perfectly aligned grid of nine circles. Trying to do this by eye would be a nightmare. But that's what the Align palette is really for. That's the power of it. And it makes Illustrator one of the most useful organizational tools for doing infographics, and things like that. Pretty cool, huh? That's the Align palette. And you may find yourself needing it when it comes time to make Vector Hero.

