
 Lessons: 32Length: 4.1 hours
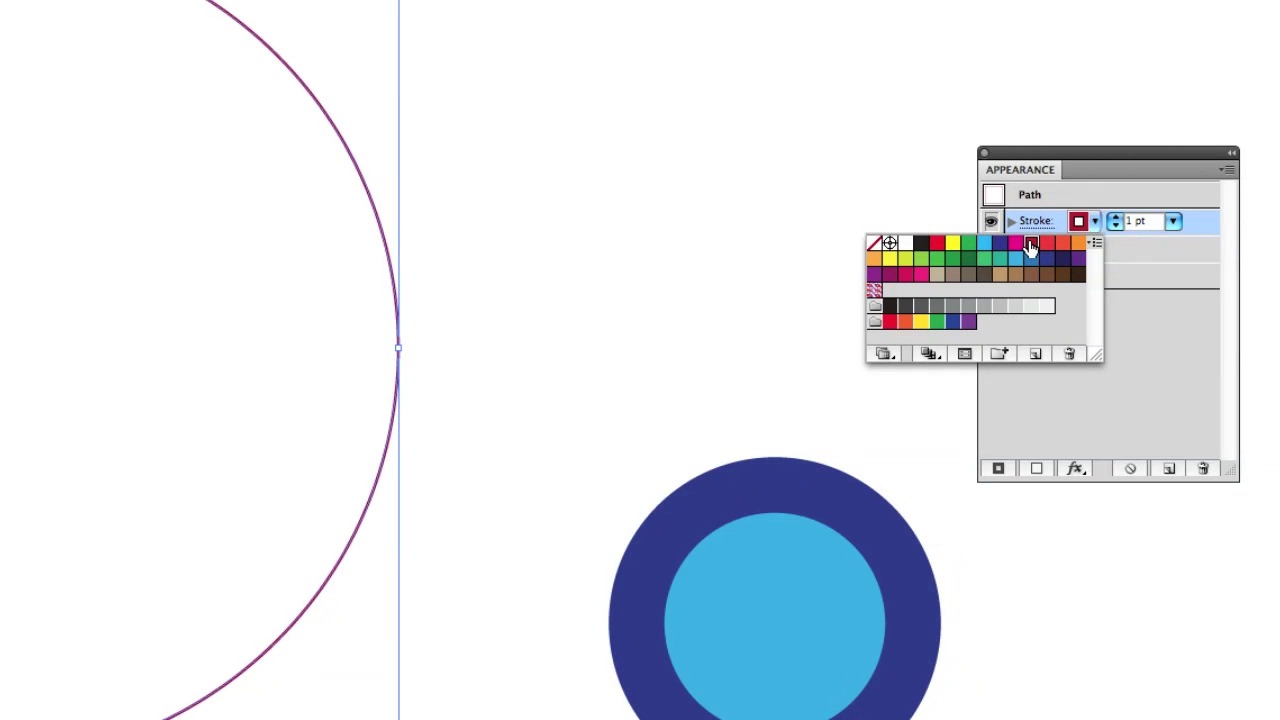
- Overview
- Transcript
3.1 Object-Oriented Design
Ryan explains how to get into an object-oriented mindset when working in Illustrator.
1.Introduction
1.1Introduction01:11
1.2Getting Started06:56
2.Get to Know Illustrator
2.1Illustrator Interface04:52
2.2Your First Document05:02
2.3Basic Tools11:27
2.4Creating Objects09:26
2.5The Pen Tool11:54
2.6Selection Tools06:41
2.7Settings04:43
2.8End of Week One00:26
3.Object Oriented Design
3.1Object-Oriented Design04:02
3.2Grouping11:34
3.3Layerless Thinking11:51
3.4Locking & Hiding05:21
3.5Saving Files09:02
3.6End of Week Two00:24
4.Powerful Palettes
4.1The Align Palette11:24
4.2Pathfinder Palette11:38
4.3The Type Palette11:05
4.4The Stroke Palette16:09
4.5Symbols Palette09:35
4.6The Magic Wand04:23
4.7Art Boards06:14
5.Effects and More
5.1Gradients12:53
5.2Using Masks06:05
5.3Vector Effects13:53
5.43D Tools09:38
5.5Gradient Mesh and Shading09:59
5.6Tracing and Live Paint09:24
5.7End of Week Four00:35
6.Final Project
6.1Your Final Project05:23
7.Conclusion
7.1Conclusion00:35
3.1 Object-Oriented Design
Hey students, you've made it past Week 1, great job. Now, we're gonna get started on Week 2, and how are we gonna do that? I'm gonna introduce to a concept called Objects. This is all part of a big theme I call Object Oriented Design. Let's open up Illustrator and get started. So you can see, I have my own custom layout here and I have the appearance palette separated out. You'll see why in just a second. Let's make a new document, and we'll call it objects. We'll hit OK. So, go ahead and make something on your canvas. We'll do a little tiny floor here and we'll put a ball on the floor and we're going to do a smaller one. So we have two circles and they're kind of sitting on this fake floor. They're not even they're a little bit hovering over it, no big deal. When I select one of these circles, I want you to pay attention to the appearance palette. It calls what we have selected a path, and a path is an object. You can see here the path name. Now you notice also, there's three properties of this path or this path object, which is Stroke, Fill, and Opacity. If you click on stroke you can see I can make it bigger, and this shows me really the advanced settings and something that illustrator calls the stroke pallet, which we'll get into a little later. But really quickly I can say, I want this to be 20. And here I can pick a nice dark blue. Our second properties fill, so we can change the fill color. And then finally we opacity we can make things semi transparent, and change their blending modes, which again we'll get into a little bit later. Next let's select our big path over here and we're gonna change its Stroke and Fill colors too. We'll do a red and we'll make that, we'll do a 40 point stroke. The Fill we'll make it orange. And then finally we'll select our floor. We'll make the stroke on that, now watch this, we're going to just turn this to 0, so I'll type 0 here and hit Enter. Now you can see the stroke becomes nothing or this swatch right here none. That means it still has the property in this object, you can still assign a stroke to this one whenever you want. There's just none visible right now. If we go back, first we'll give this a fill color of gray so we'll know where it is. You can see this here has no stroke, but it is filled with gray. Over here we can hide properties too. So we can hide this fill and if we hide a fill, you can see it's see through. Or if we turn it back on again, there's our fill. Also if we hide our fill, you notice that we can't select this object in the middle of it. We can click and drag, but if we try and just click around here, we get nothing. So we have to select it or grab an edge and turn the Fill back on. We can also hide the Stroke, but it's still there. So these are properties you can show, you can hide, but your objects, each object you make in your scene, always has them. Knowing that, is the foundation of how you build everything in Illustrator. And we're gonna go more into this idea of objects grouping all this crazy stuff in week two. It's just gonna help us get ready to make Vector Hero's video game cover. So coming up next, stay tuned, it's all about grouping your objects

