
 Lessons: 32Length: 4.1 hours
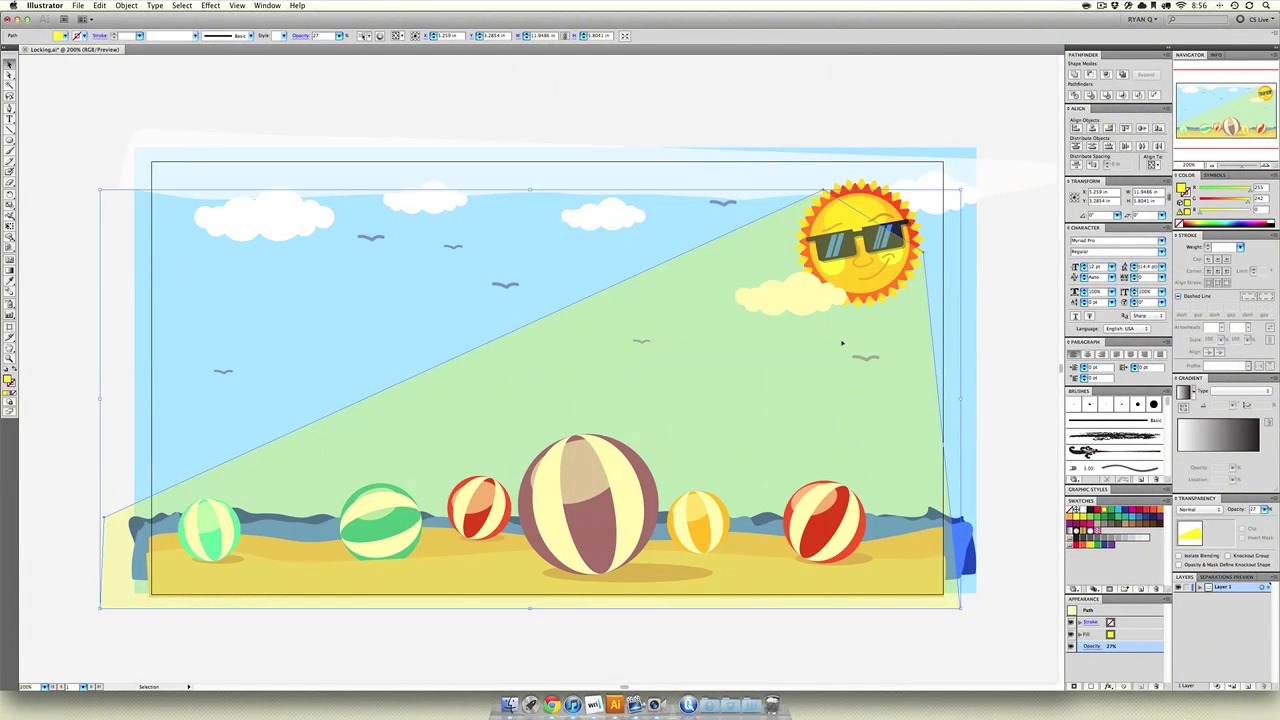
- Overview
- Transcript
3.4 Locking & Hiding
Let’s look at manipulating groups by locking and hiding.
1.Introduction
1.1Introduction01:11
1.2Getting Started06:56
2.Get to Know Illustrator
2.1Illustrator Interface04:52
2.2Your First Document05:02
2.3Basic Tools11:27
2.4Creating Objects09:26
2.5The Pen Tool11:54
2.6Selection Tools06:41
2.7Settings04:43
2.8End of Week One00:26
3.Object Oriented Design
3.1Object-Oriented Design04:02
3.2Grouping11:34
3.3Layerless Thinking11:51
3.4Locking & Hiding05:21
3.5Saving Files09:02
3.6End of Week Two00:24
4.Powerful Palettes
4.1The Align Palette11:24
4.2Pathfinder Palette11:38
4.3The Type Palette11:05
4.4The Stroke Palette16:09
4.5Symbols Palette09:35
4.6The Magic Wand04:23
4.7Art Boards06:14
5.Effects and More
5.1Gradients12:53
5.2Using Masks06:05
5.3Vector Effects13:53
5.43D Tools09:38
5.5Gradient Mesh and Shading09:59
5.6Tracing and Live Paint09:24
5.7End of Week Four00:35
6.Final Project
6.1Your Final Project05:23
7.Conclusion
7.1Conclusion00:35
3.4 Locking & Hiding
Now let's open up the file locking.ai inside of your source files, and you can see I've refined our last scene a little bit. I know that I didn't put a whole lot of effort in while recording the video, but I said let's polish this up a little bit. But you'll also notice, I'm not doing anything that we don't know how to do already in here. Let me break it down for a second just so we can go over it. Here we have a ball. This is simply a circle, right, with a darker color in the sand. This is just several layers, layered on top of each other for the two water and two sand layers. Little birds are just simple little brush strokes. And the clouds, as you can see, are circles. Mr. Sun is just a series of circles and some straighter lines. And you can see his glasses, the shadow is just a copy of his glasses. They're just semi transparent effect if I double-click. Open up his group. Here, we see his glasses, and they're 40%. So, the exact same stuff we've been learning, only you're seeing it in a more advanced state. Now, we wanna finish up our scene by adding a big ray coming down from Mr. Sun. And shining on all these beach balls and kind of turning them yellow, giving them his golden Sun hue. Well, we're gonna first grab our pen tool and start on one side of the Sun. Click there and maybe over here sounds good, right off the scene. We're gonna go over here. We're gonna come up here and finish up our sun ray and then connect it here. Now we wanna turn this whole sun ray yellow, and we're gonna turn off the stroke. Then we're gonna go over to its appearance, or its opacity, and turn that down. So it's still warming things up, just not too much. Now we have to bring this sun and this cloud on top of the ray, right? Because it's coming off the Sun. So let's do that for a second. Oh wait. We can't select the cloud anymore. We can't select the birds anymore. Well, that's because they're behind the giant ray that we drew. How do we get these things behind the ray to be selected? Well that's where something called locking comes into place. So, we're gonna go up to Object, and we're gonna go to Lock. We're gonna lock the selection, and you can see Cmd+2 will do this too. So I'm gonna select that from our menu, and now you can see, I can grab our cloud and our Sun holding holding down Shift, and I can right-click those, arrange them and bring them to the front. Now I can even select our beach ball. Or what if I want to edit this path? Well, I have to unlock the object. You can see no matter how hard I try, I can't access this ray. I can't direct select it either. So I have to go to Object and Unlock All. And you see this unlocked the blue sky in the background too. Yeah, I started off this file with the blue sky locked. So the problem with unlocking and locking is, when you unlock, you always unlock everything. If you locked a bunch of things, they are all gonna unlock. If you only wanna unlock one thing, well, sorry, you're gonna have to try some other way. Along with locking, you can also hide things. So if I wanna hit Cmd+3, that hides an object. If I want to bring it back, I do Cmd+Opt+3. That will bring it back in the exact same layer that it was on, so above the beach balls, under the Sun. Just like locking is Cmd+2 and unlocking is Cmd+Opt+2. So adding in that option key into your keyboard shortcut, does the reverse of whatever the original process was. That means, if you wanna lock something and not be able to select it, you're happy with where it is or you just want to get to something under it and it's semi transparent, Cmd+2 to lock. If you wanna hide it or you don't wanna deal with it anymore, say, you had another version of the Sun and you think you might use it later but you don't really wanna see it, you can use Cmd+3 and hide it. And remember, unlock Cmd+Opt+2, unhide, Cmd+Opt+3. This is gonna become a powerful tool in your Illustrator work force. But you may not use it right away. It's really gonna be for your advanced scenes and we're certainly gonna use it when we go to create that video game cover. So lock, unlock, hide, unhide. That's this lesson. Coming up next, we're just gonna be learning how to save our Illustrator files and some of the options there.

