
 Lessons: 32Length: 4.1 hours
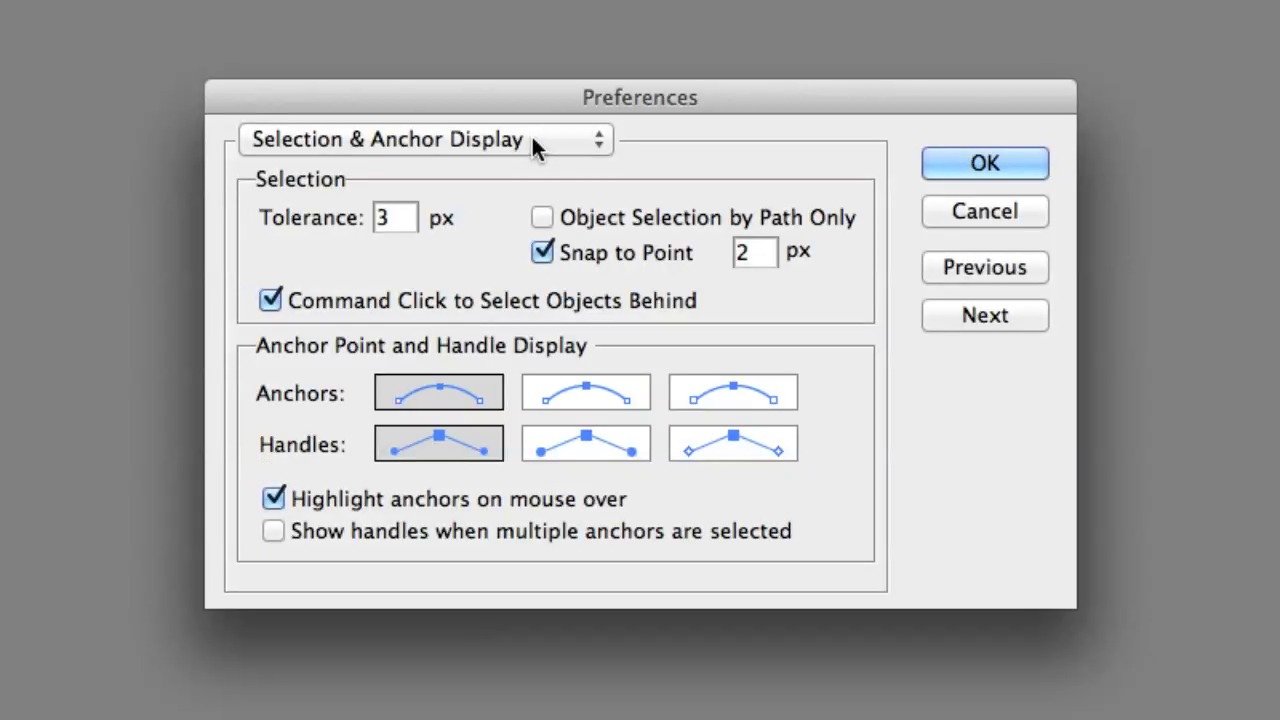
- Overview
- Transcript
2.7 Settings
Learn how to customize and tweak your settings.
1.Introduction
1.1Introduction01:11
1.2Getting Started06:56
2.Get to Know Illustrator
2.1Illustrator Interface04:52
2.2Your First Document05:02
2.3Basic Tools11:27
2.4Creating Objects09:26
2.5The Pen Tool11:54
2.6Selection Tools06:41
2.7Settings04:43
2.8End of Week One00:26
3.Object Oriented Design
3.1Object-Oriented Design04:02
3.2Grouping11:34
3.3Layerless Thinking11:51
3.4Locking & Hiding05:21
3.5Saving Files09:02
3.6End of Week Two00:24
4.Powerful Palettes
4.1The Align Palette11:24
4.2Pathfinder Palette11:38
4.3The Type Palette11:05
4.4The Stroke Palette16:09
4.5Symbols Palette09:35
4.6The Magic Wand04:23
4.7Art Boards06:14
5.Effects and More
5.1Gradients12:53
5.2Using Masks06:05
5.3Vector Effects13:53
5.43D Tools09:38
5.5Gradient Mesh and Shading09:59
5.6Tracing and Live Paint09:24
5.7End of Week Four00:35
6.Final Project
6.1Your Final Project05:23
7.Conclusion
7.1Conclusion00:35
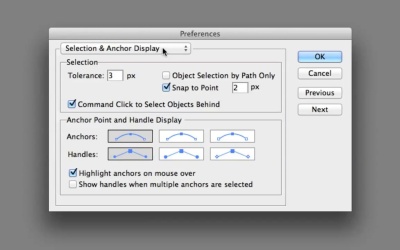
2.7 Settings
Hey, great job with the week one stuff. Great to see you moving along. This next video is really just about some settings that I like to have with my Illustrator that I feel make me work a little bit better. Maybe you'll find them helpful too, but we'll take a look at them all the same just so you can definitely feel like maybe he's using something else or something different. Yeah, it's gonna be the same set up if you use this video. So, the big things is open Illustrator first. If you're in Window's or Mac, this is in two different places. I think Windows might be under File and then Settings or Preferences. In Mac, it's under the Illustrator name. And then in Preferences, we'll just select General to start us off. So this menu is kind of every little thing that you can do with Illustrator. Use Japanese crop marks, use precise cursors, all these different type of things that are kind of interesting. But maybe they are a little different for you. But show tool tips is always on for me, that means when you hover over stuff, anti-alias artwork, means when you bring in pictures and stuff or you're tracing paths that it should have a little extra smoothness to it, or continue to appear smooth. Over here is keyboard increment. Now, keyboard increment is kind of important. I have it in inches at the moment, but if you go on, it's 0.139 for me. That's the equivalent of 1 pixel, so, just if you see something in Illustrator that says inches or whatever you can totally ignore that and say, well I want it to be in pixels instead. So instead of saying 1 inch, right? Or I could say 5 points, p-t. That'll translate to inches automatically or I can say 1px. So I change it so that my keyboard is always moving around one pixel. I think illustrator has that by default. Selections, this kind of goes over what you already saw, but it shows you what they're gonna look like. Snap to point, all that type of stuff is interesting. Type, you can choose how, or what your type space. Now, Units is pretty cool. It's going to determine how stuff is measured, and I have stuff in inches in general, and that may be different for European versions or whatever, so change general to inches if you want to match me on stuff. Stroke and type, that stuff that we haven't touched yet. But it's mostly the same. Grids and Guides. What you can do is pause this video at any point and basically look and make sure that our stuff matches. Slices. I don't really tend to touch much of this. One of the big things I do is Appearance of Black, make sure it's all displayed as Rich Black. Output All Blacks as Rich Black. File Handling & Clipboard, that's all the same. So really, the biggest thing here, you can even change, I do like my user interface to be a little bit on the darker side of things. But, Illustrator's default has it up there in Light. So you can even make Illustrator look pretty dark. Like that's kind of cool looking actually. [LAUGH] I may put that on myself. So there's a lot of different kind of stuff that you can do to make your Illustrator environment a little bit better. And finally, when you have a layout of tools that you feel comfortable with or like, it's probably not wise to do that now while you're still learning. But you can come up here and you can just say Save this Workspace. And then name it something like Tuts+, Toots plus, whatever I'm supposed to say. [LAUGH] And you can see it puts it up there and adds it to a little custom list. So it's really about getting a layout that you feel comfortable with and making sure that all the settings are your own. That's tweaking your settings. I'll see you next week, have a great weekend, and that's it. That's it for me. Great job.

