
 Lessons: 18Length: 1.3 hours
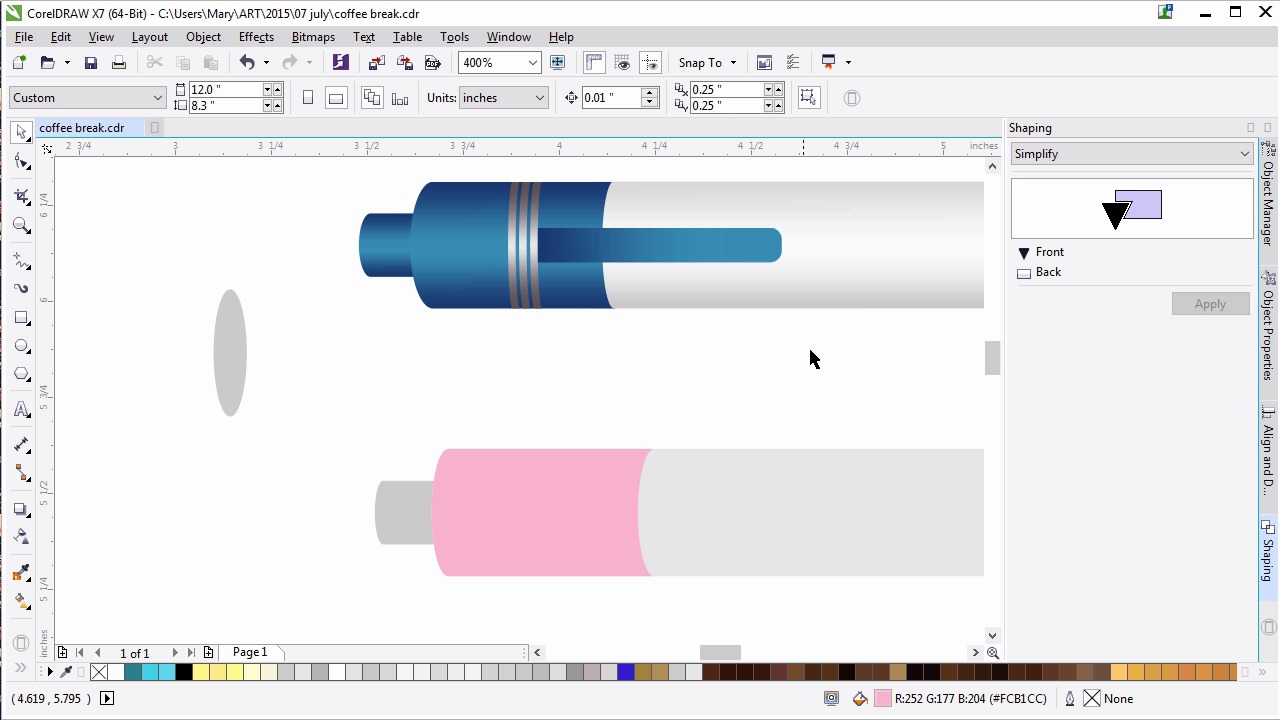
- Overview
- Transcript
5.1 The Pen
Now we’ll draw and render a click pen with basic shapes and fountain fills.
1.Introduction
1.1Introduction00:59
2.The Background and Napkins
2.1Creating the Background03:14
2.2Rendering the Napkins03:28
3.The Coffee Cup
3.1Rendering the Cup Saucer04:30
3.2Creating a Cup05:43
3.3Creating Additional Elements for the Cup04:43
3.4Filling the Coffee Cup04:32
3.5Finishing Up the Coffee Cup04:26
4.The Sprinkled Donut
4.1Creating a Basic Donut05:14
4.2Creating the Frosting04:47
4.3Rendering the Frosting04:20
4.4Finishing the Frosting03:58
4.5Creating the Sprinkles06:54
5.The Office Supplies
5.1The Pen06:59
5.2The Eraser04:57
5.3The Thumbtacks04:55
6.Conclusion
6.1Finishing Touches04:11
6.2Conclusion01:27
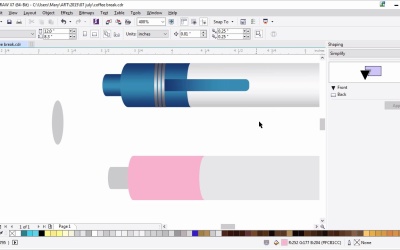
5.1 The Pen
Welcome back to advanced techniques in Corel Draw. I'm Mary Winkler for Tuts+. In this lesson we're going to kickoff chapter five, our office supply drawing chapter, with a ballpoint click pen, something perfect to sketch out ideas while we're eating our doughnut and drinking a fresh cup of coffee. Create a new layer in your object manager docker and name it pen, or clicky pen, or whatever description tells you that this is the pen's very own layer. I'm going to show you my original pen from my original illustration. As you can see, it's white and blue and will be comprised of basic shapes with fountain fills applied to them. We're going to create a similar pen in this lesson. The example pen will be on the top of the video for this lesson, while our working pen will be created below it. Starting with the rectangle tool, draw a long, thin rectangle. Set the fill color to light gray or whatever your pen's barrel will be. Draw an ellipse with the ellipse tool on the left side of the rectangle. Its height should match the rectangle's height, and the rectangle's left edge should match it perfectly with the ellipse's center. Duplicate this ellipse and set it aside. You'll be needing it again. Duplicate the ellipse once more, and place it on the right side of the rectangle as you did previously. Weld these three shapes together in the shaping docker. For a third time, and definitely not the last, duplicate the ellipse and place it near the right end of the pen barrel. With the polygon tool, set the polygon's sides to three in the property bar and draw a triangle. Rotate the triangle to the right and scale it down or up depending on what you need. Then align its left edge with the ellipse's center. This will form the pen's cap, where the ball point will sit. Place the two shapes on the right end of the pen's barrel, and weld the ellipse and triangle together via the shaping docker or the property bar. With the rectangle tool, draw a small rectangle on the right end of the pen. Select the triangle shape and then new rectangle, and hit Simplify in the shaping docker or you can hit back minus front. Delete the rectangle if it's still there. Draw another rectangle in the right end of this pen. This one will form a ball point of the pen, itself. Fillet the tiny rectangle's corners so they're rounded much like we did with the doughnut sprinkles. Place this beneath the pen's cap in the object manager. I've set the color to dark gray for now. I want each component to be easily seen by you. We'll render the pen once we've created all of our pen elements. At the other end of the pen, we need to create the clicky part and the end cap. Duplicate the ellipse we've been using twice. Scale both new ellipses down, and make sure their bottoms are aligned. Draw a rectangle in between the two of them. All three shapes should have the same height, and align in the same fashion the pen's barrel did earlier. Weld these shapes together. This forms the clicky bit of the clicky pen. I'm going to set the fill color to gray for now, and place it beneath the rest of my pen in the object manager docker, and then align this new shape to the pen's horizontal center. Duplicate everyone's favorite ellipse again. Seriously, I wasn't kidding when I said you'd be needing it. And place it over the barrel, like so. Draw a rectangle that overlaps the left end of the pen. With your rectangle selected go to Intersect in the shaping docker. Hit Intersect with, and then select the pen's barrel. You'll be left with a shape that conforms the left end of the pen. In the object manager, place the right ellipse over the shape you just intersected. Select both shapes, and in the shaping docker, either hit Back minus Front or hit Simplify to get the end cap's shape. Draw a thin horizontal rectangle for the pen's clip. Adjust the size and shape of the rectangle as needed, and make sure it sits in the center of the pen's left end. You want to fillet the right corner so it's rounded out slightly. You can do so, of course, in the property bar. For the bands on the end of the pen, we're going to duplicate the ellipse two times again. You can easily see both of them on the left side of the video. Draw a rectangle between two ellipses that overlaps both of them. Weld the rectangle to the ellipse on the left side, the dark teal one. Move the right ellipse, the lighter teal one, above the newly welded shape in the object manager. In either the property bar or the shaping docker, hit Simplify with both shapes selected, and you'll be left with a curved band. Place it above the rest of your pen components in the objects manager, and align it to the center of the pen's end cap. Duplicate this shape two more times and place your bands along the end of the pen. Distribute them evenly in the Align and Distribute docker and make sure the right most shape overlaps the pen's clip. Now that we have all of our pen components sorted out, let's render the pen. Starting with the two end caps, change their fill colors to the bright color of your choice. I've chosen blue, I think it goes well with the rest of our color palette within our illustrations composition. Select the pen's barrel, and then the Object Properties docker, set the fill color to a fountain fill. Set the left most and right most colors to medium or dar, gray, and add a center color of light gray or white. Set the angle to 90 degrees, and adjust the placement of the fill sliders, so their a bit further away from the center. We´re going to repeat this process on the rest of our pen components. Select the pen's ballpoint end and apply a similar fountain fill to the one you just did in the shades of dark gray. Adjust your fill as you see fit. For small objects, you may want to punch the color contrast up a bit so they're more easily seen, especially small metallic objects like this one. Moving on to the blue parts of the pen, select the right end, the pen's tip, and apply another three color fountain fill whose angle is set to 90 degrees. Either end of the fill are dark or medium blue, while the center is light blue. Adjust the sliders so it matches the pen barrel a bit more than the default settings. You can also adjust the angle of your fountain fills with the interactive fill tool, which I like to do to speed up the whole process. Use the attributes eyedropper to copy the fill we just created from the right end onto the three blue objects on the left end. Change the fountain fill on the pen's clip to a two-color fill, dark blue to light blue, and its angle from 90 degrees to 0. Copy the fill from the ballpoint top under the three metal bands on the left side of the pen. Adjust their central color so it's lighter and they look shinier. Adjust the fountain fills as you see fit. When you're satisfied with your pen design, group everything together. We're going to place it within the composition and add a drop shadow. Zoom out of your document and unhide the rest of your illustration's components. With the pick tool, rotate the pen so it's angled to the upper right of the page. Mine will overlap the lower right of the napkins so that it sort of forms a triangle with the coffee cup and the doughnut. Use the drop shadow tool to pull out a simple drop shadow, similar to what we've done with the other objects. My feathering is set to 7, and transparency to 28. Sit back and admire your composition so far. Thank you so much for joining me in this lesson on a creating a fully rendered pen from ellipses and rectangles. In the next lesson, we're gonna continue on with our chapter on office supplies. We'll create a rubber eraser, and add some text onto it, too.


