
 Lessons: 18Length: 1.3 hours
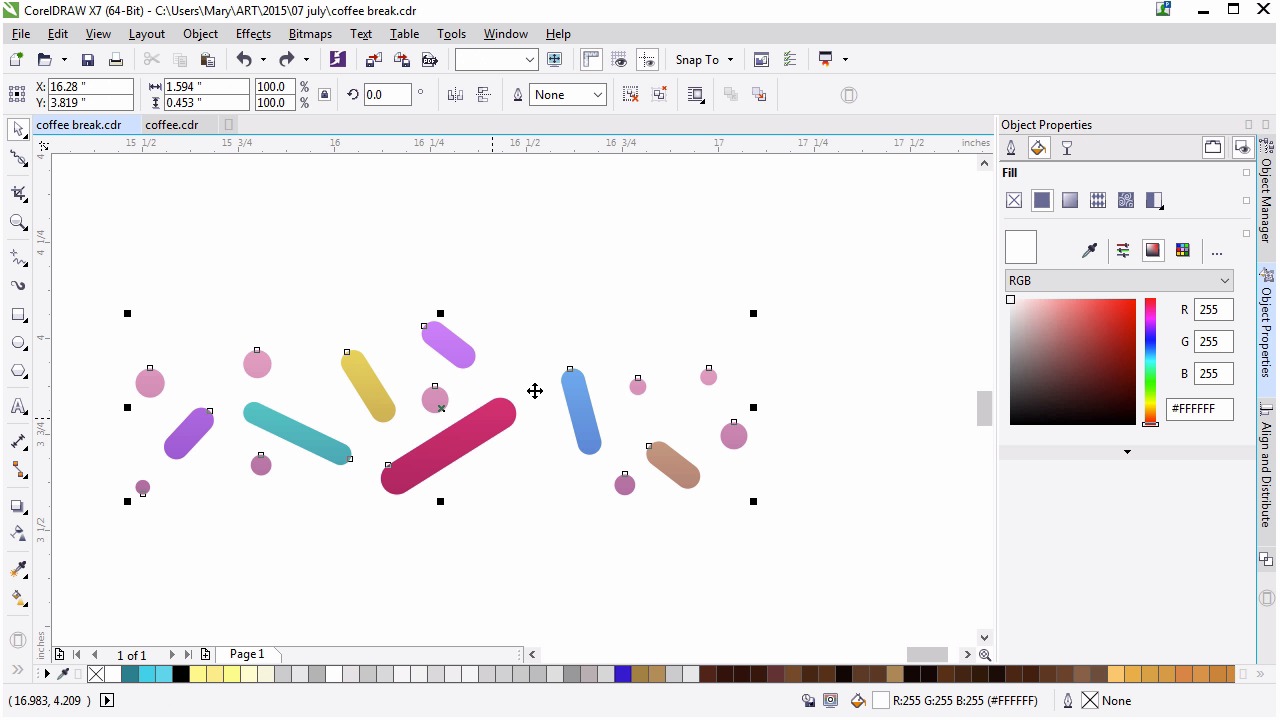

- Overview
- Transcript
4.5 Creating the Sprinkles
Create a custom sprayer brush filled with rendered sprinkles and sparkles as a final touch to the donut.
1.Introduction
1.1Introduction00:59
2.The Background and Napkins
2.1Creating the Background03:14
2.2Rendering the Napkins03:28
3.The Coffee Cup
3.1Rendering the Cup Saucer04:30
3.2Creating a Cup05:43
3.3Creating Additional Elements for the Cup04:43
3.4Filling the Coffee Cup04:32
3.5Finishing Up the Coffee Cup04:26
4.The Sprinkled Donut
4.1Creating a Basic Donut05:14
4.2Creating the Frosting04:47
4.3Rendering the Frosting04:20
4.4Finishing the Frosting03:58
4.5Creating the Sprinkles06:54
5.The Office Supplies
5.1The Pen06:59
5.2The Eraser04:57
5.3The Thumbtacks04:55
6.Conclusion
6.1Finishing Touches04:11
6.2Conclusion01:27
4.5 Creating the Sprinkles
Welcome back to Advanced Techniques in Corel Draw. I'm Mary Winkler for tuts+. We'll finish up this chapter and create a custom, artistic media brush in order to add sprinkles to our donut design. We're going to focus on creating some fantastically colored sprinkles in order to finish off our delicious donut design. I want to hide the sprinkles I made previously to give you a better idea of the sort of custom brushes we'll be creating together. As you can see, it's a scatter brush comprised of multiple shapes, objects, fill attributes and a drop shadow. We're going to create each component of the brush together. Then I'll show you how to save it as a brush and use it to create the scattered sprinkle effect. Moving off over the page to the right and zooming in. I'm going to use this area to work on the sprinkles away from the rest of our working document. Use the rectangle tool to draw a small, thin rectangle. Change the fill color to something bright, like hot pink in the object properties docker. Grab the pick tool, make sure the rectangle is selected. And in the property bar, fillet the corners so they're rounded. And the rectangle looks like a sugary sprinkle. Repeat with another rectangle. This time, make it smaller than the first. Draw several rectangles or circles clustered around each other in order to speed up your sprinkle drawing process. Draw vertical, horizontal and diagonal rectangles. You want your sprinkles to be varied in size, width and orientation. Round out the corners in the property bar, as you did the first, and set their fill colors to a variety of hues, yellow, green, orange, blue, and purple. You want to have a whole rainbow of sprinkles to work with. Using the pick tool, double-click a sprinkle in order to rotate it. Rotate, scale, and move your sprinkles around each other in order to bring some dynamic variation to your brush design. You want your design to be in horizontal format, but that doesn't mean its elements should be statically placed together in a simple line. Move them around so it looks as though they were randomly placed. It's hard to get a true random placement of objects, so do your best. Sometimes objects should go in all different directions. And sometimes a few of them should be in the same direction. If it was truly random, there would be no pattern, as well as a few sprinkles that go in the same direction. Randomness is hard to mimic since we tend to over think the placement of objects within a composition. Act quickly and don't plan out the placement too much. Keep your sprinkles organic and make sure the spacing isn't perfect or exact. Imagine what the sprinkles look like if you shook them out from a bottle. Maybe you want to shake out some actual sprinkles onto a piece of paper to see where and how they land in order to get a more organic composition for your brush. Additionally, you'll want colors to repeat in no particular order. After all, sprinkles being shook out from a bottle won't pop out in a perfect ROYGBIV format. They'll scatter out haphazardly, so do your best to balance out randomizing color with what you like. Draw some circles in light pink, cream, or white. Mine are much smaller than the rounded rectangles and will fill out the space between them and around them. Adjust your colors as you see fit. Once you like the placement of your sprinkles, convert all of your objects to curves. Group everything together and then duplicate the group with Ctrl+D. Set the fill color of the new group to purple and adjust the transparencies so that it's a fountainfill, creating some shadow on your group. Set the blending mode to multiply under transparency in the object properties docker. We'll going to adjust each sprinkle separately with the transparency tool and group your shadow group. And one by one drag the angle of the transparency fountainfill that it goes from opaque to transparent from the bottom of the sprinkle to its top. Notice how immediately the sprinkle has more dimension within it. And looks a bit more rendered. Continue doing this until all of your sprinkles have a gradient to them. Group all of your sprinkle components together. I lightened up my round sprinkles so they'd show up against the pink frosting more than the previous color would have. Open up the artistic media docker, select your sprinkle group, and in the artistic media docker hit the save icon on the bottom right. If you have the option to do so, make sure it's a sprayer brush. Give your brush a name, and you can close the docker once it's finished saving. I named mine Sprinkes 2. Back on our donut, we're going to use our brand new brush. Using the artistic media tool, select sprayer brush. And choose your new brush from the custom section in the menu in the property bar. Draw with your new brush around your donut. Instantly you'll have fantastic sprinkles spread around your donut. We have a few more customizations to go however. In the property bar you'll want to hit angle of rotation and set the rotation relative to the path. This ensures that your sprinkles won't spray out in the static manner seen in the right and will instead spray in relation to the path you've drawn. And a few more sprinkle paths for the artistic media tool and adjust their placement in your rotation as you see fit in order to create a colorful assortment of sprinkles on your donut. When satisfied with the placement of your sprinkles, group your paths together in order to keep your object manager organized. It's much easier for each lesson in this chapter to be its own group within the donut layer, then it is to navigate an object manager whose components are numbered in the hundreds. Zoom in on your donut and sprinkles. With the ellipse tool, draw a few white circles that will serve as sparkling highlights on your sprinkles and frosting. Scatter the circles around the upper left of your donut, making sure they're drawn in a variety of sizes. Then group these white circles together. Using the distort tool select the push and pull option from the property bar and apply a pull distortion of 80 to 85 or so, in order to create simple sparkles on your doughnut. You can adjust the steps of distortion as you see fit. Duplicate your sparkle group a few times and rotate them around your doughnut so the frosting and sprinkles sparkle all over. Focusing only on our working donut, select your sprinkle group and apply a drop shadow to it. You want it to be very light and subtle. Reduce the feathering to single digits and transparency to 20. Make sure the Blending Load is set to Multiply, and the Shadow Color is Hot Pink. Once you finish your shadow, let's place our donut within our illustration's composition. Zoom out and unhide the background, napkins and coffee cup. You can also group together all of your donut components to make moving the object easier. We've placed the donut on the upper right of the design, sitting on the napkins. Move and adjust your components as you see fit. This is why I keep each section of my design in a separate layer. I can easily select, hide, disable editing, et cetera, for any of my illustration's components allowing me complete control of my design at a moment's notice. Thank you so much for joining me in the final lesson of this chapter. Now that we've completed our donut it's time to move on to chapter five where we create some office supplies starting with a ball point clicky pen.


