
 Lessons: 16Length: 2.3 hours
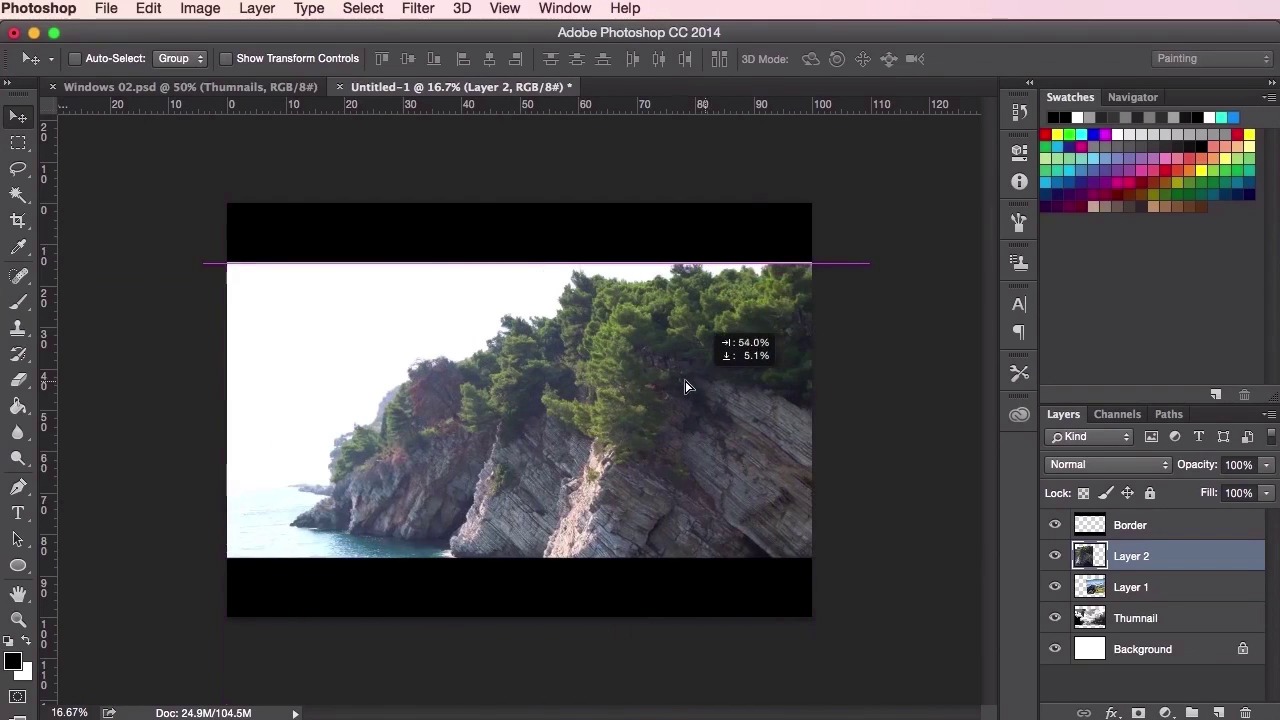

- Overview
- Transcript
3.1 Translating the Thumbnail
This next chapter will take you through the whole painting process from start to finish. In this lesson you will use the thumbnail you completed in the previous chapter as a starting point. You will learn different ways to start your painting in colour and how to build this process up by using some ’speed painting’ techniques, using photographs and different Photoshop brushes.
1.Introduction
1.1Introduction01:31
1.2Adobe Photoshop Setup05:28
2.Shapes and Thumbnail Design
2.1Experiment With Shapes08:20
2.2Designing Shapes10:20
2.3Thumbnail Setup05:46
2.4Value Studies12:39
3.Painting
3.1Translating the Thumbnail08:19
3.2Initial Painting09:22
3.3Adding Texture08:31
3.4Design Development10:28
3.5Lighting and Colour10:19
3.6Clouds10:18
3.7Composition Adjustment10:56
3.8Adding Detail11:14
3.9Final Touches11:52
4.Conclusion
4.1Conclusion01:44
3.1 Translating the Thumbnail
Hey guys and welcome back to the Concept Environment course for games. In this lesson we're gonna go through translating your chosen thumbnail painting into a colored piece and the steps and processes involved when adding detail and texture to the painting. So here I've got four thumbnail compositions to choose from and I'm just gonna go ahead and use the Marquee Tool to choose the one that I feel has the most potential to develop. So just gonna go ahead and making sure I've got the correct layer, the correct layer selected and just use the Marquee Tool to select the area, Ctrl C or Cmd C to copy. And then we're gonna start a completely new document. So File, new. And then just have a look at the options here and choose what size you're most comfortable with. So I'm gonna go ahead and see what the pixel sizes of each paper is. It's a bit big so I might go ahead and go back to A4. I always keep the resolution set at 300 dpi just in case I have decide I would like to print the painting. Now I'll want to rotate the canvas. So go to Image, Image Rotation, 90 degrees clockwise. And then Ctrl V or Cmd V on your keyboard to paste the thumbnail image in. And then just transform it until it fits the width of the canvas. And then what I'm gonna do here is I'm gonna create two black bars on the top and the bottom of the canvas just to help me focus the middle of the painting here. So to do this, I'm gonna select the Marquee Tool. And then I'm just going to fill it in with the Paint Bucket Tool then. And duplicate the layer, so, Marquee Tool, Create a new layer, make sure you're set to black, and use the Paint Bucket Tool to fill it in. And then just duplicate that layer. And drag it all the way down. So what this does is it, I'd like to keep the wide screen view of the thumbnail, so as I paint, I can easily reduce or increase the width of the painting by increasing the height of the two black bars at the top and the bottom. So, once you're happy with the initial sets up there with the thumbnail, it's time to start adding the initial textures to the design. So let's go ahead and grab some of those reference photographs from before. And by using the Transform and Opacity Tools, we can start placing them and laying them on top of our thumbnail, and just sort of play about with this positioning to see how it fits. So just laying on top and using the Transform Tool to enlarge it, to stretch it, to rotate it and just trying to find the place for it within the composition. So one trick that I do here is I lower the opacity of the actual photograph and that way I can see my thumbnail behind it and actually sort of helps me see exactly or helps me visualize how these textures can potentially help with the painting. So start doing this with a few more photographs. And just see if you can start using them as maybe a sort of base for your initial color palette as well. Use the Color Picker Tool for when you begin the painting process. At this point, we're just still thinking about the design of the piece, and how we can manipulate the shapes and the textures into the painting. And how we can evolve the initial thumbnail there that we created into something that looks a little more detailed and a little bit more interesting. So here, I'm going to continue to use these photographic references. With this one, I want to isolate the mountain using the Sew Tool. I'm going to grab the Sew Tool, and draw around it. Copy it, and then just paste it into the composition here. Rotate it around and the idea that I'm thinking of here is I want to use this mountain to represent the underlay, the underneath of these floating mountains, these floating islands here. And this is a great choice because, just keeping in mind the lighting of the composition that we have, the mountain has actually got the exact same lighting that we need. The shadow is at the right. And that the reflection of the light is on the left, exactly where our light source is. So just using this Sew Tool here to draw around the mountain, it's important to remember that we don't need to be 100% accurate when using the Sew Tool. It's not about tracing around the objects 100% accurate. It's about finding the shapes and using the textures to your advantage. So just using the soft round Eraser Tool here to just blend the texture into our composition. And what I'm going to do here now is I'm going to duplicate the layer here in and use it as an extension of the landmass that we've got here. And the good thing about duplicating the same texture is, because they're the exact same thing, the way that they blends together is very natural. And it's a very easy way to extend these landmasses and extend these sort of structures into your composition. So, just duplicating it again. I want to make this a little bit larger just to see how it works. Just to see how it looks like. Not worrying too much about the fact that they're the exact same shape, because we're just using the texture and we'll paint over them later. So just moving about and seeing how it works. Not worrying too much about the color and the mood just yet. Just concentrating purely on laying out the initial stages of the texture and the overall composition of the piece. So, yeah, I think that's it for this video. In the next lesson, we'll be going through the initial painting stages as we move further and further away from the original thumbnail design. See you there.


