
 Lessons: 16Length: 2.3 hours
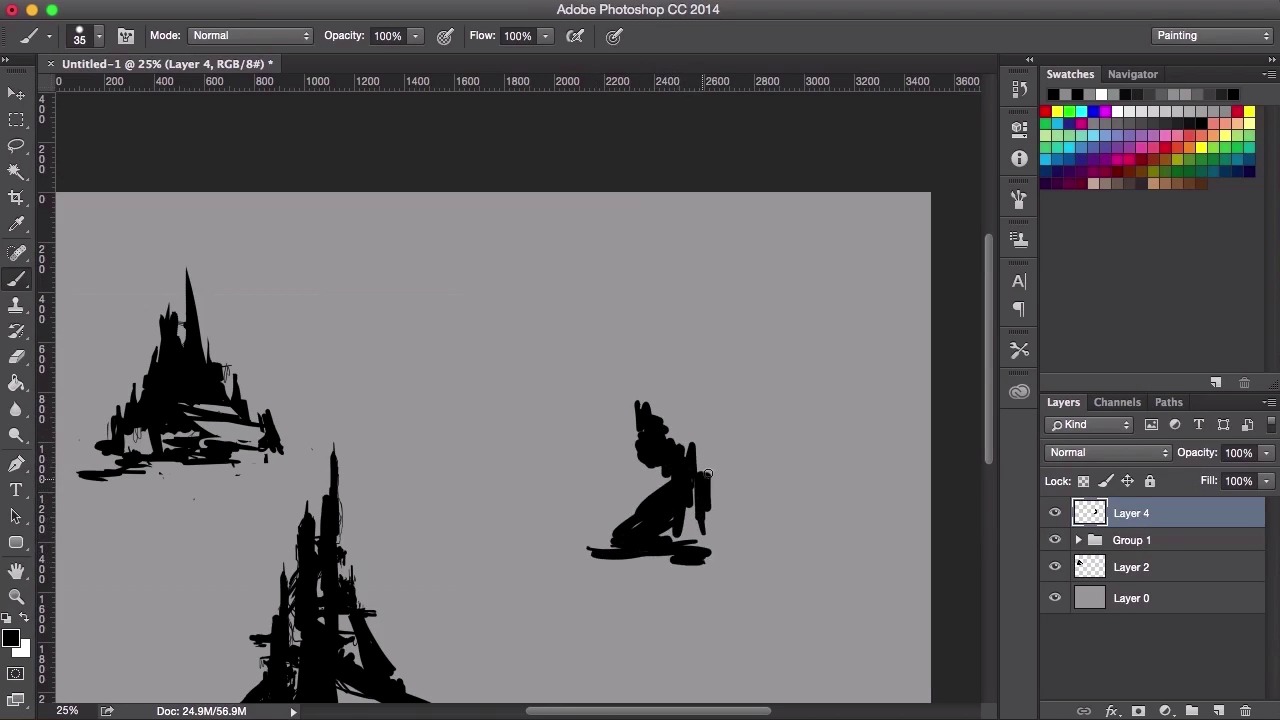
- Overview
- Transcript
2.2 Designing Shapes
In this lesson you will continue to design and develop your shapes and ideas, going through different ways of creating really dynamic silhouettes for your paintings. You will learn the basics of how to use different tools available to you in Adobe Photoshop and how they will ultimately aid you in the design process.
1.Introduction
1.1Introduction01:31
1.2Adobe Photoshop Setup05:28
2.Shapes and Thumbnail Design
2.1Experiment With Shapes08:20
2.2Designing Shapes10:20
2.3Thumbnail Setup05:46
2.4Value Studies12:39
3.Painting
3.1Translating the Thumbnail08:19
3.2Initial Painting09:22
3.3Adding Texture08:31
3.4Design Development10:28
3.5Lighting and Colour10:19
3.6Clouds10:18
3.7Composition Adjustment10:56
3.8Adding Detail11:14
3.9Final Touches11:52
4.Conclusion
4.1Conclusion01:44
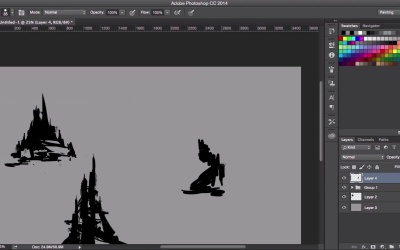
2.2 Designing Shapes
Hey guys and welcome back to the concept art tutorial. In this video I'm just gonna continue on from the previous shapes and silhouette video, so you can see here I'm just going to make another layer and choose my brush again. Just go ahead and create my second silhouette. Just feeling out the design again, using exactly the same technique as before. However, I've warmed up a little bit now, and I also have a clearer idea about what sort of theme I'm going for. So again using a mixture of broad strokes to build up the main shape and mixing it in with some smaller more delicate strokes as we did before, to give it a sense of scale by representing these sort of vines or loose wires. So you'll see here that my strokes now, compared to the previous stroke, has become a little bit more considered. However, I think it's important not to get too bogged down in the details of things. As I think that it's good to let the shape take on almost like a life of it's own and I find that the most interesting shapes are discovered that way. So you can see here, I'm starting to introduce the smaller elements to the shape. Giving it a sense of scale and just making it a little bit more interesting. But yeah, with the silhouettes, basically what it comes down to is just a lot of practice. I mentioned in the last video that the key to creating these interesting shapes was in creating as many as possible. And, by doing so, you would've generated enough shapes to get you started on visualizing your landscape. So here, I'm just gonna do the same technique as before, duplicating, transforming, and layering it on top of the previous shape, just to find out if If I can find something a little bit more interesting. This technique, I think, is a good way to get out of. Sometimes if you find yourself getting stuck, and you don't know where else to go, just duplicate the layer, or duplicate the shape, or even a part of that shape. And overlayering on top of the original shape and transforming it is a good way to come up with a fresh new view of the silhouette. So just moving it around, raising it. Again, just feeling and finding what looks good and what works. See what looks interesting and just keep going. And originally you should use the initial shape, transforming it. The key here is to just experiment and like I said before, just not get too precious with your creations and limiting yourself to other potential possibilities. Trying to make the shape really dynamic, and as interesting as possible. So just grouping that layer and putting it aside, and let's move on to the next one. You can see here now that again, I'm using the crop tool on the left to enlarge the working area of the canvas. Just making it bigger, then just make sure that you accept it. Crop the image. And then just go back into the background layer and then just filling it in the same color again. In the next thumbnail, let's go ahead and choose our brush. Sometimes I try to work in different ways to keep things as fresh as possible. If you find that in my last silhouette I think I was a little bit too careful, oh, with my mark making and things were a little bit too considered. So in this one I just wanna try and switch it up a little bit and make this next thumbnail a little bit crazy and random, just to liven things up a little bit. So I have a real mix of silhouettes to choose from when creating my environment fundamentals later. So you can see my strokes are a little bit more dynamic, a little bit faster in my mark making. So apart from that, still using the same techniques as I did in the previous two, just a different way of working. So here you can see I used the marquee tool again, copying and pasting, transforming, and really just to let the shape take on a life of its own. And trying to be as random as possible. Trying to find something really interesting within the composition. Something that I may not have found If I was doing it carefully as I did before. So with this on,, I'm just rotating. Really seeing what's going on, copying and pasting elements, transforming bits and bobs. And seeing, varying the size, and getting them to tie in together in some way. So, yeah, just very random. Merging the layers. I'm just gonna work into it, now. Remembering thick versus thin, contrasting shapes. I'm thinking now that in the previous two shapes, looking at them now, they were a little bit too symmetrical. So I'm thinking now of trying to make this one a little less symmetrical and a bit more dynamic. So coming down here, creating a few sort of leg like structures Just using the brush again, just to feel the edge. Just to grow it. And let the shape dictate how it wants to look. So again, just broad strokes, molding your 2D clay and just trying things out. So you can do the same thing with your razor as you do with your brush as well. Just varying the size of your razor can also change the look of your silhouette so you can see I'm putting in smaller eraser lines, and now I'm putting in some smaller lines here to compliment it. Giving it a sense of scale again. Still not quite sure what this is about yet, so what I'm going to do is I'm going to use the previous shapes to aid the design of this one. So I'm just grabbing an element of the previous thumbnail, just overlaying it on top again. Transforming it, turning it and seeing what I can come up with by overlaying it on top of the new shape. So I'm gonna grab the shape from the first thumbnail, too, and just keep exploring options, experimenting, keeping things interesting. And yeah, just do exactly the same with all your other thumbnails. I would aim to begin with about seven to ten thumbnails is a good number to start and to choose from. And from there we'll go into our landscape paintings. So, yeah, there you have it, just keep exploring and creating shapes until you are happy with the amount you have created. And then in the next video I'll show you how we're going to use these shapes to create our landscape thumbnails. See you there.


