
 Lessons: 16Length: 2.3 hours
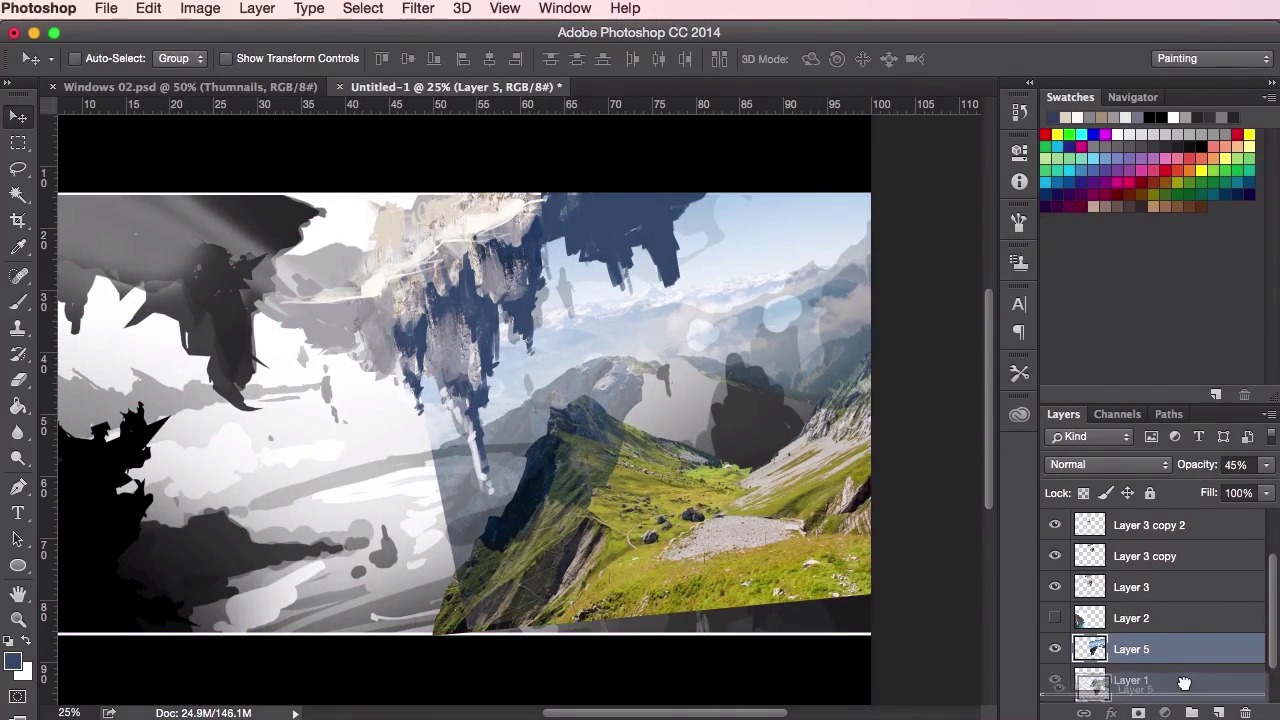

- Overview
- Transcript
3.2 Initial Painting
In this lesson you will continue to colour your painting from the greyscale value studies of the previous chapter and learn how to control this process. You will also learn different ways to use your brushes, and we’ll go through how to create and use colour from your photographs using the different tools available to us in Photoshop.
1.Introduction
1.1Introduction01:31
1.2Adobe Photoshop Setup05:28
2.Shapes and Thumbnail Design
2.1Experiment With Shapes08:20
2.2Designing Shapes10:20
2.3Thumbnail Setup05:46
2.4Value Studies12:39
3.Painting
3.1Translating the Thumbnail08:19
3.2Initial Painting09:22
3.3Adding Texture08:31
3.4Design Development10:28
3.5Lighting and Colour10:19
3.6Clouds10:18
3.7Composition Adjustment10:56
3.8Adding Detail11:14
3.9Final Touches11:52
4.Conclusion
4.1Conclusion01:44
3.2 Initial Painting
Hey guys. And welcome back to the concept art and environment course for games. In this lesson we're gonna go through the initial painting stage whilst continuing to adjust and to tweak the design using our photographic textures as we go along. So once you've accumulated a large enough library of brushes that you found online, just start experimenting with them. Experimenting with them all until you find one which you really like the look of and you really like for laying down just initial color. There are plenty of brushes out there, including some from Photoshop's own library, which are good for this and have sort of very subtle texture and blending settings included in them to aid you when you start blending in certain colors in the painting. So here you can see that I've color picked the blue from this photograph and I'm using it here to just subtlety reshape and remold this mountain into something that's a little bit more interesting. Still keeping the composition very, very loose. So you can see that I'm just adding in more shapes as well. Again, to color pick off of the photograph, all you have to do is just, whilst having the brush tool selected, just hold the Alt key on your keyboard, and then your cursor will turn into the color picker. And then just pick and click select what sort of color you've got on your canvas and the color will change. This is a very easy way to paint at this stage. Just sort of using the canvas with the colors that are already there as your color. So here you can see I've sort of color picked the white or the grey, the light grey of the mountain. Just doing some subtle lighting. Just fitting it in. So, this stage is all about just using the brush, and basically experimenting with it. Again, using the color picker tool, and taking colors from the photograph, and just developing the shapes further. Changing the size of the brush, changing the strokes and directions, just general loose mark making. Adding in some details just using the smaller brush and just filling it in with the bigger brush. So again, just using that color picker, we're gonna try and suggest some mountains and structures on top of this land mass. Zooming out to see how it looks like so far. And just continuing with the painting. Again, it's always a good idea at this stage to keep in mind where your light source is coming from. That should dictate how you lay out your photographic textures, as well as them having there own sort of lighting. And just keeping in mind how you place them on the canvas and how it works with your composition. So as you can see in this painting, I'm thinking that the light should still be coming from the top left of the painting. So I've tried to lay out these photographic images so that they follow the same light source of the overall painting. So again, just using the exact same techniques as we did in the previous video. I kind of like these far away mountain shapes here in the distance. It really adds that epic sense of epicness and scale to it. So I want to try and utilize that in the background somehow. So I'm just erasing using the soft eraser brush to erase out the bits that I don't want. And then just using the transform tool to stretch it out and try and utilize the whole area. Really helps give us that sort of epic horizon in the distance as well, which is kind of cool, so I'll just keep it there for now. Use it to dictate the rest of the background, hopefully. It's got a few clouds in there as well which we'll go into and develop at a later stage. So yeah, just using the eraser tool again to sort of construct, to deconstruct and then mold these photographic elements. You don't necessarily have to follow exactly what the structures in the photographs are, you mainly want to use it for some of their information but mainly their textures and color. So I'm just gonna take away bits that I don't think I need and you can always use your brush tool again to reformat, to put some land mass back into it. So, yeah, just thinking about the initial rock structures like this and what sort of shapes will look interesting. Using the eraser tool, like I said, to cut into it and to see if I can come up with anything that looks more interesting, or just some sort of happy accidents sometimes. So, yeah, using the brush tool again to start painting over it. Erasing bits that you don't want like these white bits on the right here. I'm not so sure about them so I'm just going to paint some grass on top using the color picker again. Create some land, some structure. Sometimes the natural structure in the photographs can help you with this and help dictate how you should paint the land, and how you should paint the rocks, and the structures. Try and follow what's on the photograph as well, if you can. So yeah, just again, using the transform tool. Ctrl+T or Cmd+T, just to adjust the shapes and the placements of structures, you know, just play about and move it around, to see how it fits best within the overall composition. And with the lasso tool, you just wanna roughly cut away shapes that you want to use from your reference photographs. This isn't a map painting, so there's no need to be 100% accurate, right? When cropping your photographs at this stage. So all we want to do now is just get an initial feel for the painting, using the colors and textures to experiment with the design and the layout. And then again, just switching back and forth between tweaking the textures and the shapes. With using the brush tool to paint and then the lasso tool to create shapes. Just playing around and to see what sort of ideas develop, always keeping the shapes and how these interesting things in the forefront of your mind. So yeah, that's it for this video. In the next video, we're gonna go through into further detail on adding more textures into your painting, while showing you how to check your values using a values check layer. See you there.


