
 Lessons: 15Length: 1.5 hours
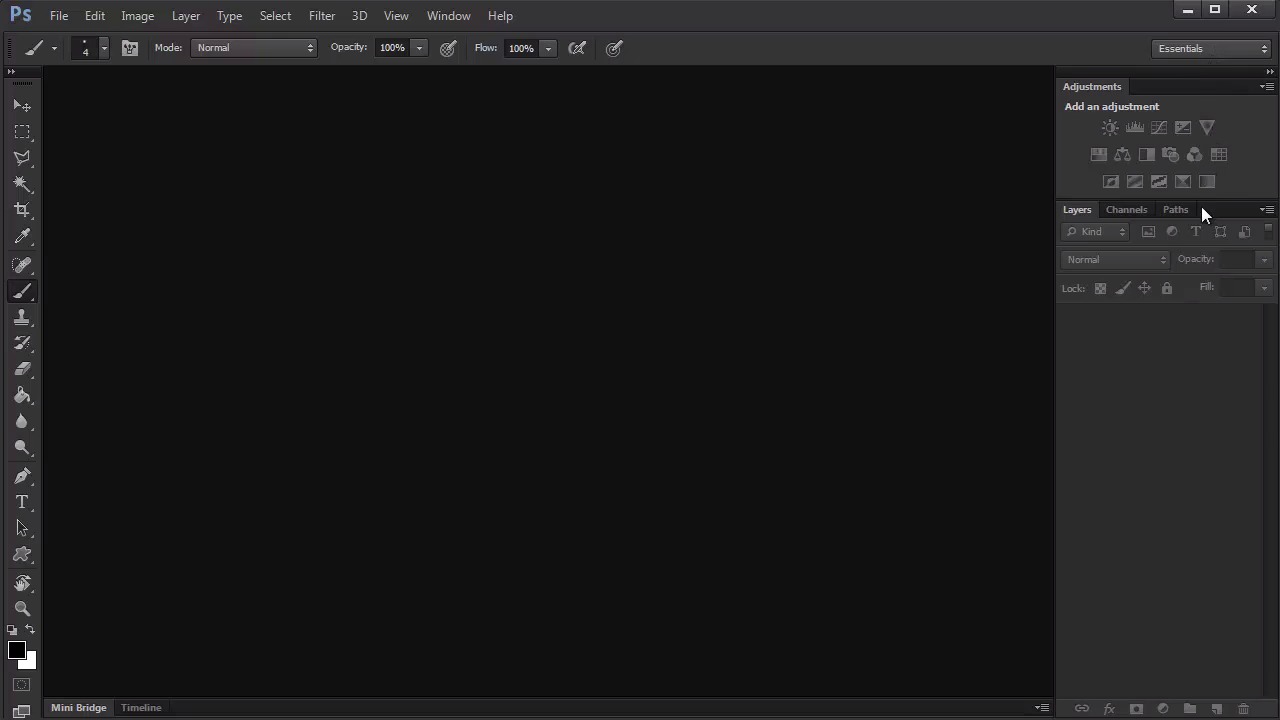
- Overview
- Transcript
2.1 Your Workspace
In this lesson we'll cover everything you need for this course, as well as how to set up a simple workspace perfect for digital painting.
1.Introduction
1.1Introduction01:27
2.Setup
2.1Your Workspace02:36
2.2Creating Custom Brushes07:13
2.3Understanding Your References07:52
3.Paint a Simple, Colorful Portrait
3.1Sketch10:21
3.2Exaggerating the Features04:57
3.3Prep and Create Your Base Colors05:42
3.4Shading06:09
3.5Final Touches, Color Portrait09:27
4.Paint a Textured, Grayscale Portrait
4.1Rough Sketch06:14
4.2Creating a Textured Base05:44
4.3Shading With Textured Brushes06:21
4.4Polishing Your Portrait With Soft Brushes06:06
4.5Final Touches, Grayscale Portrait07:25
5.Conclusion
5.1Conclusion02:31
2.1 Your Workspace
Hello, everyone. Welcome back to Digital Portrait Painting in Adobe Photoshop. My name is Melody Nieves and in this lesson, we'll cover everything you need as well as how to set up a simple workspace perfect for digital portraits. Because we'll be tackling two portraits that are more suited for intermediate level users, they do require a definitive understanding of at least the basics to drawing an illustration, from anatomy to core principles like balance and proportion. You should already have a grasp of these fundamentals and how they apply using a digital medium. For this course I'll be working in Adobe PhotoShop CS6 Extended using a pen tablet, specifically the Wacom Intuos 3. And don't worry, most of the topics I cover here can be easily applied to earlier versions of Photoshop with little to no modification at all. I've also downloaded two beautiful references as the subjects for our portraits, which you can find the links to within the course files. Both references can be purchased from PhotoDune, but if you do decide to go elsewhere, just make sure to obtain the proper permissions prior to selling your work. Now for our workspace, let's start off with a blank slate. If you normally work under the essentials workspace in Adobe Photoshop CS6, you may notice that it stays exactly how you left it the next time you load. So to reset it, simply go to Window, Workspace, and select Reset Essentials. Personally, I like to only keep panels I use most, like layers and adjustment layers. And by closing some of these other ones out, I can really keep my workspace nice and tidy. Let's load our PhotoDune reference. Go to File, Open, and select our first reference. Now create a new document with the following dimensions. Set the width and height to 8.5 by 11 inches, with a 300 dpi for high quality painting. With both loaded up, I can now separate the two and make sure that my reference is perfectly positioned right next to my document. This setup is essential because I can easily look over without all the fuss of switching windows. Last but not least I'll go to Window and add the navigator panel to my workspace. Knowing what your painting looks like as a thumbnail is incredibly helpful. You can save a lot of time by viewing your work through the navigator to catch any issues. And that's it for the simple, yet effective digital painting workspace. Join me in our next lesson, where I'll show you exactly which brushes we'll use.


