
 Lessons: 16Length: 1.3 hours
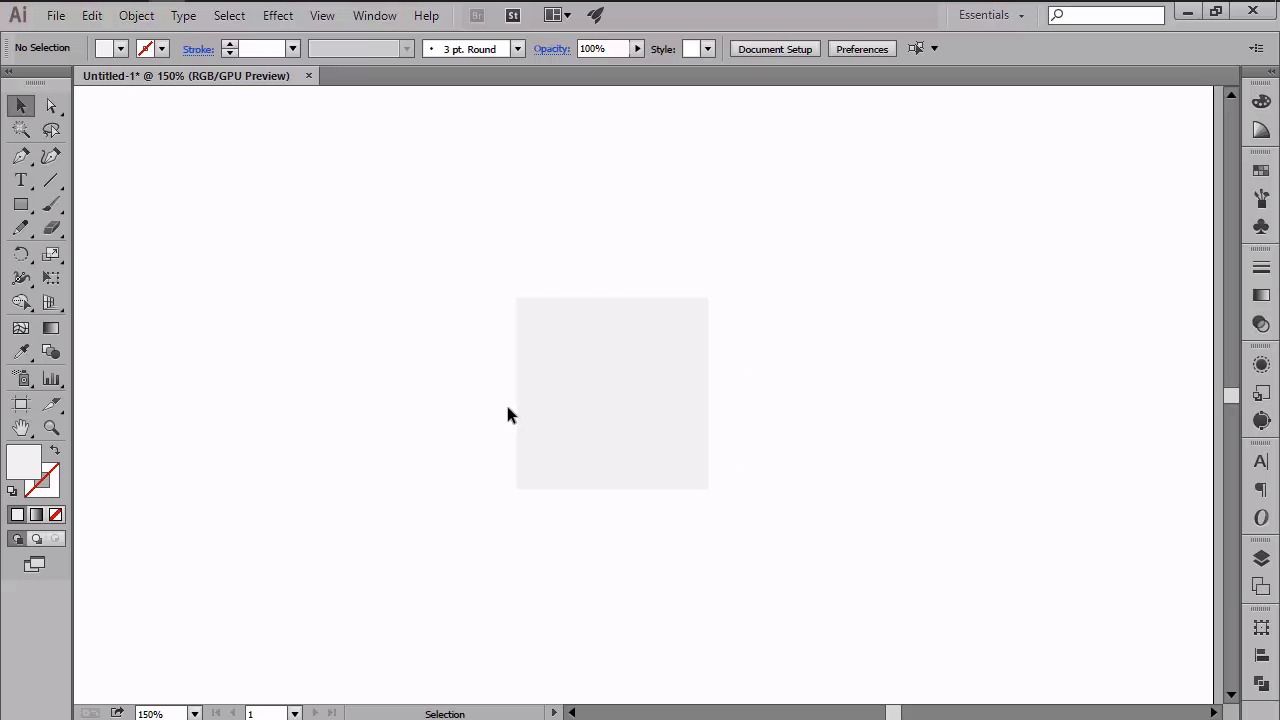
- Overview
- Transcript
4.1 Size and Consistency
In this lesson we will talk about the process of establishing a base size for our icons, and learn how to set up some custom guides and grids which we will be using in order to create a cohesive pack.
1.Introduction
1.1Introduction01:37
2.Understanding the "Pixel-Perfect" Concept
2.1Understanding How Illustrator Works02:26
2.2Defining the Concept04:09
2.3Advantages of Using a Pixel-Perfect Workflow03:01
2.4Introducing the Grid06:29
2.5Correct Use of Measurement Units06:09
3.Pixel-Perfect Workflow
3.1Adjusting Illustrator for a Pixel-Perfect Workflow04:49
4.Creating the Icons
4.1Size and Consistency05:54
4.2Creating the MacBook Icon06:30
4.3Creating the Window Workflow Icon06:03
4.4Creating the Designer Resources Icon06:11
4.5Adding Colors06:56
4.6Adding Finishing Touches: Highlights and Shadows08:23
4.7Creating Size Variations05:16
5.Saving for the Web
5.1Exporting the Icons03:16
6.Conclusion
6.1Conclusion01:32
4.1 Size and Consistency
Hi, and welcome back to creating Pixel Perfect icons in Adobe Illustrator. My name is Andric Staffan, and we are just starting on Chapter 4, Creating the Icons. Which as you've guessed, will focus on the actual workflow behind the assets that we'll be working on. This is Lesson 4.1, size and consistency, and in this lesson we will start establishing the size of our icons, while creating the reference guides which we'll use in order to create a cohesive set. So, before we get into building the actual guides, let's start out by setting up a new document. Assuming you already have Illustrator up and running, go to File > New, or you can use the Ctrl+N keyboard shortcut, and let's reach the 800 by 600 pixels document, making sure that we have our unit set to pixels, and you Align New Objects to Pixel Grid box checked. Once we have our document, let's make sure that everything we create from now on snaps to our grid. So, go to View > Snap to Grid option from the bottom of the drop down menu. If you fine tune your version of Illustrator using the tips from the previous lessons, you should now have a strong pixel perfect foundation on which we can start building. Okay, so the first thing we're going to do is create the separate layers, one for reference grids and guides and one for the actual icons. Let's do that by going over to the layers panel, and using the Create New Layer button, set up a second layer and then rename both of them by double-clicking on the default assigned names. We should make sure that our reference grid layer is the one at the bottom, since we will be building on top of it, and not the other way around. Once we have both layers set up, let's lock the top one, in other words the icons one, so that we can make sure that everything we create from this point on gets positioned under the right layer. To do that, simply go to the Layers panel, select it, and then click on the empty box found in front of its name. This will lock the layer, making sure that we can create, edit, or delete anything that is within its surface. Now before we start working on the actual guides and grids, we should take a moment and talk about the size that we're going to use for the icons. Since I thought it could be part of a website, I decided they should be somewhat bigger, so something like 128 by 128 pixels. This step is really important since it should be the first major decision that you take once you start picking the assets. You should always have a basic idea of the scale that you're designing for, since you might need to deliver different sizes for different purposes. In our case we're going to go wit 128 by 128 for the smallest size. And later create a 2x version that will serve for higher density devices. Okay, so let's start by grabbing the rectangle tool, keyboard stroke at them, and creating a square that has the exact same dimensions that we talked about a couple of seconds ago. Which will then position right in the center of our art board. To do that, first make sure that the alignment is made to the art board and not the key object and then simply select the shape and use the horizontal and vertical line to center options found under the align panel. Since our square should now be perfectly aligned to the center, we should change its color to something less distracting, so maybe a light gray. At this point, it doesn't really matter what color you apply to it, but once you start working on the icons, you should have something that easily allows you to focus on the building process. So, we now have our base reference grid, but here comes the second question that one needs to ask when creating the actual icons. Will they occupy the full width and height of the reference surface, or will they follow a somewhat different path? Well, in our case, our icons will actually go all the way the length of our width, but it will be slightly shorter in terms of height. This means we need to add a second reference surface that will indicate that. So, using the rectangle tool, create a smaller 128 by 92 pixels rectangle, which we will color using a darker shade of gray, so now we can tell the two apart. Make sure to position this shape on top of the larger square aligning the two to the center both horizontally and vertically using the align panel. Now since we'll be creating three icons we will have to get two more sets of grids and position one on each side at a distance of about 80px from the originals. First select the two grids and using the Ctrl + G shortcut group them so that things don't wind up being misplaced. Now, select and drag to the left while holding down the Alt key to create our first copy. Repeat the same process, only this time, drag towards the right in order to create a second copy. Now, with all three groups selected, click on the middle grids to mark them as our key object, and then use the horizontal distribute spacing option found from within the align panel, in order to distance them 80 px from one another. Once we have our base grid setup, it's now time to add some guides that will provide some clear limitations for them building the actual icons. We will do this with a couple horizontal and vertical rulers. First, let's go to view rulers, or we can use the Ctrl + R shortcut in order to make them visible. Now using the mouse, select the left pillar, and then drag while holding down the left click in order to position a guard on the left and then the right side of our larger grid. Repeat the same processes in the top ruler, only this time, position the guys onto the top and bottom sides of the smaller grid. Do the same for all three icons in order to get the clear limitation. So, we now have our guides for the main section of our icons. But we will be adding a shadow underneath each of them, so we need to set up some custom guides for those as well. First, switch over to the pixel preview mode by going to View > Pixel Preview, or by using the Alt+Ctrl+Y keyboard shortcut and then zoom in so that you can have a clear look at the actual pixel grid. Now, using the top ruler, I can position a guide right above the one from the bottom, so that you end up with a gap of 4 pixels between the two. Now we need to add a second one at about 8 pixels from the one we just created. Let me take a couple of seconds to explain what we just eliminated so that you may have a better understanding of how we're going to use these guides. Let's start from the top. So the larger surface delimited by our first and second guides will house the main composition of our icons, while the one created by the third and fourth guides will help us position the shadows that go underneath. As you can see our grid isn't the most elaborate one, but it doesn't really have to be. As simple as it is, it will help us design an all-round cohesive icon back which is the reason why they were invented for in the first place. That was it for the current lesson. Stay turned for the next one and we'll start working on the actual icons using basic shapes that we'll be layering using the custom grids and guides that we just created.


