
 Lessons: 16Length: 1.3 hours
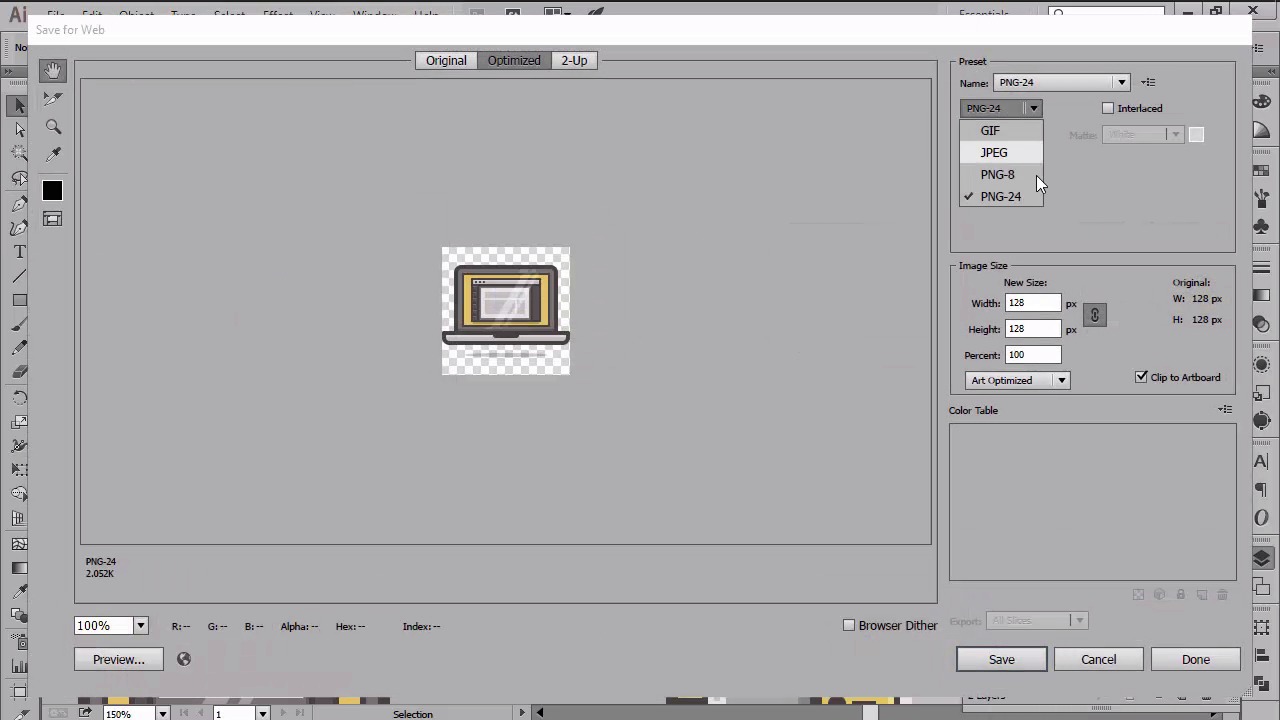
- Overview
- Transcript
5.1 Exporting the Icons
In this lesson we will go over the process of exporting our icons using the Artboard in combination with the custom-built grids.
1.Introduction
1.1Introduction01:37
2.Understanding the "Pixel-Perfect" Concept
2.1Understanding How Illustrator Works02:26
2.2Defining the Concept04:09
2.3Advantages of Using a Pixel-Perfect Workflow03:01
2.4Introducing the Grid06:29
2.5Correct Use of Measurement Units06:09
3.Pixel-Perfect Workflow
3.1Adjusting Illustrator for a Pixel-Perfect Workflow04:49
4.Creating the Icons
4.1Size and Consistency05:54
4.2Creating the MacBook Icon06:30
4.3Creating the Window Workflow Icon06:03
4.4Creating the Designer Resources Icon06:11
4.5Adding Colors06:56
4.6Adding Finishing Touches: Highlights and Shadows08:23
4.7Creating Size Variations05:16
5.Saving for the Web
5.1Exporting the Icons03:16
6.Conclusion
6.1Conclusion01:32
5.1 Exporting the Icons
Hi, and welcome back to creating pixel perfect icons in Adobe Illustrator. My name is Andres Stephan, and we are currently in lesson 5.1, exporting the icons, which is the last one from this video course. Up until this point we've learned quite a lot. We've seen what the pixel perfect workflow involves, and more importantly, we built crisp little icon set together. During which, we covered every aspect that one needs to be aware of when creating this sort of artwork. Now it's time to finish off the project by exporting the icons so that we can put them to use. If you've always wondered how you should individually save your assets, well, wonder no more. Since in the following moments, I'm going to show you my preferred way of doing just that. Before you begin exporting anything, you should always know what formats you're going to be using for the same files. Usually when dealing with icons, I go with either PNG, or SVG, both of which will give me the option of setting a transparent background, which is something most of the times you will want. For this course, I'm going to show the process for exporting a PNG file, while the process for SVG is pretty much the same. The method itself is very simple, since it relies on using the constant build words in combination with the arbor tool. So assuming you have the document in front of you, create a copy of the file and let's start by exporting the MacBook icon. First, make sure that you have the guides and grids layer unlocked. Then select the base grid and go to object, artboards, fit to selected art. This is where we size the entire artwork to the surface of the grid, which will then allow us to export just one out of the three icons. Now, to export the icon, simply go to file, save for web, we will select PNG for the format, and then hit save after we've made sure that we checked the transparency box. It's as simple as that. Using just a couple of clicks, we've managed to quickly export our icon. For the remaining icons, we will follow the exact same process of selecting the grid and then resetting the art board to it. As you can see, the method gives us more flow, since you can move from one grid to another while keeping the focus on all icons. If this was a larger icon pack it might have taken us some time to same them all, but believe me, this method is the quickest way to do that. That being said you can now take a well deserved break since you bravely finished our little project. Thanks for listening, and don't forget to watch the next video where we'll look back at what we've learned and address conclusions.


