
 Lessons: 16Length: 1.3 hours
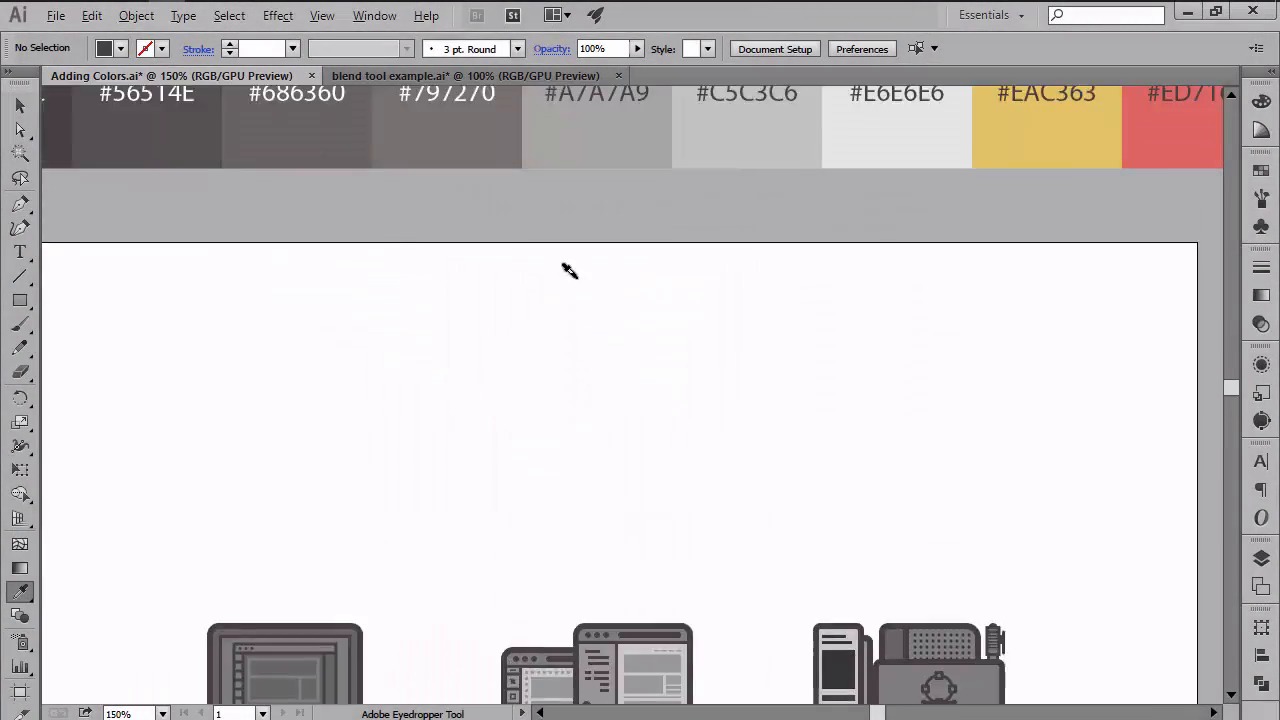
- Overview
- Transcript
6.1 Conclusion
During our short journey we've learned a lot about the pixel-perfect concept and seen how we can put it to use so that we can create crisper-looking icons. Since our time together has come to an end, I want to thank you for your time, and I hope that you've learned something new along the way. This is Andrew, over and out.
1.Introduction
1.1Introduction01:37
2.Understanding the "Pixel-Perfect" Concept
2.1Understanding How Illustrator Works02:26
2.2Defining the Concept04:09
2.3Advantages of Using a Pixel-Perfect Workflow03:01
2.4Introducing the Grid06:29
2.5Correct Use of Measurement Units06:09
3.Pixel-Perfect Workflow
3.1Adjusting Illustrator for a Pixel-Perfect Workflow04:49
4.Creating the Icons
4.1Size and Consistency05:54
4.2Creating the MacBook Icon06:30
4.3Creating the Window Workflow Icon06:03
4.4Creating the Designer Resources Icon06:11
4.5Adding Colors06:56
4.6Adding Finishing Touches: Highlights and Shadows08:23
4.7Creating Size Variations05:16
5.Saving for the Web
5.1Exporting the Icons03:16
6.Conclusion
6.1Conclusion01:32
6.1 Conclusion
Hi, and welcome back to the last video of the creating pixel perfect icons in Adobe Illustrator Course. My name is Andrei Stefan, but at this point, I'm pretty sure that you already know that. As you know, the course itself started out with a promise of revealing the mysteries behind a pixel perfect workflow to both beginners and advanced users of the Adobe Illustrator Software so that in the end, they could create crisp looking artwork themselves. The idea was to use my own experience, and make it my mission to guide you through what might have once seemed like a difficult skill to master. During our short journey, we've gotten really familiar with the pixel perfect concept, and learned how we can implement it within our artwork using the three pillars of a pixel perfect workflow, which are, precise positioning, careful use of measurements and sharp details. We took all that information and put it to work by creating a little icon pad from scratch that can go step by step in depth approach so that everything will be as clear and elaborated as possible. We studied two types of grids available within Illustrator, and we learned how we can use them in order to better construct and arrange our icons, so that in the end we can create an all around cohesive pack. Now that our time together has come to an end, I want to thank you for the time and attention that you put into this, and I can only hope that most, if not all, of the things that I've showed you will continue to use from now on. If you have any questions, or if you just want to drop a friendly hello, feel free to email me and I will get back to you as soon as possible. Also, if you want to learn some new tools and techniques you can always read some of our written tutorials here at Tuts+. That being said, I will be coming back with a new course in the following months so keep an eye open since it will be something special. Until then, this is Andrei, over and out.


