- Overview
- Transcript
2.2 Choosing a Binding
There are two options available for binding your finished magazine. Learn how to use both effectively and how page count will help you determine which binding option to go with in your projects.
1.Introduction2 lessons, 09:28
1.1Course Overview02:30
1.2Storyboard Planning06:58
2.Setting Up The Document5 lessons, 21:01
2.1Choosing a Size02:16
2.2Choosing a Binding03:01
2.3Create a New Document02:10
2.4Create Master Pages08:41
2.5Page Count04:53
3.Developing A Style Template5 lessons, 34:49
3.1Mastheads07:24
3.2Headlines06:10
3.3Character & Paragraph Styles07:22
3.4Using Word to Import Text05:52
3.5Color & Font Combinations08:01
4.Core Pages8 lessons, 1:05:52
4.1Table of Contents Part 111:02
4.2Table of Contents Part 210:06
4.3Article Spreads Intro03:52
4.4Feature Article Layout-Style 109:03
4.5Feature Article Layout-Style 210:18
4.6Feature Article Layout-Style 307:41
4.7Feature Article Layout-Style 404:31
4.8Placing and Sizing Up Ads09:19
5.Covers3 lessons, 24:14
5.1Front Cover Part 107:16
5.2Front Cover Part 209:35
5.3Back Cover07:23
6.Proofing & Output3 lessons, 13:55
6.1Preflighting04:59
6.2Export Presets05:28
6.3Exporting PDFS03:28
7.Conclusion2 lessons, 03:45
7.1Publishing Options02:41
7.2Final Thoughts01:04
2.2 Choosing a Binding
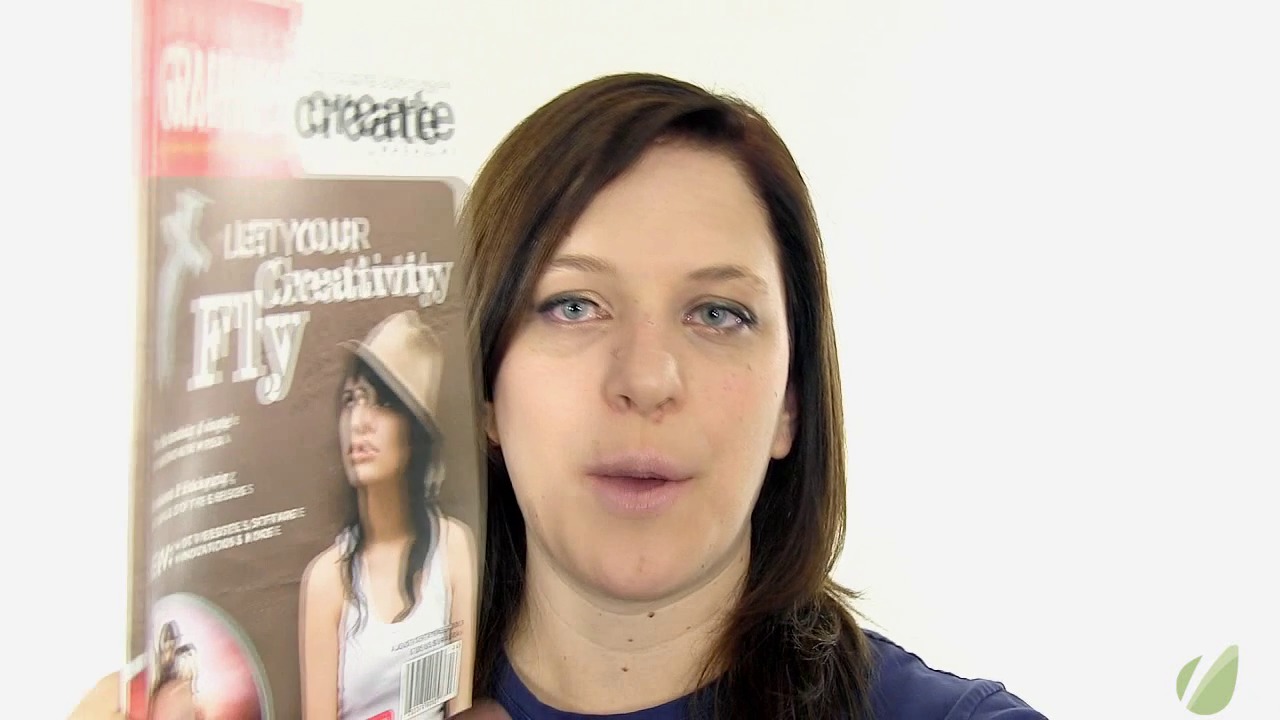
Hi everyone. In this lesson, I'm gonna to touch on binding options available to you when you're looking to design your magazine. Now this, along with the size and the page count, is something that you wanna consider before you start designing your magazine, because the binding that you choose is greatly going to impact how you lay out your file when you're getting ready to design that in InDesign. So there are two options available to you, and the options have a lot to do with that final page count. The first one is a saddle stitched binding. This is basically a staple binding, and it's very common. [MUSIC] For example, this magazine is an example of a saddle stitched document. There are staples here along the side that keep this magazine together. And that's what ends up binding your magazine. Now saddle stitched works very well for magazines that aren't as big. As you can see, this is a very thin magazine. It's only 24 pages. It acts more as a newsletter. It's also an inexpensive format, when you're just gonna staple all of those pages together. But there is a limit to the page count that you can have. The more pages that you stack up in your magazine, the harder those staples are gonna have to work to keep everything together nicely. So when that happens, you have a second option. And this is the most common option for all magazines, especially magazines that you see on a display rack, and magazines that are out there commercially. And I'm talking about perfect binding here. Perfect binding is very similar to a book binding. It binds all of your pages together very nicely. No staples. It's all glued and that's what holds your pages together. The big difference with perfect binding is that it ends creating a spine for your magazine. This is very similar to books. So you will actually be designing a spine when you're looking at perfect binding. And what makes this so important to know right off the bat, is that you are going to need to accommodate for this in your design in InDesign. So when you're creating your folder, and you're creating your files, I would recommend that you design your outside cover and your inside cover in a separate file. Very similar to how you would design a book. This way, you an accommodate for the spine on your front cover and back cover design. And then you can design those inside pages in a separate InDesign document. This way, you're accommodating for that spine. You have that in your design. And when you send that off to the printer, it makes a lot more sense to them. Now if you're gonna go with the saddle stitched option, that's fine, too. You don't have to worry about any sort of spine or binding. You can go ahead and design your front and back cover, and inside pages, all in the same document. And that's the approach that we're gonna take in our template file. However, I will provide you with a mock-up template for a front and back cover with the spine, just so you have a guide if that fits your project better. [MUSIC]


