
 Lessons: 15Length: 1.6 hours
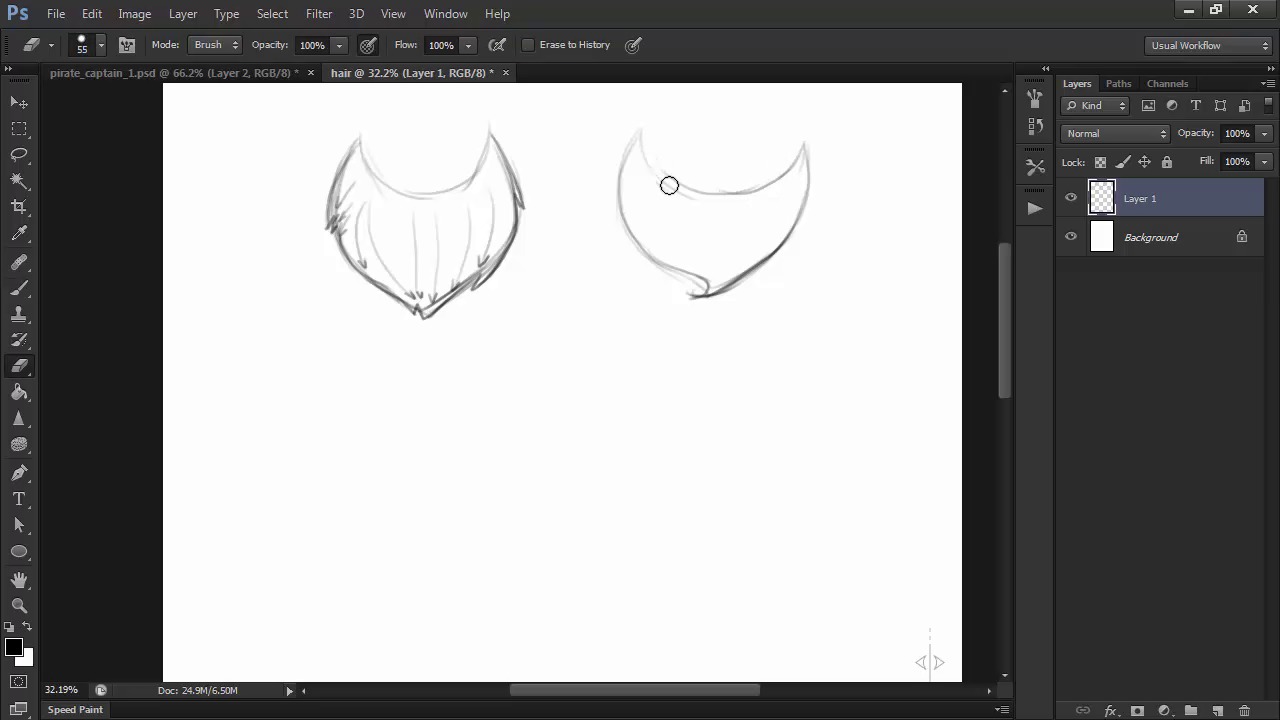
- Overview
- Transcript
3.4 Detailing the Head
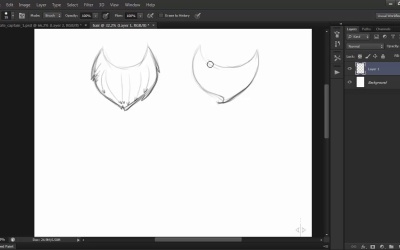
In this lesson, you will learn a little about hair in general and then move on to detailing your character's beard and headgear.
1.Introduction
1.1Introduction01:51
1.2Tools and Resources01:34
2.Creating a Cute Pirate Character
2.1General Form and Sketching06:07
2.2Detailing06:32
2.3Line Art07:10
2.4Base Colors04:55
2.5Light, Shadow, and Texture09:01
3.Creating a Tough Pirate Captain
3.1General Figure and Pose05:37
3.2Detailing the Figure08:05
3.3Expression09:00
3.4Detailing the Head04:55
3.5Detailing the Body08:15
3.6Line Art and Base Colors11:09
3.7Shading and Texture09:05
4.Conclusion
4.1Conclusion01:31
3.4 Detailing the Head
Hello, and welcome back to Illustrating Personality in Character Design. My name is Ioana Sopov, and we are working our way through creating a pirate character. This is Chapter 3, Lesson 3.4, in which we will be detailing our captain's beard and head gear while learning about how to draw hair in general, as well. So let's begin. First off, our character's hair won't really be visible since he has a hat on his head, but we should talk a little bit about hair in general. The hair's direction on the head radiates from the crown. This is situated towards the back of the head. When drawing short hair, it usually comes towards the front of the head from the crown. The front part of the hairline in men is usually sort of V-shaped with two spaces going a little further back on the temples. When drawing a fuller head of hair for a character, it's a good idea to think of the position of the crown and how the hair fans out from this point on the head towards the front and the back. In females, the hairline in the front of the head is curvier, but the hair's origin point, so to speak, is also in the crown. With longer hair, it will fall to the sides towards the front of the head because of its weight. This is where the so-called part forms. It can either be a side part or a mid-part, depending on its position on the head. But always remember, it never goes all the way back towards the back of the head. Just towards the crown and from the crown the hair fans out radially to the back of the head. Hairstyle can say a lot about your character, so try to pick one that best suits it's personality. Let's move on to our character's facial hair. The beard will follow the same principles as any hairstyle. However, beards do not have a single point of origin, but rather it's spread out on the contours of the face. So, the follicles direction will start from points on the face, and will go towards the tip of the beard. When drawing hair of any kind, don't attempt to draw every single hair. But rather think of the large general shape of the hair and then break that down into smaller strands after considering the direction of the follicles. Beards come in the same variety as hair styles. So it's up to you to decide if you want your character to have a straight, curly, bushy, or thin one. Always repeat the same process of thinking about big shapes and then adding separate strands, chunks and flyaway hairs if you want. Even if you're dealing with an isolated tuft of hair like in a pony tail for example, you can add texture by adding individual hairs after finding the natural movement of the follicles. I don't recommend doing this for large patches of hair though. I find that when drawing hairs in characters, a little goes a long way, so don't overdo it. Let's apply these principles to our character's beard. We already know what the basic shape of the beard will be. All we have to do is imagine the hair follicles as direction and draw some unruly strands that fly away from the big shape for texture. We can also add a few individual hairs, like I’ve mentioned, to add texture to the beard, keeping them to a minimum though, so as not to overcrowd the sketch. The hat will be pretty straightforward to finish up. Like I've explained earlier, it is composed of three folds around a central spherical piece. Just follow the contour from the sketch, adjusting the shapes here and there where you're not totally pleased with the form. Keep in mind that all materials have a thickness, even paper. Pirate hats were made from leather which is usually a tough and thick material. That means that the thickness will be visible in the top part of the folds as well as the side parts. Towards the front, you will see more of this thickness than in the back. We'll draw the feather similarly to how we draw the hair. Draw the general shape, and then detail the fibers and strands within the shape. After I'm done, I realized that his hat is a bit too far from his head so I lasso it and shift it downwards. So we've learned a bit about the dos and don'ts of drawing hair in characters, and with that, we've completed this stage of developing our character. So it's time to move on to the next lesson, in which we'll tackle the rest of his body and clothes and make sure they are fit for a pirate captain.


