
 Lessons: 16Length: 1.4 hours
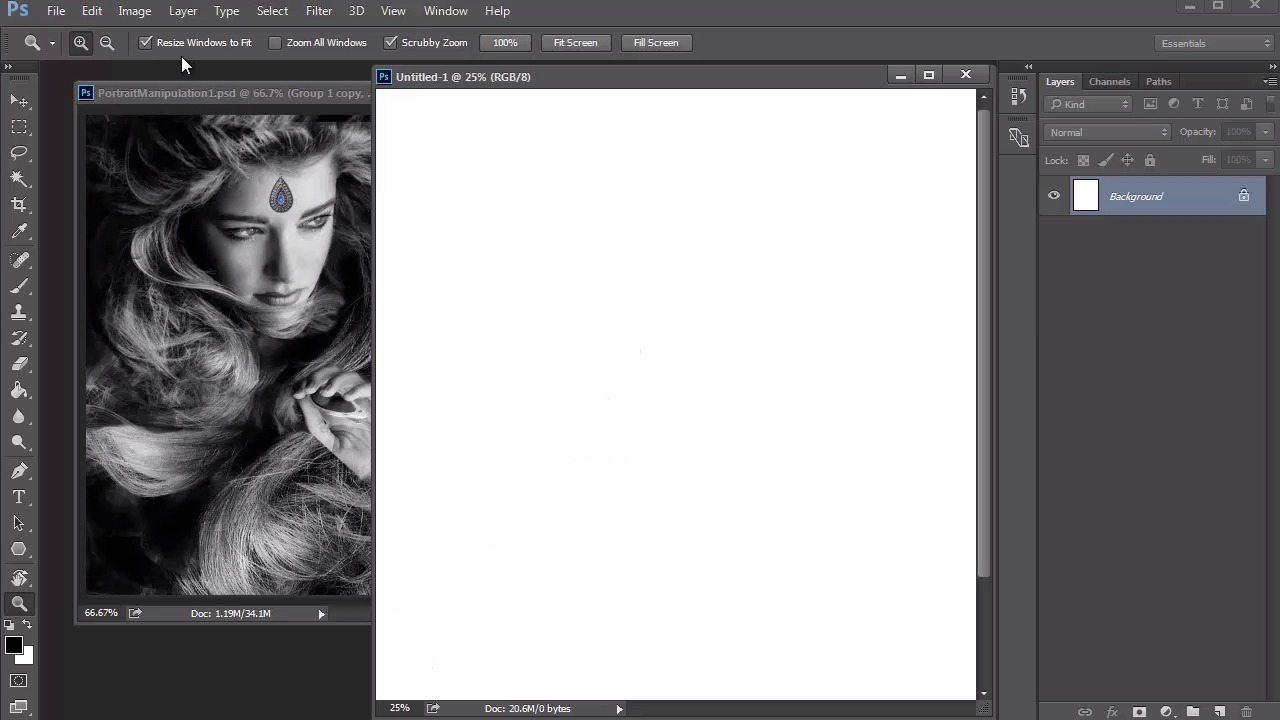
- Overview
- Transcript
2.1 What You'll Need
In this lesson we'll cover everything you need for this course. Learn how to set up your work space for the best painting experience, and dive into the preset brushes we're using from Photoshop CC.
1.Introduction
1.1Introduction01:37
2.Set Up
2.1What You'll Need06:25
2.2Developing Strong Concepts06:29
2.3Manipulating Your References: Male Portrait06:30
2.4Manipulating Your References: Female Portrait05:59
3.Paint a Male Fantasy Portrait
3.1Male Portrait: Sketch05:49
3.2Male Portrait: Thumbnails for Light and Shadow05:56
3.3Male Portrait: Create a Base Painting05:11
3.4Male Portrait: Shading05:40
3.5Male Portrait: Final Touches05:13
4.Paint a Female Fantasy Portrait
4.1Female Portrait: Sketch05:15
4.2Female Portrait: Thumbnails for Light and Shadow05:01
4.3Female Portrait: Create a Base Painting04:12
4.4Female Portrait: Experiment With Shading05:49
4.5Female Portrait: Final Touches05:33
5.Conclusion
5.1Conclusion02:14
2.1 What You'll Need
Hello, and welcome back. I'm glad you were able to join me. This is Chapter two, lesson 2.1 of Fantasy Digital Portraits. My name is Melody Nieves, and we'll start off this course by first assessing everything we'll need from the software to the brushes we're using that'll be perfect for any digital painting. To complete this course, I'll be using Photoshop CC. As dynamic as Photoshop is, you can really use whichever version you currently have. You'll still be able to create beautiful digital portraits, but there are many benefits to the upgrade. Since the Creative Cloud version allows you to keep up with regular updates, you'll be able to utilize newer presets and settings that are perfect for digital paintings. And despite misconceptions, one of the biggest issues everyone runs across no matter their difficulty level is not necessarily a lack of knowledge or understanding of our principles. But rather how hard it seems to be able to create digital art in the first place. Since the software can be rather intimidating on its own, I would certainly recommend that you have basic knowledge of Photoshop to make your life much easier as you follow along with this course. You'll also need a reliable graphics tablet. So long to the clunky movements of a regular optical mouse because graphics tablets also known as pen tablets. Allow you the control and ease of painting with a pen stylus in the same manner that you would hold a paintbrush or pencil. I'll be using a to complete this course, which will help me enable certain brush settings specific to using pen pressure. Before we discuss more about those brushes, let's first talk a little about our workspace. In my previous course, Digital Portrait Painting and Adobe Photoshop, you learned the many benefits of using limited panels and painting side by side to your reference. For this course, we'll be doing the same. To save on space, the most important panel I'll need is the layers panel. So I'll keep the others hidden away or closed out until I need them. For both portraits we'll be working in either 9 by 12 or 8 by 10 inch dimensions, respectively. Always keep the resolution at 300 dpi to retain impeccable quality when painting. And the only real difference here is that I've made the female portrait slightly smaller at eight by ten inches for compositional purposes. In the next lessons, we'll be able to go over the photo manipulation aspects of this course. But for now I do want you to see that each manipulation is conveniently placed next to the document to achieve better likeness because they're right next to each other, there won't be as much of a delay in trying to remember the details that you're painting. And here's a quick tip, if you want to keep both windows still while zooming in and out of your paintings or references, make sure that the boxes are unchecked for resize windows to fit, and zoom all windows. If they remain checked, your windows will automatically change sizes, and become a super annoying problem. Since you'll have to constantly resize them manually, in order to see both documents, side by side. Now that we know our workspace setup, let's move on to brushes. Instead of making custom brushes, we'll take advantage of the lovely brush presets that already come with Photoshop CC. You can make any digital portrait incredibly dynamic. Because these brushes are already customized to various strokes and textures hit F5 on your keyboard at any time to bring up the Brush panel. If you select Brush Presets, you can see the brushes you have available, as well as a preview of the type of stroke you can expect. The main brush we'll use is a hard, round brush with pen pressure sensitivity enabled for flow. To me, this is the ultimate brush. Not only of the strokes clean and fluid. But the heaviness of your stroke is a direct reflection of how hard you press on the keyboard. Resulting in a beautiful traditional feel. During this course you might also see two variations of this brush. The first is placing a check mark next to sheet dynamics and enabling pen pressure to create a nice tapered end. We'll use this brush for sketching in our later lessons. In the second variation, I disable both the Transfer and Shape Dynamics to have a regular solid brush perfect for filling in base layers. It's also a good idea to keep in mind that varying your hardness can have a huge effect on your painting. For the most part, paint with hard brushes in the realm of fifty to one hundred percent hardness. But if it comes to a time when you need something softer for blending or atmospheric details, feel free to create a much softer brush at one to fifty percent hardness. It's also great to have a few textured brushes in your arsenal. By using these brushes, not only can you improve the overall realism, but they also at a nice variation of texture to your pieces. For these textures we'll be using a dry brush, oil pastel brush, a chalk brush and an airbrush soft high density grainy brush. After making a couple of test strokes, experiment with these brushes and notice their textures. The Dry Pastel and Chalk brushes have similar textures that resemble their tradition art influences. These will be great for that painterly feel I often like to go for. The grainy brush also creates a great textural effect. You can continue to adjust the settings for these brushes for the look you're going for, but for the most part I prefer them as is. Because I don't need them for the duration of this project, we'll just place them on the back burner temporarily until we want some unique detail that we can't quite get with the normal, smooth brushes. Now that we know what we're working with, it's time to figure out what we should paint. To answer this question, I'll give you my best advice for the research and development of strong concepts to ensure your paintings are more memorable and impactful for any audience. Join me in lesson 2.2, where we will tackle this subject. And dive right into the formula of creating your own masterpiece.


