
 Lessons: 16Length: 1.4 hours
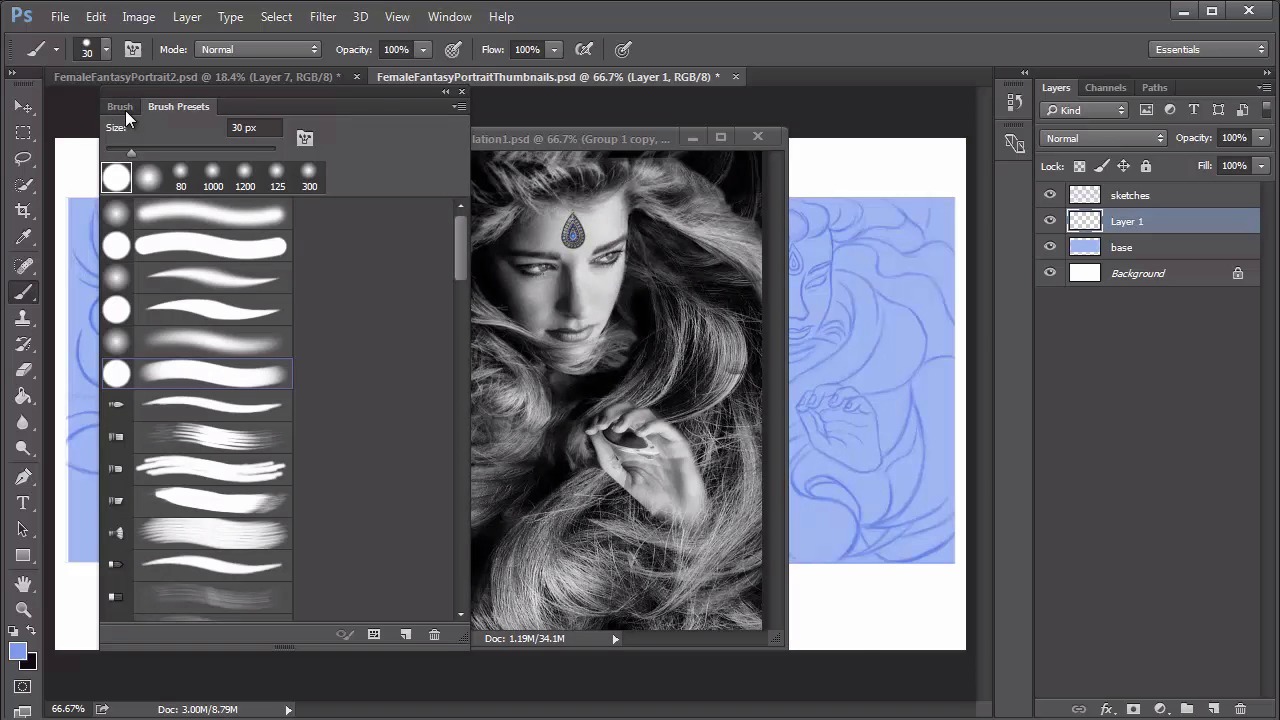
- Overview
- Transcript
4.2 Female Portrait: Thumbnails for Light and Shadow
Eliminate any worries about composition by creating three small thumbnails dedicated to light and shadow. First use the original photo manipulation to guide you, then experiment on your own until you find the combination you like.
1.Introduction
1.1Introduction01:37
2.Set Up
2.1What You'll Need06:25
2.2Developing Strong Concepts06:29
2.3Manipulating Your References: Male Portrait06:30
2.4Manipulating Your References: Female Portrait05:59
3.Paint a Male Fantasy Portrait
3.1Male Portrait: Sketch05:49
3.2Male Portrait: Thumbnails for Light and Shadow05:56
3.3Male Portrait: Create a Base Painting05:11
3.4Male Portrait: Shading05:40
3.5Male Portrait: Final Touches05:13
4.Paint a Female Fantasy Portrait
4.1Female Portrait: Sketch05:15
4.2Female Portrait: Thumbnails for Light and Shadow05:01
4.3Female Portrait: Create a Base Painting04:12
4.4Female Portrait: Experiment With Shading05:49
4.5Female Portrait: Final Touches05:33
5.Conclusion
5.1Conclusion02:14
4.2 Female Portrait: Thumbnails for Light and Shadow
Hello and welcome back to Fantasy Digital Portraits. My name is Melody Nieves, and in this lesson we'll experiment with a lighting scheme for this portrait by creating three new thumbnails dedicated to light and shadow. If you're looking to be more experimental with your painting, then it's definitely a good idea to craft a couple of quick thumbnails to test out your ideas. Just like in chapter three, we'll use the original sketch to create three new thumbnails. To start, merge all the sketch layers together. Control+J to make a copy of the layer and create a new layer above it. Ctrl+A to select the border of the canvas and right-click to add a blue stroke of five pixels. Merge the sketch and border layers together and dock all your windows. Hit the print screen key just to get the dimensions of your screen in order to make a new document. In this case, mine is 1366 by 768 pixels. Copy and paste your sketch on to the new document and resize it using the Free Transform tool. Hit Ctrl+J twice to create two more duplicates and position them into place. You can create three backgrounds easily by using the Rectangular Marquee tool to draw selections around each thumbnail. Hold Shift to add each new selection so that you can fill all three selections in at once. Use the same blue color from the sketch to fill the selections in for a solid background. Now select a layer with all your thumbnail sketches and set it to multiply. This will help us be able to see the sketches much better. You definitely wanna take advantage of the fact that you have a photo manipulation as your guide, so bring back the window with your completed manipulation to help you paint the first lighting scenario. Select a nice solid brush with the transfer option checked and adjust the flow control to pen pressure. Since the color of the sketch is now darker than the background, hold Alt to pick that color up with the eyedropper tool and begin painting in your shadows. Start with the areas that you definitely know have the deepest shadows, then move upward in the value scale. Let the background color be the midtone value, so that all you need is a good highlight to understand where the light will be heading. Go to the Color Picker and select a much better value of that color range to add bright baby blue highlights to your thumbnail. Continue using your photo manipulation as a guide, but don't worry about making the thumbnail too perfect. Redock that window and move on to the second and third thumbnails. This time I want to experiment by reversing the lighting scheme. In this lighting scenario, the light is coming from behind, making my female character seem even more powerful than before. And although I really like this look already, I'm finding the shadows harder to figure out as I try to make them reflect the overall lighting scheme. Moving on to the third thumbnail, I start off with brightly illuminated spots for the face and hand. For the shadows, I pretty much revert back to the original lighting scenario, but decided to add a couple of more highlights that would be caused by the bright spotlights. A new adjustment layer for curves will really help to bring out the shadows and highlights for these thumbnails. So here are the final thumbnails. Which ones do you prefer, A, B, or C? There are things that I like about each one, but I think I'll have to eliminate the second from my choices. In fact, I feel like if I can get a balance between the first and last thumbnails, then I'll have the perfect lighting setup. Now that we've tested different lighting scenarios for our fantasy portrait, it's time to start painting. So join me in the next lesson, where I'll show you how to organize the base layers and commit to a final lighting scheme.


