
 Lessons: 16Length: 1.4 hours
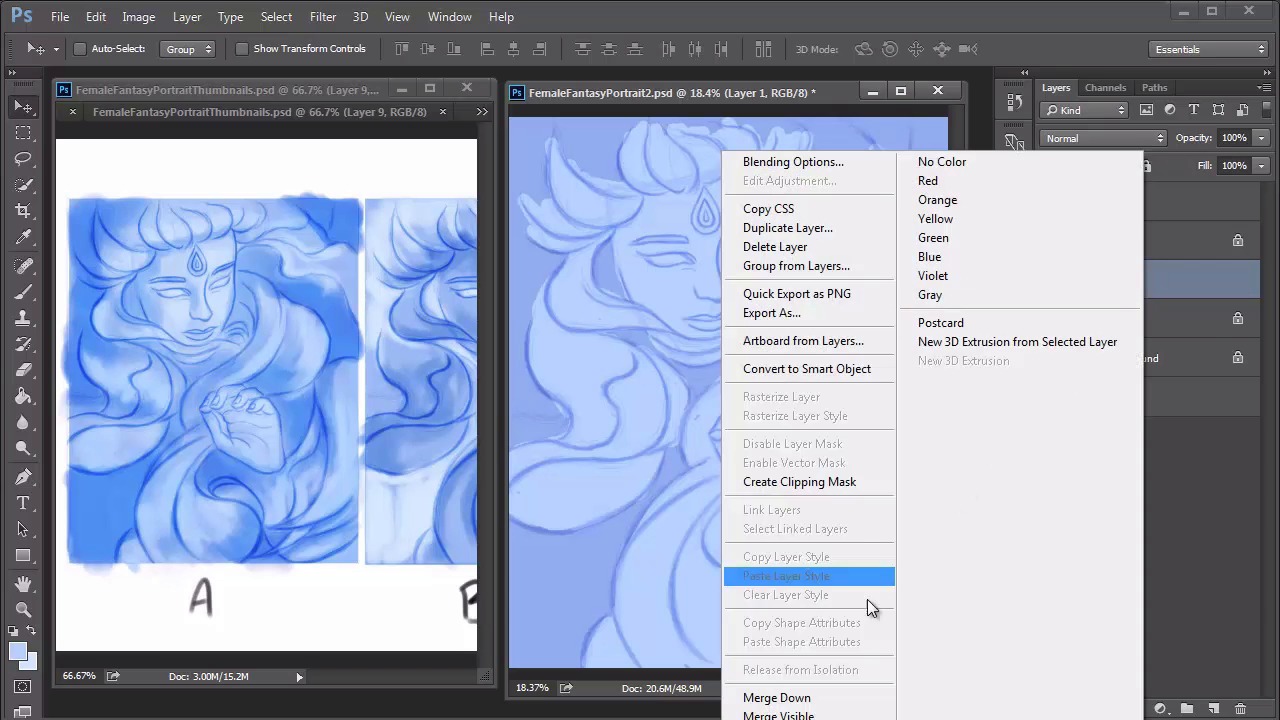
- Overview
- Transcript
4.3 Female Portrait: Create a Base Painting
Using the thumbnails and your photo manipulation as a guide, we’ll create a solid base to work from for the female fantasy portrait. Organize your layers effectively, and use clipping masks for an easier transition into painting. Once you're finished, begin painting light and shadow using a blue monochromatic palette.
1.Introduction
1.1Introduction01:37
2.Set Up
2.1What You'll Need06:25
2.2Developing Strong Concepts06:29
2.3Manipulating Your References: Male Portrait06:30
2.4Manipulating Your References: Female Portrait05:59
3.Paint a Male Fantasy Portrait
3.1Male Portrait: Sketch05:49
3.2Male Portrait: Thumbnails for Light and Shadow05:56
3.3Male Portrait: Create a Base Painting05:11
3.4Male Portrait: Shading05:40
3.5Male Portrait: Final Touches05:13
4.Paint a Female Fantasy Portrait
4.1Female Portrait: Sketch05:15
4.2Female Portrait: Thumbnails for Light and Shadow05:01
4.3Female Portrait: Create a Base Painting04:12
4.4Female Portrait: Experiment With Shading05:49
4.5Female Portrait: Final Touches05:33
5.Conclusion
5.1Conclusion02:14
4.3 Female Portrait: Create a Base Painting
Hello and welcome back to Fantasy Digital Portraits. My name is Melody Nieves, and in lesson 4.3, I'll show you a few simple steps for getting started with your fantasy painting. We'll begin by organizing the base layers and move on to establishing the light and shadow, based on the thumbnails we created earlier. Speaking of thumbnails, remember what I said about combining the lighting scenarios for the first and last thumbnails? Well, after thinking about it, I thought it would be a good idea if I went ahead and combined the two layers together to see the result. To do this, I simply copy and pasted the third thumbnail and placed it underneath the first one. I set the layer to Soft Light and now you can see that combined, both scenarios work beautifully together. This becomes the ultimate thumbnail to display the lighting scheme I desire and will be the one I refer to. Now let's get back to the portrait. Add a new layer and fill it with a solid blue color for the background. Set the sketch to Multiply so that you can see it much better. Create a base for the face and hand by using a solid round brush to fill them in with a light blue color. I've also decided to use the same color for the hair. Fill the hair on a new layer, so that it's separated from the face and hands. Leave some areas empty where you'd like to concentrate shadow. Once you're finished, lock the transparent pixels from each base layer. We'll be using these layers to anchor clipping masks, just like our previous portrait. Switch back to the thumbnails reference. Instead of the photo manipulation, we'll use this as the guide, in the beginning, for light and shadow. Add a new layer above the face, and set it as a Clipping Mask. Use the same brush we used for the thumbnails to begin adding shadow to the face. If you feel that it's much easier for you to look at the photo manipulation instead, switch back to it. Either way, you have plenty of resources to help you with this step. In the manipulation, the light source is coming from the right direction. So focus the initial shadows on the left side of the portrait. Use the Eraser Talk to soften the edges. And don't forget to add shadow to the hand as well. Repeat the step for the hair and background. When it comes to the hair, try to shade each section in a way that creates full voluminous shapes. And since we're not following the photo manipulation too literally, experiment with the different interesting forms you can create. After cycling through the blend modes, I realize that the shadow applies much darker if I set the layer to Linear Burn. Time to add some texture to the background. Open the brush presets and select the Dry Brush. Set a new layer to Linear Burn and allow the textured brush to add shadow for the background layer. To keep the painting from looking too smooth, I added a new layer on top and use the same brush to add white texture across the entire portrait. Once you're finished with this step, you're officially done with setting up the base layers. Now for the difficult part, color. The task at hand is going to be figuring out what colors we can use since the original reference is in black and white. To see what I come up with, join me in lesson 4.4, where I'll show you how to apply natural colors to this portrait while developing the shading for the overall composition.


