
 Lessons: 16Length: 2.5 hours
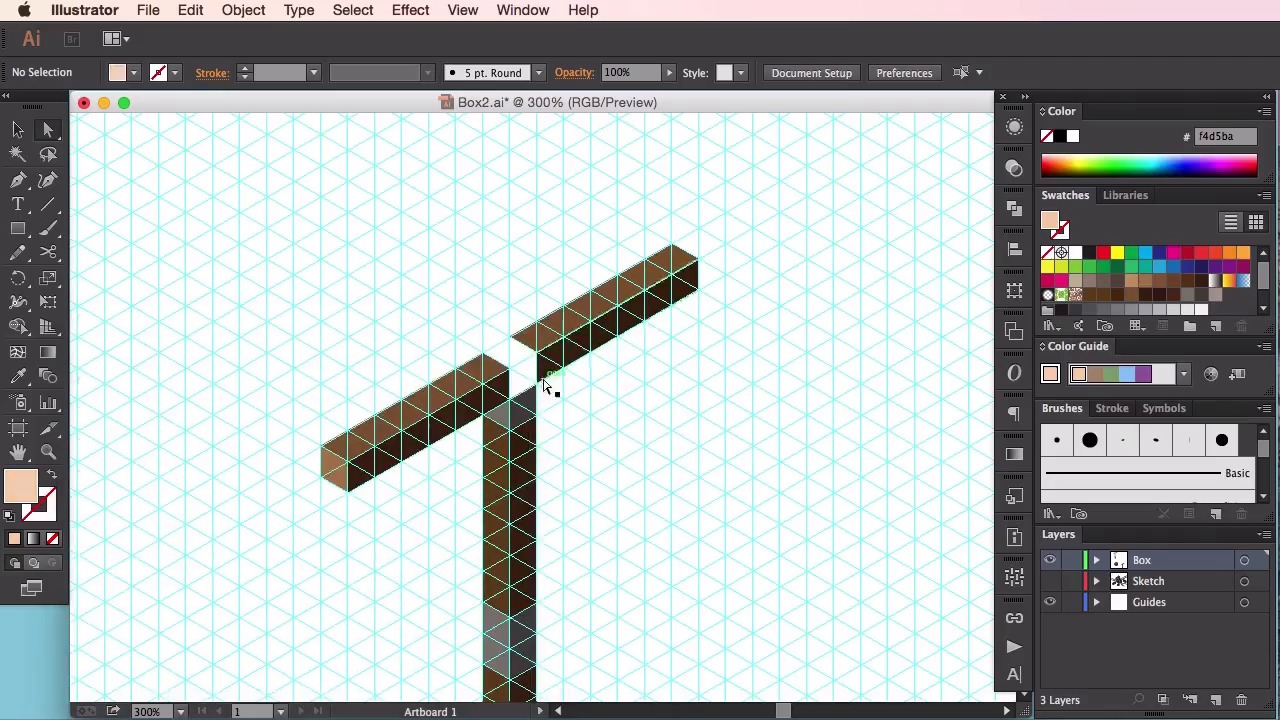
- Overview
- Transcript
3.2 Signpost
In this lesson you will learn how to create an isometric wooden signpost using your grid in Adobe Illustrator.
1.Introduction
1.1Introduction01:08
2.Planning
2.1Creating an Isometric Grid07:17
2.2Sketching the Design09:19
3.Props
3.1Isometric Box15:18
3.2Signpost05:50
3.3Cart Top Frame10:56
3.4Cart Bottom Frame10:18
3.5Cart Roof12:44
3.6Outer Tent Frame15:41
3.7Tent Roof14:44
3.8Tent Roof Colour14:30
3.9Isometric Anvil10:04
3.10Flag and Fruit05:22
4.Final Environment
4.1Setting Up and Arranging the Props06:34
4.2Adding Final Touches06:40
5.Conclusion
5.1Conclusion01:14
3.2 Signpost
Hey guys, and welcome back to the Isometric Environment for Games Course. Now, in this video we're going to go through how to create a simple isometric signpost using our guidelines and previous assets that we created for our box in the last video. So to start off with, let's just copy an element from our box. So, Ctrl-C and then Ctrl-V to paste. And then Command or Ctrl colon to bring up our guidelines again. We're just gonna set this post here so that it's in line with our guides. Just zooming right in to make sure everything is set. Now, and then we're going to copy the horizontal elements here from our box and then move it over to our side post here. Like so. So right now I'm just trying to work out the top of our post by creating that sort of T shape. So that's one side. Pasting the other side here, making sure that the corner fits in with the other side of our structure. And now we have the T shape here. I'm going to copy the vertical post and paste in a longer frame just so that we can have our long post here. So making sure all matches up. So now that our sign post is starting to take shape, I'm just going to select the top frame. And I'm going to select a light brown color using the pencil and just fill in this here, this square here to fill in the wooden frame. Just taking a look at the overall structure here. What I want to do now is perhaps start either filling in the empty square that we have here or start producing the actual flag element. Now, it's not necessary to fill in the whole wooden structure here. So we're just gonna go straight into the flag. As it'll cover up the empty square with the empty cube shape anyway. So here, you can see that I've left three squares or three segments on either side of the top frame here. As you can see, I've got three squares here. And now I'm going to change a slightly darker shade of this flag color here, using the color picker tool. And select the pen tool to create the bottom half of our flag. Just counting how many how many segments are on this side of the flag here. This flag is going to have a triangular sort of shape at the bottom. So just carefully marking that out here, and then again making sure that the measurements are correct. We're going to make sure that the sides are exactly the same on either side, so the same amount of segments. So I'll just start from here. And then true countdown how many segments are down here. So, one, two, three, four, five, six, seven, eight, nine, ten. So it should be the same amount of segments on either side. And there we have it, our simple signpost. I'm just zooming in again here just making sure that all the measurements are correct. There should be ten segments on either side of the flag. Usually if the measurements are wrong, you should be able to spot it out anyway. I'm just lengthening the post here a little bit. I'm just going to zoom in here making sure that fits in with the guidelines. And then using the white selection tool to delete the grey elements there. Yeah, so there we have it. A simple isometric sign post to use for our isometric environment. In the next video, we'll start first steps into some more complicated structures, starting with the isometric car. See you guys there.


