
 Lessons: 16Length: 2.5 hours
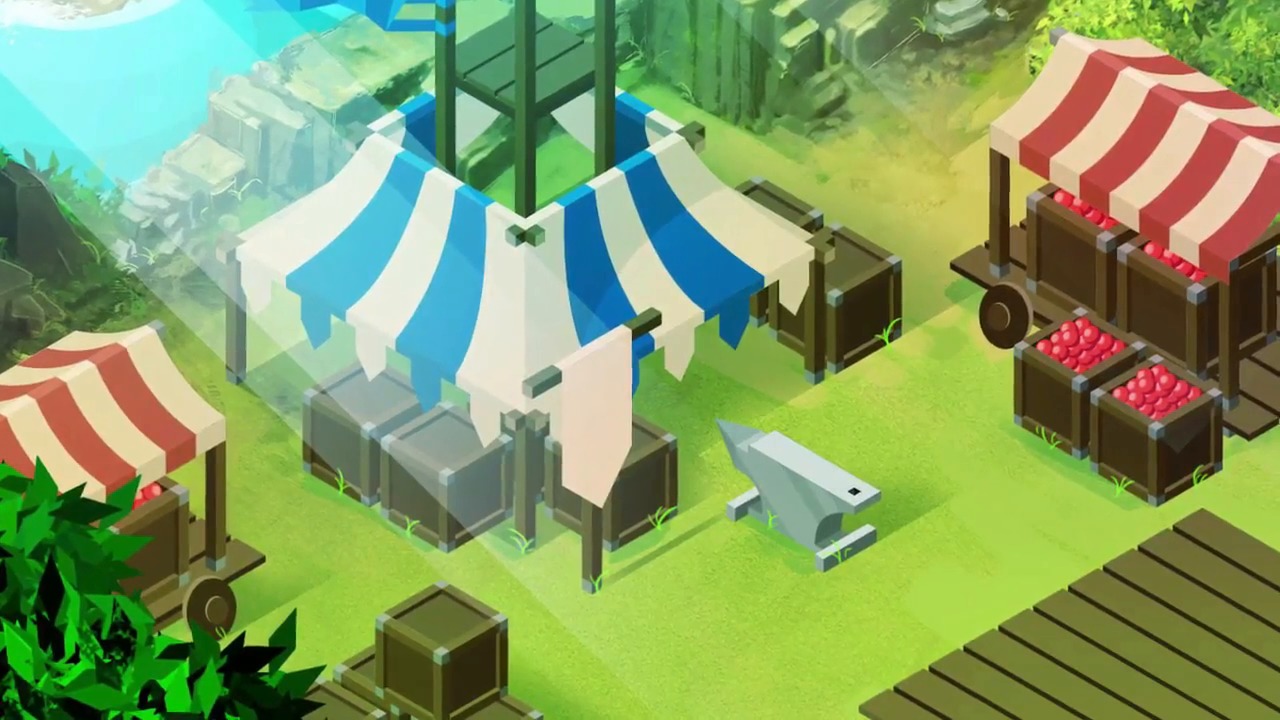
- Overview
- Transcript
5.1 Conclusion
I hope you’ve learned a lot in this course, including some new tips and tricks that we used along the way in completing this particular piece. My name is Jonathan Lam, and from all of us here at Tuts+ thanks for watching.
1.Introduction
1.1Introduction01:08
2.Planning
2.1Creating an Isometric Grid07:17
2.2Sketching the Design09:19
3.Props
3.1Isometric Box15:18
3.2Signpost05:50
3.3Cart Top Frame10:56
3.4Cart Bottom Frame10:18
3.5Cart Roof12:44
3.6Outer Tent Frame15:41
3.7Tent Roof14:44
3.8Tent Roof Colour14:30
3.9Isometric Anvil10:04
3.10Flag and Fruit05:22
4.Final Environment
4.1Setting Up and Arranging the Props06:34
4.2Adding Final Touches06:40
5.Conclusion
5.1Conclusion01:14
5.1 Conclusion
So with that last video, we've come to the end of the Isometric Environment for Games course. And here we have the final illustration. So my last bit of advice to you would be to always look for constructive feedback during and after you've completed your finished piece. It's always good to get a fresh pair of eyes to view your work, especially when you've been looking at the same illustration and props for hours and hours. And don't just limit your critical feedback to people that are trained. People with no art experience can provide excellent feedback as well. So I hope you've learned a lot from the demos, some new tips and tricks that we've learned along the way, in completing this particular piece and some stuff that you can apply into your own workflows. I hope you've learned some things that you haven't seen before in Photoshop and Illustrator that will aid you guys in completing your future isometric environments. I had a lot of fun creating this piece, so thanks for tuning in and watching. Good luck with creating your own isometric environments, and hopefully I'll see you next time on tuts+.


