
 Lessons: 13Length: 1.9 hours
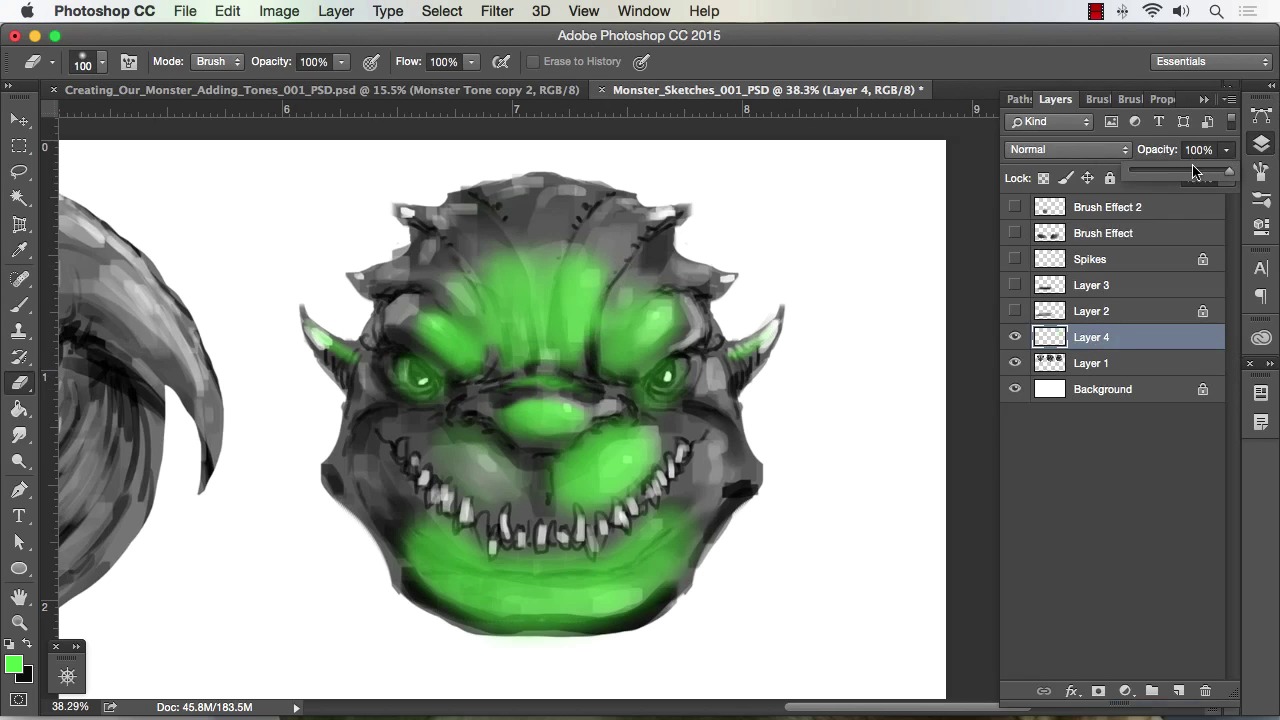
- Overview
- Transcript
2.2 Working With Selections to Control Our Effects
In this lesson I will show you how to create various selections to apply effects to specific areas of our painting. We will cover how to draw in shapes with the Lasso Tool and how to use the Polygonal Lasso Tool to create technical selections. I will also cover the Quick Mask feature, which allows you to draw in your selection with any brush in Photoshop.
1.Introduction
1.1Introduction01:15
1.2Tools and Resources01:20
2.Understanding the Tools We Will Use to Create Our Monster
2.1Understanding Layers and Brushes18:14
2.2Working With Selections to Control Our Effects11:21
3.Designing Our Monster
3.1Studying and Sketching From Reference to Create Our Creature Design11:32
3.2Blocking in the Overall Shapes of Our Painting15:35
3.3Painting in Light and Shadow to Give Our Monster Depth and Form15:39
3.4Using Liquify to Quickly Modify Parts of Your Illustration14:45
4.Refining the Artwork
4.1Adding in Detail and Textures12:59
4.2Creating Effects With Blending Modes04:19
4.3Adding Finishing Touches With Levels and Color Balance03:20
4.4Saving Elements of Your Painting to Enhance Productivity02:08
5.Conclusion
5.1Conclusion01:12
2.2 Working With Selections to Control Our Effects
Welcome back to How to Create Monster Art in Adobe Photoshop brought to you by tutsplus I'm your instructor today, Robert Marzullo. We'll now be covering Lesson 2.2 Working with Selections to Control control our effects. Okay, so now we're gonna go over the selection tools one that I like to use the Lasso tool as you saw me do before with the spike. I can usually draw some pretty decent shapes with this and just kind of have fun with the artwork. So if I wanted again we'll use a blade of grass as a demonstration. If I wanted to draw in some basic blades of grass to get a shape going, I can do that pretty quickly. I can drop in a solid tone, Cmd+D to deselect. And with the layer I've got a good amount of editing capability to start playing around with that. I can start smudging the lines of it. Just add a number of effects. So utilizing that same concept I can just kind of come into my artwork and with the selection tools I can define certain areas of it and play around. So, I've got the layer to back me up as far as not drawing or painting directly on the character. If I don't feel like doing that and then, I can just simply start drawing in some shapes and move picture where I might see some additional shadows on this this monster. So you see, I'm not having to hold Shift, I've already got it selected up here to add this selection. And I can simply just get in here, draw on some shapes. Another way, I'll kind of check the look of the shapes and where they're at, cuz it's a little bit hard to see with the little cursor aligned there. I'll hit Q for a quick mask, so I could see a little bit better that way and I'll take a soft brush. Let's try to slice one that I've got. And I'll size the opacity down to about 50% and I'll take shape dynamics off. And I'll simply say just gently pain in the shadow so I can kind of see what I'm doing and see if I like the direction it's heading as I'm applying it. Now keep in mind, since I am working with a layer I could just paint the send variable pay cli and tone down the layer as well. So, there's lots of control in working this way. So, I will say that I just want to see how it looks right about there. I'll hit command D to deselect and I think it gave the character a little bit more form. Now if I go over to this layer and I toggle it on and off I can see exactly what it did. A lot of times I'll zoom back too to really kind of take it all in. Yeah, and I actually like that, I think it added to the character in the way that I was looking for. So if it did I can simply drag that down to the layer right above the creature concept, hit Cmd+E to merge down and then keep repeating that process. So I can add a new layer over top, I can grab my selection tool again and maybe now I wanna build up a little bit more into the highlights. And it's just another way to add effects to your paintings and kind of build on to this texturing that you're getting. And doing it in a nondestructive fashion, so that you can if you don't like where it's going, you can simply get rid of it, and really quickly. So Cmd+D to deselect, toggle on and off the effect to make sure it's what I'm looking for, I think it's fine. Cmd+E to merge down, so that's a way that I like to paint as well. Now, this course is primarily on creating monsters, so we don't need to do a whole lot of technical drawing. But, I think if we're gonna address the ability of the selection tools, we also have to talk about the polygonal lasso tool right here. So if you click and hold that, release, this just allows you to click, and build geometric shapes really quickly. So one of the things I use this for quite a bit is any kind of technical aspects to my painting. But there could be a monster with very straight diagonal type lines as well. So to do something you may just click and do kind of a perspective square, a rectangular shape. And forgive me if [INAUDIBLE] that predefining any perspective lines here. I've got another layer and I'll drop in a medium tone, like this, and really quickly, I've obviously got a nice solid shape. Cmd+D to deselect, I can lock transparency, and then I can just start to paint away. So for instance, say I wanted some kind of techie looking sheet metal, I could simply hold Shift and draw some shadows under the very edge pretty quickly. I was holding Shift and clicking the brush, so that it goes over a nice straight area like that really quickly. I can do the same thing with the highlight size the brush down with the bracket keys Hold shift, click. And I can do that pretty quickly now, to build up this form, maybe I can select the inner edges here, like this. I'll now take a soft brush. Size that way up maybe turn the Opacity and Flow down. I'll just to find a bit of a light source or a couple light sources generally anything specular. Lights kinda be all over the place and you're also wanna show some Hot spots on the material. Hit patch, so that I can paint in some shadows well, Cmd+D to deselect. So you could see that the polygonal tool is really great for just building some quite geometric shapes. And obviously, the same tools apply as far as add to selection, subtract from selection, so on and so forth. And one last thing, I'd like to show you that applies to all the selection tools that we just covered. If using the lasso, the [INAUDIBLE] whatever you can also control the feather. So, what I'll do is for supply a feather of about 25 pixels, show you what that does. I'll create a selection, we'll just do a little splash type selection or something add a new layer and now when I feel this watch the difference. See that feathering it did on the very edge. So the 25 pixels feathered the edge before and after the selection. So this is really neat for creating soft airbrush like a fax and that works with any of the selection tools as well. Let's go back, I'll try one more and show you. Let's try the polygonal and let's up the feather. And you see the feather switched ,it's actually staying to the tool itself. So let's take the feather to 100 pixels. Hit Enter. And let's say that we want a nice soft, Effect to the inside of this shape for whatever reason. Like that, and you see it rounded the selection as well. Then give us the pointed edges, fill that. So this can be really neat for applying effects too. I'll use it for applying effects to cars. Say I was trying to design a I don't know what cell phone illustration. There's a lot of areas where you can use this to put the effect in a certain area but with just the right amount of softness to the edge and pretty quickly. So, that's another neat feature of the selection tools. Okay, and one more thing I wanna show you the type powerful for creating your selections is the quick mask. So let's say, we take this character here and we want to mask out the selection. Now obviously, selecting around it or drawing around it can be pretty quick. But say, for whatever reason you didn't have that option and you want to use a quick mask effect or apply an effect softly with a quick mask, how about that? So we'll start off by just making a selection and hitting Q for Quick Mask. Now keep in mind Quick Mask works with any brush and any settings of that brush. So you could take a soft brush like this at 44%, and you could slowly paint, in or paint out the selection. So I'll go ahead and paint that. In those areas, that I wanna see the mask exposed, just like that. Or maybe the eyes, I'll highlights on the horns for whatever reason. And then, I can hit Q, go back to my selection. You won't see the soft fade that we have in there but it's there. So if we go in here and add a new layer and we'll say, for whatever reason we wanted this to be a bit of a green overcast color effect. And as we paint that in there, it will blend off to the edges like we defined in our Quick Mask. So even if I paint completely solid. You can see that soft blending that was done with the Quick Mask. So, just keep in mind there's lots of powerful effects you can complete with that as well. And the fact that it's on a separate layer we could now go back and just softly erase. And also keep in mind that any brush you have will work as an eraser as well. Tone that down a bit or set it to one of the blending modes. So again, lots of neat effects that can be attained with the Quick Mask, all right? So that a complete this lesson. Next will head over to chapter three designing our monster.


