
 Lessons: 15Length: 1.7 hours
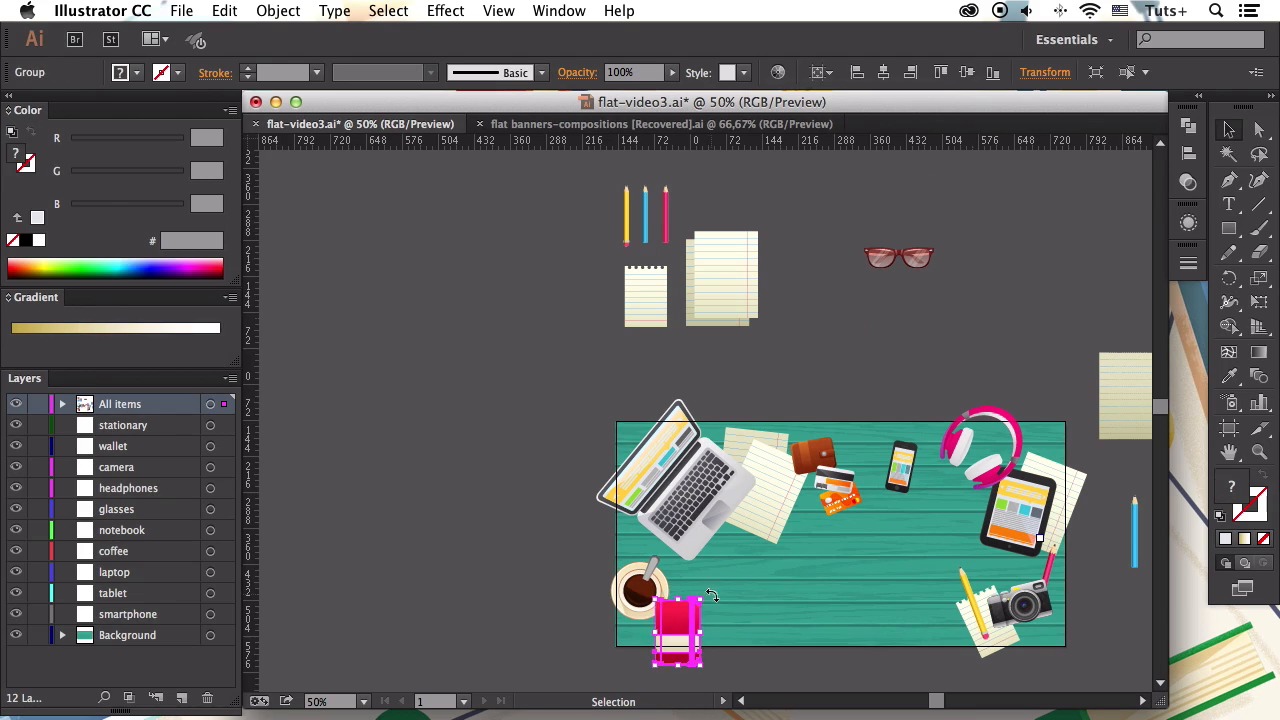
- Overview
- Transcript
5.1 Conclusion
In this final video we’ll sum up all the things you’ve learned during this course and see some examples of other designs that you can create using your new skills. I hope you enjoyed following this course and learned some new tips and tricks that will help you to make your workflow more efficient and productive! I would love to see your results, and feel free to contact me if you have any questions. Have fun, be creative, and let the inspiration guide you.
1.Introduction
1.1Introduction01:40
2.Advertisement Concept Idea
2.1Making a List of Elements03:30
3.Creating a Set of Workspace Elements
3.1Making a Laptop13:40
3.2Drawing a Cup of Coffee06:58
3.3Creating a Sketchbook05:53
3.4Rendering Glasses07:55
3.5Making Headphones06:37
3.6Creating a Smartphone04:59
3.7Creating a Tablet04:10
3.8Drawing a Camera08:32
3.9Designing a Wallet and Credit Cards11:50
3.10Making Stationery08:15
4.Making an Advertisement Template
4.1Creating a Wooden Background06:15
4.2Building a Composition08:26
5.Conclusion
5.1Conclusion02:13
5.1 Conclusion
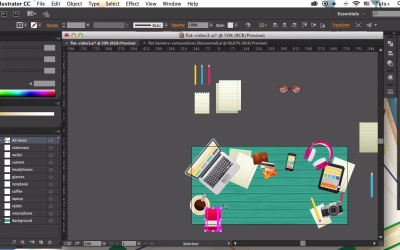
Hi everyone, and welcome to this last video of our course about creating flat workspace elements for advertisements with Yulia Sokolova at tuts+. We've done a huge job together, and successfully created the fantastic set of realistic workspace elements for our advertisement template in a trendy flat style. We've started from the very beginning, forming the idea for our advertisement banner. Deciding on its purpose and making a complete list of elements based on our own experience and the surrounding environment. We've created each element, moving from one item to another, making all the minor details. Furthermore, we'll learn some useful tips and tricks while working with multiple Adobe Illustrator tools and effects, creating the items from basic shapes, adding dimension to our flat objects with the help of shadows, highlights, and textures, and even making a little bit of freehand sketching. Then we've created a realistic wooden texture for the background depicting a desk made of wooden planks. And finally we combined our objects in the well balanced composition, making an advertisement banner a flyer by adding some text and finishing up with those trendy flat shadows. Feel free to use these simple and comprehensive techniques for creating various advertisement banners, promotional flyers, invitations, templates, layouts and so on. There are so many things you can do using these objects and your imagination. I hope you had fun during this course, and as for me, I had a lot of pleasure being your instructor and guiding you throughout the process of creating all these elements. I have a plenty of other tutorials for you at tutsplus.com in Design and Illustrations section. You can find my contacts on my office page, so feel free to write me if you have any questions concerning this course and I'll be more than happy to see your results. Have fun, be creative, and let inspiration guide you. Best wishes from Yulia Sokolova and stay tuned for more.


