
 Lessons: 17Length: 1.5 hours
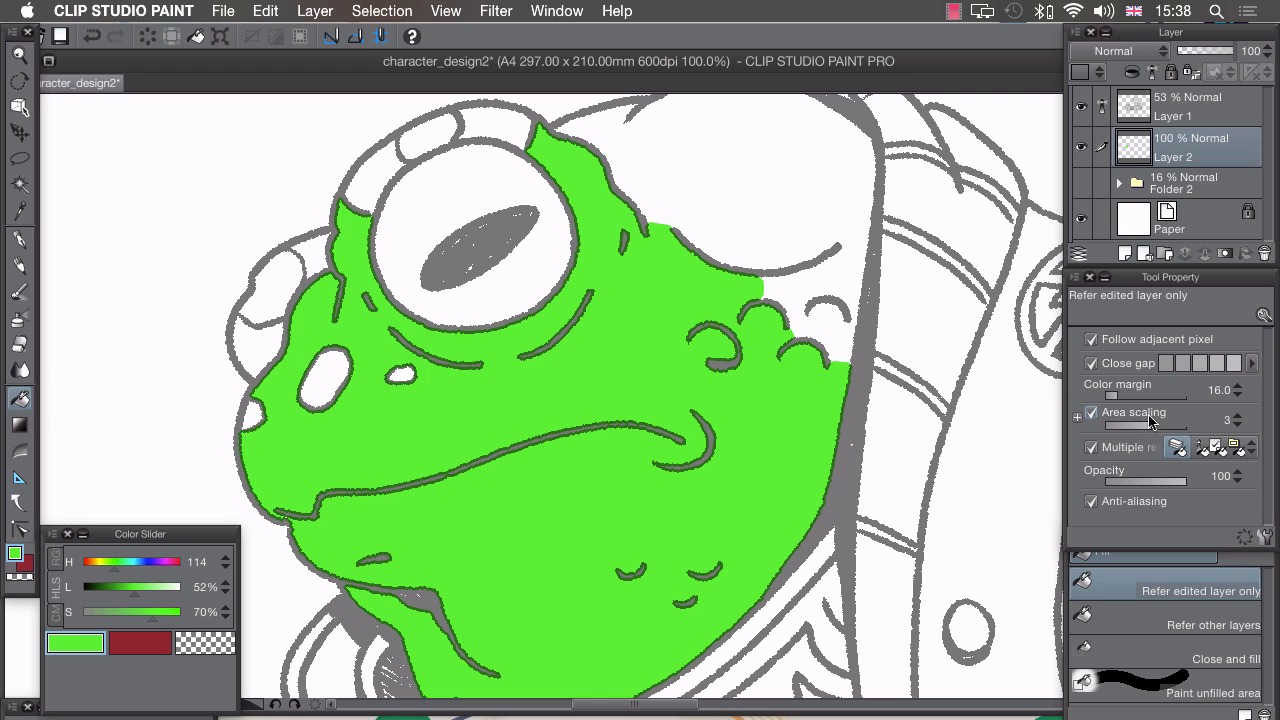
- Overview
- Transcript
4.1 Flatting
In this lesson I’ll show you how to separate each element into an easily selectable area.
1.Introduction
1.1Introduction01:01
2.Sketching Our Idea
2.1Reference03:53
2.2Blocking In09:22
2.3Working Out the Perspective11:46
2.4Background09:57
2.5Character09:50
3.Inking
3.1Pen Setup05:44
3.2Inking Over Our Drawing09:18
4.Colour
4.1Flatting04:54
4.2Palette05:10
4.3Colouring03:17
4.4Shading04:41
4.5Line Colour03:28
5.Finishing Touches
5.1Colour Tweaks02:44
5.2Texture02:29
5.3Exporting02:24
6.Conclusion
6.1Conclusion00:41
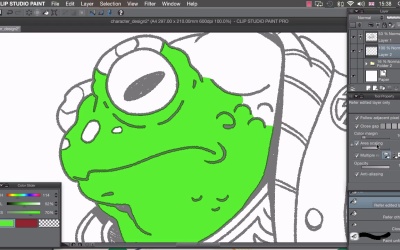
4.1 Flatting
Hi, welcome to chapter four. In this chapter, I'll show you how to add color to our illustration. And in this lesson, Ill show you how to lay down flats for easy selections. With our long work in place, it's time to add color to this illustration. But the first thing we need to do Is make sure that we've laid some flat colors down. So that we can select each of these different parts. These different components of our illustration, and fill it in with the appropriate color. The first thing we need to do is, take our ink layer and we need to click on the small lighthouse at the top here. And that sets this layer as a reference layer. Which can be used by all of the tools. The next thing we want to do is, add another layer and drag it underneath our lines and change the opacity of our lines. So, that they're a little bit see through there. Moving to this layer underneath. We want to select our fill bucket tool and we have a few different changes to make to the tool properties. So, that this acts correctly. The first thing you need to do is, make sure we have Close gap turned on. And we want that turned up all the way. That way, any small gaps in our line work, for example, here or here, will be taken into account by Mango Studio. And we won't end up filling all of this background or bleeding into a different shape. The next thing we need to do is turn on Area Scaling. What this does is, add an extra bit of bleed on to our filled color. So, I'll fill in a color and then determined by this number here, so at the moment it's set to three. That means, it'll bleed by three pixels. And that's really good ,if you want your color to extend all the way to the line and not have any of this white visible. We also need to turn on multiple referencing, and make sure this icon is ticked here. Which means all layers. And that means, that the tool that we've selected, the fill bucket, will actually use other layers other than the one that we're in. As a reference to Phil. So, because we sent this as a reference layer and we've turned on multiple referencing, it will now use this top layer as a reference. I'll zoom in really quite close on this and show you what these new settings do. So,I'm just gonna choose any random color. I'm not gonna worry about the colors at the moment. That comes in the next stage when we've actually selected a palette. And I'm going to select and click in here. And you'll notice that it's actually created a small halo. Because we've got our lines slightly transparent here. A small halo underneath our lines. And that ensures, by turning on this area scaling, that ensures that we don't have any of the white showing underneath. And we just have the color going all the way up to our line work. I'm gonna do that. You can actually click and drag like this, and drag all the way around. And you'll see it's really easy just to fill in that whole section and we've done that really neatly. So, if I turn on the opacity to 100% again and zoom out, you'll see that with very little effort, Manga Studios helped us fill in this whole big shape here really neatly. I'm gonna choose another color here. What we're trying to do is break up this drawing. So, that each of these different sections is made with a different color. That way when we put our real colors down, we'll be able to select an island of color and then just fill it in really easily. So I'll have the eye as brown for example and maybe do these warts in blue like that. I'm gonna apply this to the whole illustration. And I'll show you what that looks like once we've finished. Okay, so I've managed to flat this in the space of just a few minutes. Because Manga Studio is just so good at interpolating all of these lines. It was such an easy job. There are a few things we need to change because there are a few sort of scruffy mistakes that Manga Studio can't fix. So, if you'll notice in dark areas, like the shoulder pads here, It actually can't fit in the fill color into these small spaces here. So, that's easily fixed if we choose our pencil and choose the nearest color that we'd like to fill it in. We can then manually fill in small areas like this. Also small areas, like the little details on the shoes here. Manga Studio couldn't quite figure out what was happening here. So, we'll just manually fill those in. Like this. And same on the other side. And we just basically need to go through the whole drawing and make sure that all these sort of scruffy loose ends, there shouldn't be too many. Because Manga Studio is actually really good at figuring out what's happening. So, areas like this, where you've got some sort of confusion, you need to go through and just clarify them yourself. If we just zoom out. And with our flats done we can now figure out our color palette. In the next lesson, I'll show you how I like to choose colors for my illustrations.


