
 Lessons: 17Length: 1.5 hours
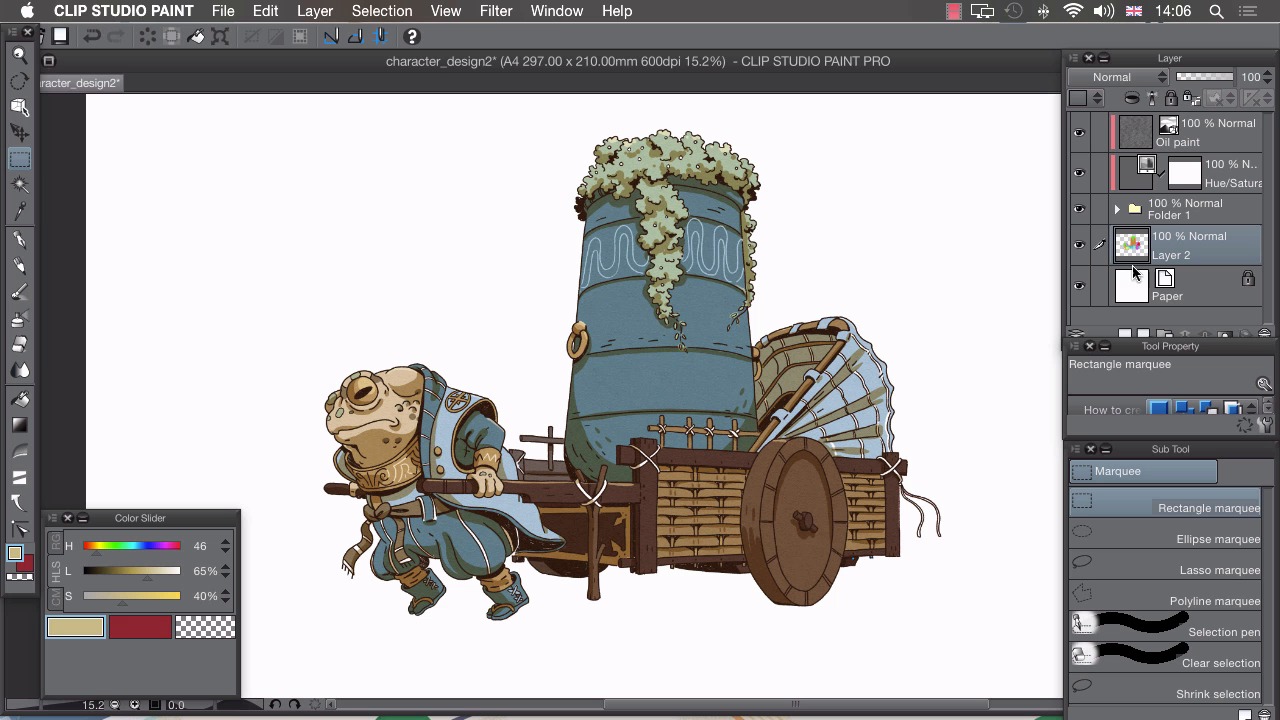

- Overview
- Transcript
5.3 Exporting
In this lesson I’ll show you the different ways we can export our illustration.
1.Introduction
1.1Introduction01:01
2.Sketching Our Idea
2.1Reference03:53
2.2Blocking In09:22
2.3Working Out the Perspective11:46
2.4Background09:57
2.5Character09:50
3.Inking
3.1Pen Setup05:44
3.2Inking Over Our Drawing09:18
4.Colour
4.1Flatting04:54
4.2Palette05:10
4.3Colouring03:17
4.4Shading04:41
4.5Line Colour03:28
5.Finishing Touches
5.1Colour Tweaks02:44
5.2Texture02:29
5.3Exporting02:24
6.Conclusion
6.1Conclusion00:41
5.3 Exporting
Hi, welcome back. In this lesson, I'll be showing you how to export your finished art work. With my illustration finished, I now want to export my image so that I can open in some different software or I can upload it straight to the internet. If you need to change the resolution or change the crop in the image before you export, you can easily do that by clicking on Edit and Change Image Resolution. From here you can change the width, height, scale, as well as choosing a few of the more commonly used resolutions. If you need to change the crop, you can go to Change Canvas Size, and as you drag one of these sliders up and down, you'll see the crop of your image is going to change. Once you're happy with the resolution and the crop, we've got a couple of different ways of getting our picture out of Manga Studio, the simplest of which is choosing File, and Save As. And when we do that, we have a few of the more commonly used file types here to choose from. And in the instance of bitmap, jpeg, png and tiff, they'll actually flatten our image down into a flat image, but if we choose a Photoshop document, it'll preserve all of these layers as they are. The only downside to that is if you're trying to deliver this file to a client, you might not necessarily want to send all of your sketches, and all of your flat layers, and other rough bits. So you need to clean the file before you send it. That's when our second way of exporting the image comes into play. So if you have a rough layer that you don't want to include in your exported file, you can right-click it, Choose Layer Settings, and choose Set as Draft Layer. When you do that, this small blue pencil will appear in the top right hand corner. And I'll show you what happens when we go to Export. We choose File > Export and again we have these same formats here. So I'll choose Photoshop for now. And when I click on save, I'm presented with a few options. So you can see, output image here, Draft isn't ticked, so any layer that has draft set to it won't actually be exported, and that's a really easy and quick way of cleaning up this file ready to send to a client. We can also change our color mode. And again, we can change our specific sizes here, so at the moment it is set to 100%, so export as it, but again if we take this we can change our width and height, and we can also change our resolution like that. Once you're happy with your settings, click on OK, and your image is ready to use. In the next lesson, we'll review everything we've learned.


