
 Lessons: 17Length: 1.5 hours
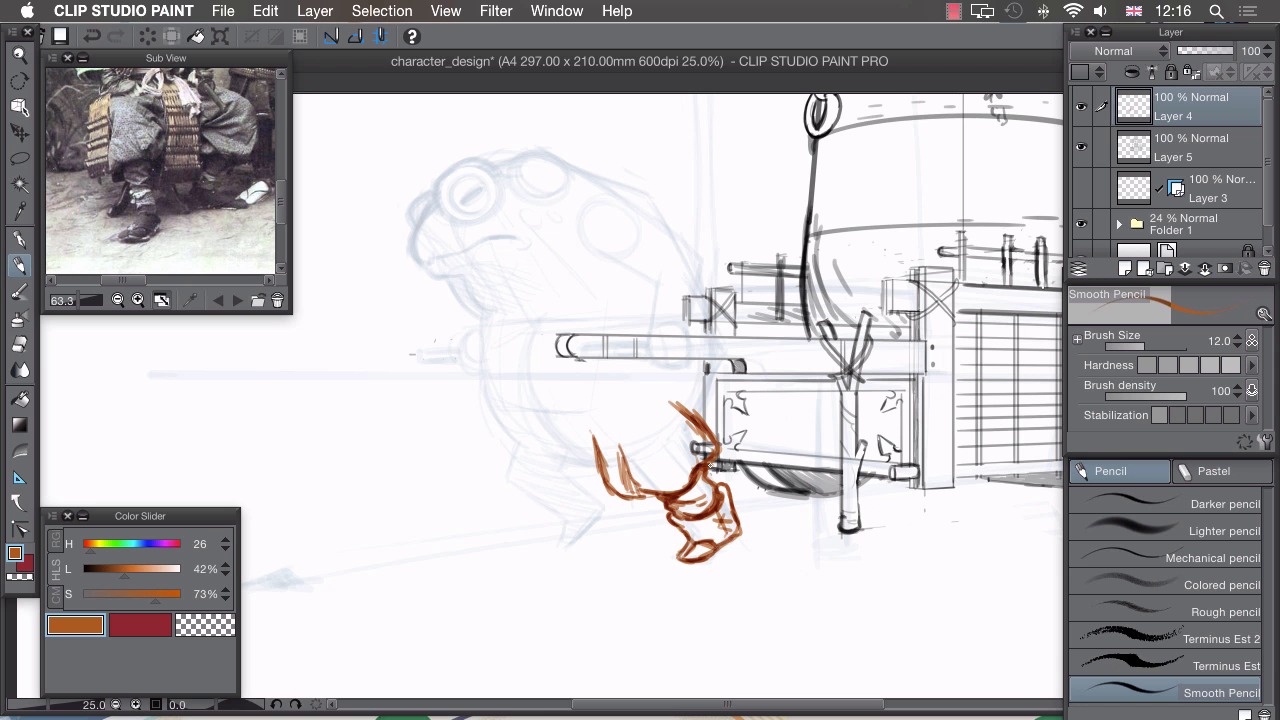
- Overview
- Transcript
2.5 Character
Once we have our background in place, we can then go ahead and sketch our character.
1.Introduction
1.1Introduction01:01
2.Sketching Our Idea
2.1Reference03:53
2.2Blocking In09:22
2.3Working Out the Perspective11:46
2.4Background09:57
2.5Character09:50
3.Inking
3.1Pen Setup05:44
3.2Inking Over Our Drawing09:18
4.Colour
4.1Flatting04:54
4.2Palette05:10
4.3Colouring03:17
4.4Shading04:41
4.5Line Colour03:28
5.Finishing Touches
5.1Colour Tweaks02:44
5.2Texture02:29
5.3Exporting02:24
6.Conclusion
6.1Conclusion00:41
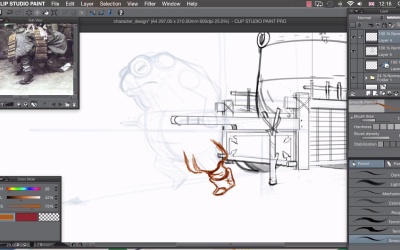
2.5 Character
Hi, welcome back. In this lesson, I'll be drawing the character into our illustration. Now that we have 3D background object all drawn in, and we have sort of an idea of how the 3D space is working here. I think it's time to start drawing in this character. We have quite a good idea of what we're gonna draw because we blocked this in in the very rough stages. So we have sort of the proportions of our characters all laid out but we're gonna use these references to start adding the little details to that. So we'll be detailing this and clarifying the design that we did in our initial drawing. The first thing I want to do is clear up my layers a little bit cuz we have a few layers that aren't needed anymore. We don't need to show them and we don't need to use them so we can delete them or we can hide them. The first one is this ellipse layer here. I don't need to draw any more ellipses quite so precisely on my character. So I'm just gonna delete that fully by clicking on this trash can icon like that. Our perspective layer. I'm gonna keep this ruler. I'm not really gonna use it for the character, because I've used it mainly for this background object here. I'm gonna use this as a reference to draw my character. But I'll just keep it just in case I need to check any of the details and see how they line up with this background object. So for the time being I'm gonna hide that one. This is the drawing of our cart. So that one needs to stay at the top there. And in our folder we have our very basic sketch and we have our perspective lines. For the time being, I don't want to see these perspective lines because I've used these perspective lines to draw this out and I can use this as I said as a reference for the character. So with those hidden, I can create a new layer. Go back to my pencil tool and I've got my reference of a toad loaded up here. So, I think I might start of with the clothing and zoom in on one of these guys in my photo here. So if I just zoom in on my canvas as well and get our character lined up in the middle there. We're ready to start drawing this, so again, as with the cart I'm not gonna be using this reference image to fully on copy the details and copy the design of this clothing. So I just want to have sort of the basic idea of how this clothing works and apply that to my design. So I'll be designing something myself and I'll be using this as a way of informing that design. For example, I like how this clothing layers over the top of itself. So we have this sort of drapery at the front here and then we have trousers underneath. I quite like that. I quite like this detailing, the way the detailing appears at his collar there. So I might include something similar to that. I also like, if I scroll around to this character here, I really like the way that his trousers puff here, and sort of end at his shin bone, and then really go tight on into a boot. So I think I'm gonna incorporate something like that and I think that's quite a good place to start. So to draw this character, I'm gonna actually draw in a different color. So in order to keep this nice and separate and so I can see what piece of drawing belongs to what part, I'm gonna go to sort of an orange color like this, and in a separate layer I've got my pencil tool and I'm gonna start drawing over the top of this. So if I start with this sort of trouser shape, I can just drag that down. So again, I'm not actually copying anything directly here, I'm just sort of using this idea of how the trousers puff out and how they taper into a boot. So I'll be drawing my own interpretation of that and I've been trying to get that kind of shape worked into my design. So that's something like that. At the moment, we're not paying too much attention to the push cart at the back there. We're just working on our character. And because we're drawing in this different color, it's really quite easy to differentiate between the two drawings. So we've got this sort of puffy shape of the trouser drawn in like that, and we have sort of a taper, and a sort of wobbly edge to that, and a few creases, that go like this. And that's as much as I'm actually gonna take from my reference image at each point. So, I'm not going to be copying this directly, I'll just be talking sort of a cue from that and a little bit of inspiration to draw my own thing in there. And then, I can design my own pieces of clothing, like this boot here. So I'll have something like that. And a bit of stitching there like that. I can also hint in at points where I'm gonna have shading. So it might be a little bit difficult to read the character without shading any parts. So, we're not going for a fully clean drawing. We're actually adding little bits of shading like this so that we have an idea of the volume that we want our character to have as well as adding a few of the details and things. So, if I go again onto the other leg like this, adding this puffy trouser, I'm making it look like the leg is popping out of that. And then another boot. Trying to make it look as similar as the design for the other side. Like that, and then a bit of shading, which implies that this is the leg on the other side, like that. So the other part I wanted to use was the color of this clothing here. I'm gonna use something quite similar to that, cuz I think it'd suit our captor's bulging neck here. So If we just sort of imagine that it's a much larger collar, which bulges around this huge toad's neck and goes around it like that, and like that. Goes back up to the top and I like the way we have some details so that I design my own sort of design but I'm taking the idea of having details all bunched round this neck collar piece like this. And we're going to work in some details like that. And again put in some shadows. So at this point I'm implying that this is the back face of our collar, and our neck of our toad is actually going inside that like this and bulging out like that. I'm gonna take this sort of process of taking small snippets from my reference image, using them as a cue, and applying them to my design here. I'll work through this whole design, I'll speed up my drawing, and hopefully you can follow along. So now I'm feeling quite happy with the sketch, my frog here. I've copied a few elements here, so I've used them as inspiration. I've used this sort of shape of the sleeve here, we have this sort of overlapping big shoulder sleeve thing here, and I've also used the belt design so we've got sort of a tie, a ribbon, that ties around his trousers that we've also incorporated there. The last thing left to do is to delete parts from the other layer. So you can see at the moment that our frog actually overlaps this part of the cart that should be overlapping him so this handle here should actually obscure our toad. So what we can do is just use our eraser and make our drawing a little bit clearer by erasing parts of the toad, like this. And I think this jacket will also be covered by the handle, like this. We also have parts of the toad that need to be obscuring the cart. So if we go to our push cart layer, you'll see that we need to get rid of these parts that are being obscured by his newly drawn in jacket. Like this, so we're being careful not to delete parts like this handle that need to stay, only parts that become obsolete because we've drawn over them. And also we can see this handle has gone through, and shown through his hand here, so we need to get rid of that part, and just clarify that his hand is actually holding onto the handle like that. I'll just zoom out and see that we're looking clear, and hide our base sketch. There we are. That's a drawing I'm quite happy with, and I'm ready to take that and start inking it. In the next lesson, I'll show you how to set up your pen to start inking your drawing.


