
 Lessons: 12Length: 1.7 hours
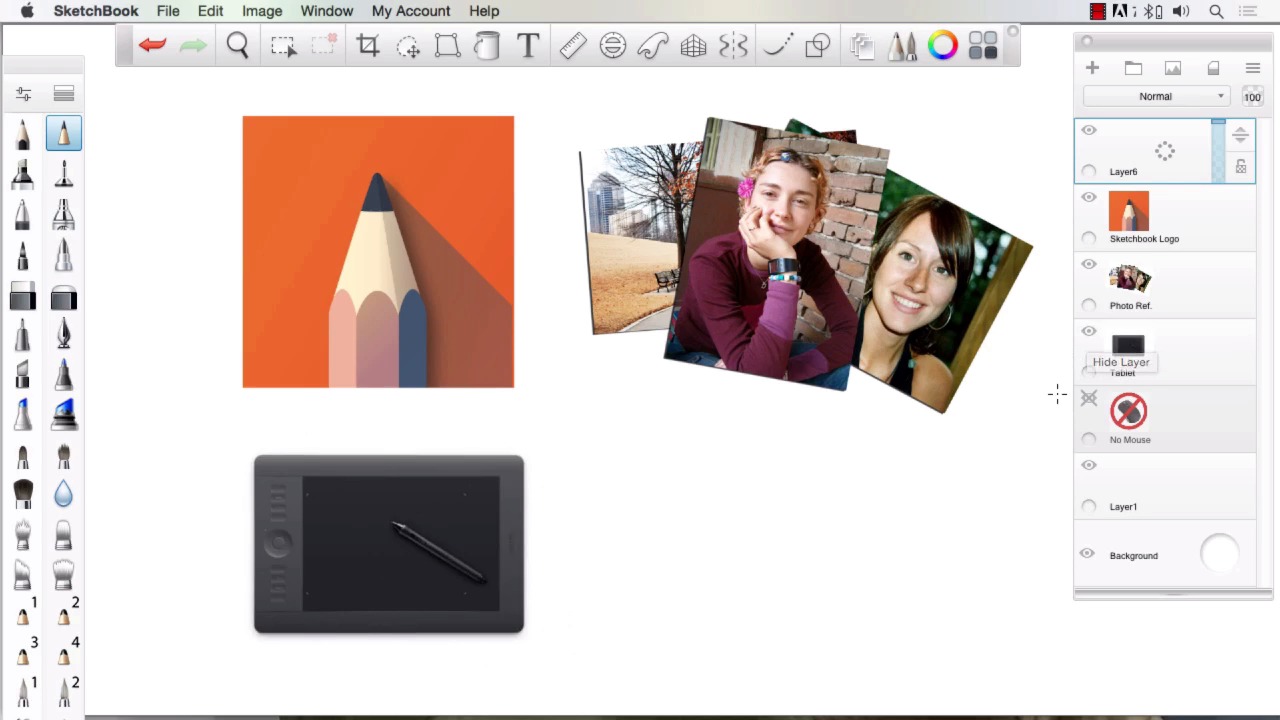
- Overview
- Transcript
1.2 Tools and Resources
The tools that you will need are a copy of Sketchbook Pro (preferably version 7) and the drawing tablet of your choice. It must have pressure sensitivity. I will be using a Wacom Tablet, but other brands are available.
1.Introduction
1.1Introduction01:11
1.2Tools and Resources02:05
2.Creating a Frame Template in Sketchbook Pro
2.1Understanding Scale and File Size When Creating Storyboards05:27
2.2Creating a Template for Our Storyboard Frames07:34
3.Taking the Script to Rough Pencils
3.1Briefing Over the Script07:12
3.2Laying Out the Rough Pencils15:00
3.3Revisions to the Rough Pencils and Camera Angles11:25
4.Refining the Artwork
4.1Understanding When and How to Use References14:46
4.2Creating the Refined Artwork17:16
4.3Looking at the Finished Work Objectively04:53
4.4How to Save Files for the Client10:57
5.Conclusion
5.1Course Conclusion and Main Points02:42
1.2 Tools and Resources
Welcome back to Storyboarding SketchBook Pro. I'm Robert Marzulo. We'll now cover Chapter 1.2, Tools and Resources. All right, so to complete this course, you're gonna need SketchBook Pro. I'm using SketchBook Pro 7. You can use whatever version you like. There may be a few tools that are specific to version 7, like the perspective rulers, but predominately all the other features are there that we'll utilize to create this type of artwork. The other thing that you may want to include is some reference material as far as clip art or photos that you take yourself. I do recommend photos you take yourself because you can control the poses much quicker. And in Storyboarding you need to learn how to create new people off poses that might not be perfect, facial features that you may need to change. So I do recommend taking your own pictures. It's quicker, and it will actually save you money over time as far as buying reference material. The other thing that you'll need to complete this is some form of drawing tablet. A lot of people ask me if they can create this type of artwork with a mouse, and I would immediately say no. I don't think that, for one, it's possible to keep up with the speed needed here to use a mouse. I know that you can accomplish some things with that, but I wouldn't recommend it. So you're gonna need some sort of drawing device. It doesn't matter what tablet you have. There's lots of good tablets on the market. You just have to have something that you feel doesn't hinder you in the drawing process, meaning that it's got a fair amount of pressure sensitivity and responsiveness. If it lags then it's gonna affect your drawing. If there's not enough pressure there to give you a nice line variation, it's gonna affect your drawing. So past that, as long as those things are accomplished by the tablet you have, then there's really no need to get into specific tablets. Whatever you feel comfortable with will be fine. And that will conclude this lesson. Next we'll head over to lesson 2.1, Understanding Scale and File Size When Creating Storyboards.


