
 Lessons: 12Length: 1.7 hours
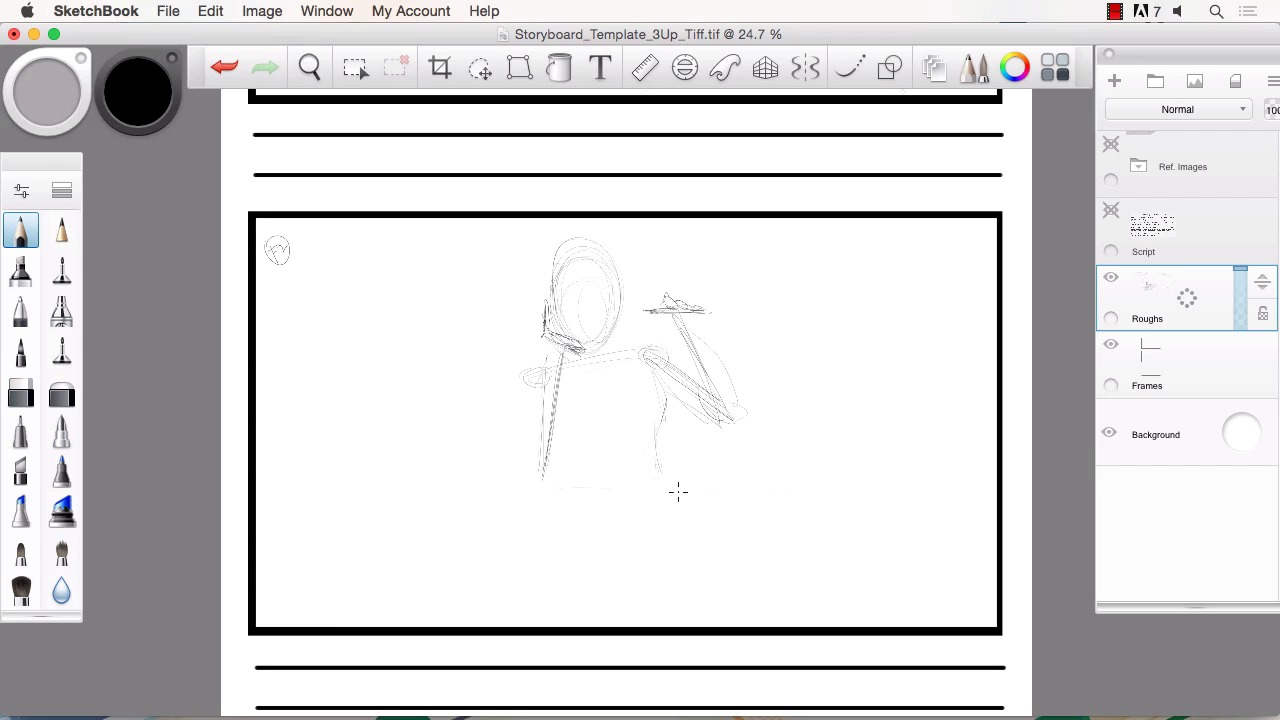
- Overview
- Transcript
3.2 Laying Out the Rough Pencils
In this lesson we will begin using Sketchbook Pro to lay out our rough pencils and work out all the scenes. I will show you how Sketchbook Pro performs when sketching out your script. We will make sure to get all the details of the script into this rough pencil stage of the art. I will explain why it is necessary to keep this stage of the artwork very loose.
1.Introduction
1.1Introduction01:11
1.2Tools and Resources02:05
2.Creating a Frame Template in Sketchbook Pro
2.1Understanding Scale and File Size When Creating Storyboards05:27
2.2Creating a Template for Our Storyboard Frames07:34
3.Taking the Script to Rough Pencils
3.1Briefing Over the Script07:12
3.2Laying Out the Rough Pencils15:00
3.3Revisions to the Rough Pencils and Camera Angles11:25
4.Refining the Artwork
4.1Understanding When and How to Use References14:46
4.2Creating the Refined Artwork17:16
4.3Looking at the Finished Work Objectively04:53
4.4How to Save Files for the Client10:57
5.Conclusion
5.1Course Conclusion and Main Points02:42
3.2 Laying Out the Rough Pencils
Welcome back to Storyboarding in SketchBook Pro, I'm Robert Marzullo. We'll now cover chapter 3.2, laying out the rough pencils. So now that we have a good understanding of what our script entails, we can now move over to roughing out the pencils. So, I'll add another frame over top of our frames layer. Click and hold to the right and I'll rename this Roughs. [LAUGH] So knowing that we have a bird's eye perspective on frame one, I'll just put F1 in the corner here and we'll start to rough this out and I'll start with something like the table here. Since it's easier to kind of envision and give us a starting point in the scene. So we'll just do a basic, what I would envision as a basic park table. Something like this. So there's our quick park table. Now keep in mind, the reason why you rough this stuff out is because it can be changed at any time. So roughs often times are changed. Once you show it to your director, they're gonna have their own perception or perceive something a little bit differently than you. Sometimes they're going to love your work, other times they're gonna wanna alter it. So, it's good to keep in mind that you wanna keep this very rough for that purpose. If you spend too much time refining this level or this stage of your artwork and there's changes made, then you could become offended or feel negative about the project, because you have too much time into it. And all of a sudden, they told you to change an angle or add a character or take something away. So it's good to keep in mind this needs to be rough for a reason, it's for time saving and it's just smarter to do it this way. So don't feel that you need to over detail at this stage of the creation. So the main thing that you wanna do is get all the elements that were in the script. There were books on the table. There was a laptop in front of our hero here and all this can be drawn and represented with very basic lines. I think it's one of the things that's actually very neat about creating work like this is you realize that you can actually accomplish a lot with basic rough sketches, you can get a lot of information in the scene like that. Now if you wanted, if you felt that this was a complex scene for you, you could actually separate these layers into various elements of the scene. We don't need to do that, but it's something that you can think about if that helps you. Now this is supposed to be a park, so what I'm gonna do is add probably a large tree back here. A few branches coming off, some foliage with the leaves, drawn like this. You'd probably create some large shadow like this and that helps this ground be the object and it being a park there's gonna probably be some kind of walkway, do something like this. And if you remember, it also said in the script to have some people walking in the distance. So I'll have it go back here to the kind of hills or horizon, like so. Then we can fit in a couple people off in the distance, drawn in silhouette form. Again, low detail at this point. So, almost unrecognizable and maybe some trees peaking over the horizon of the hills like that. So all of a sudden, it starts to come together pretty quickly that this is probably some kind of I would say, outdoor setting, park. And then you can just go from there and add more detail, but making sure that we get the basic information down. Now since the main area of influence or attraction is here, that's what we wanna focus on. So we wanna zoom in there a little bit. Make sure that all the elements that they spoke about in the script are there, a girl in a tshirt you can draw. A little bit of that in there, so its apparent what she's wearing. She's writing something down and make sure it's apparent. A lot of times you can draw attention to whatever the elements or the details on the scene are just by darkening the lines. We'll do that and make it really clear that's she's drawing onto something. Make sure there's multiple books in the scene, like that. And then you could ask questions like, she's got all these books will there be maybe a book bag setup by the table? And keep that in mind also that a lot of times, if you offer ideas like that and they go with it. It just makes you a little bit more valuable to the director and to the people coordinating this when you have good ideas and when you're willing to contribute those and help the production. And you gotta remember as a storyboard artist, you are a very integral part of the creative process. So give those ideas. If you have those good ideas, then let them flow. So just like that, I mean and you can tell. If I was to zoom in here, there's no face detail yet. You can tell there's a bit of a ponytail here, maybe do a little bit more of the detail of the face. I can usually determine the face is pointing down by drawing this cross-section across the face, but it's very rough and that's okay. So there's our frame one and we can pop the script on and off and double check it, make sure that everything that's in the script is on that sketch. Looks good. Now to frame two. So now for the roughs on frame two, putting up F2 up here and our hero is sitting at the table. This is a medium shot. We'll say, something like this. And a hand up, holding her face. And she's holding the pen to the viewer, to the camera. As if she's presenting it. And we'll do a little bit of perspective on the table. We wanna make sure to have some of the elements from the background in the scene like the tree behind her. Some of the foliage or landscape, stuff like that. Now she's smiling into camera based on the script. And again, at this stage, it doesn't have to be very refined, but you wanna get all the information in the picture. So by drawing it this way, you're explaining that this is the pose I'm kinda of seeing. Do you agree that this is what you're looking for? And that's where the rough is going back and forth, that's what we'll be explained. So there are opportunities to change things and say, no, I like the arm lower, I like the angle of her hand different. I'd like more of a smile, less of a smile, etc. And again, the beauty of SketchBook Pro to create something like this, very easy to edit your lines, move them around. By using the selection tools, If you need to scale something. It's really nice to be able to manipulate your rough sketch, it saves you time on the next stage of the art process. So now as far as framing, I probably take this table, sketch line, move it forward. Stretch that over a bit, move her downward. Scale her up a bit, like this. And then possibly take the whole framing and scale it up even a bit more. And this is where you basically play around with the art work and you get your framing just the way that you would like to see it and based on what you think the script is telling you to do. And obviously, you wanna get in those other elements like the books. Now we're on a lot tighter of a shot, so we can add a little bit more detail. If they want specifics like what type of book she's studying, then you can write those on the binder, things like that. We have the notebook in front of her she was writing on, something like this. You can even do a hint of the back of the laptop coming into the scene, like that. The texture of the table, all those things. But for the sake of just getting everything in place, that's all you need is these rough lines. And remember, it's always nice to be able to pan back and look at the scene previous and try to picture what you would really see in this background by studying the first scene. You probably see a little bit of the rolling hills and a little bit of the foliage, not much, but it helps you to visualize that. I always look at it like this, each additional frame helps me revisualize and get a better perception of the overall scene. So it's almost like it gets easier to draw, because I have more information to extrapolate from. So now the final frame, frame three and this is a closeup to an extreme closeup. I call this an extreme closeup. When the face is pretty much all the way in frame, your maybe missing a few little elements of it. To me, an extreme closeup is when you zoom in really tight to the eye or something like that or the lips and that's an extreme closeup. But again, everybody has a little bit different perception of what all these all the terminologies mean. So that's where the rough sketch allows you to just converse that back and forth and really hone in on what exactly everybody's thinking. And this is gonna be more of a brighter more extreme smile, so there's gonna be more of an open mouth and some teeth showing. And even in the rough here since this is just the face, I can start to add a little bit more detail than I would have in the previous frame, because we're so tight on the hero's face. Eyebrows are tilted back generally with a lighthearted, happy expression. And just like that, we have our starting point are rough to the kind of shape and positioning of the face, the amount of closeup and we can put in some back ground details. But as the script said, the majority of the focus is just on the character, the hero at this stage. So, and then sometimes when you're trying to zero in on a character, you can do certain effects. You see this in comics a lot, but even in storyboards where there's kind of some motion lines pointing in the direction of the character. So we're gonna call that our rough right there. I wanna show you how we can take this and add a lot more refinement and how this gets us started in our story making process. So that will conclude this chapter laying out the rough pencils. Now we'll head over to chapter 3.3 revisions to the rough pencils and camera angles.


