
 Lessons: 16Length: 2.1 hours
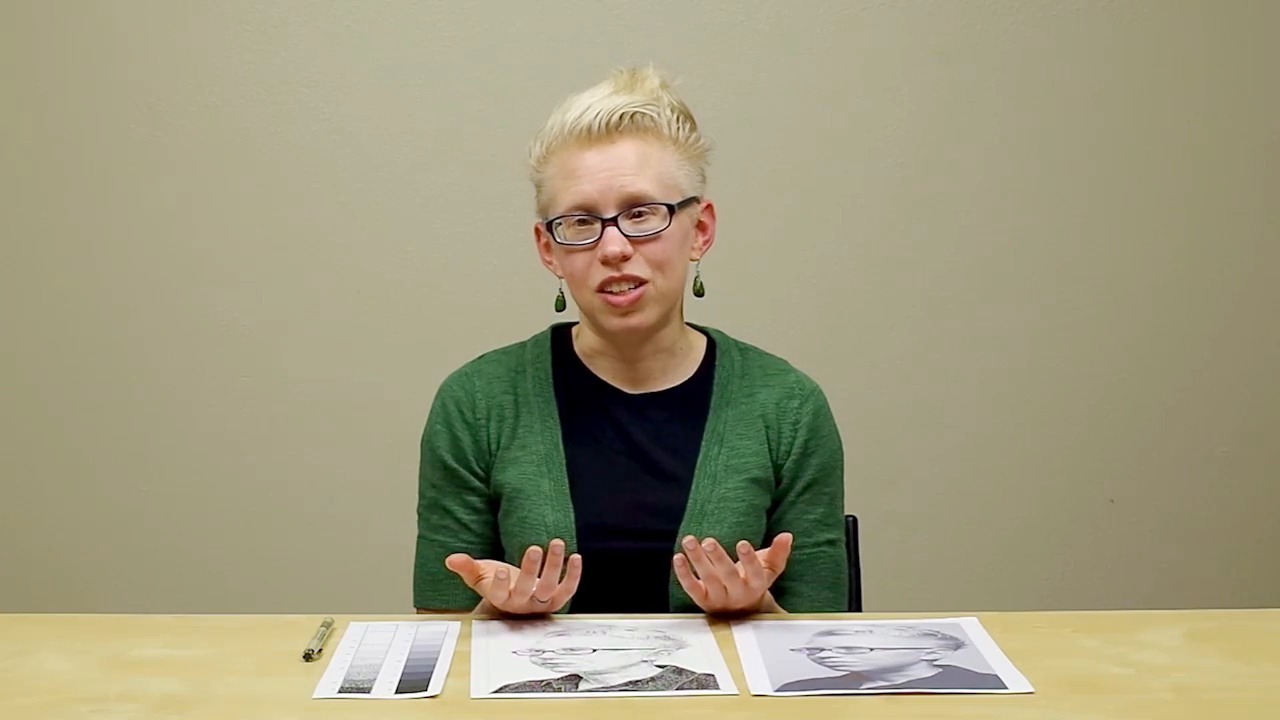
- Overview
- Transcript
7.1 Conclusion
I hope you’ve enjoyed learning how to use a felt-tip pen to create your first pointillism portrait. Now that you have the basic skills and a lovely gradation scale, you can create a pointillism piece with any subject, whether it’s more portraits or landscapes. My name is Megan Eckman and from all of us here at Tuts+, thanks for watching.
1.Introduction
1.1Introduction and Tools01:40
2.Making a Gradation Scale
2.1Dot in the Boxes09:25
2.2Finishing Off the Gradient Scale07:56
3.Sketching Out the Portrait
3.1Sketch Out the Portrait05:20
3.2Section Out the Value Areas06:15
4.Ink the Portrait
4.1Ink the Even Values in the Face10:47
4.2Finishing Off the Face16:51
4.3Ink the Even Values in the Shirt08:12
4.4Ink the Even Values in the Hair13:17
5.Inking the Fine Details
5.1Ink the Mouth06:31
5.2Ink the Nose04:23
5.3Ink the Eyes08:55
6.Blending
6.1Blending the Shirt06:43
6.2Blending the Face06:05
6.3Blending the Hair12:00
7.Conclusion
7.1Conclusion00:43
7.1 Conclusion
You should be so proud of yourself. You've just finished your first pointillism portrait. I am very happy with how my drawing turned out and I hope that you are too. We've learned a lot with this new technique called pointillism. You've probably figured out by now, it's a very patient technique to use. But it's a very rewarding skill to have because you can use it to ink in any subject matter that you like. It's a great way to show off to a client. And it's also a great way to boost your confidence in using pen and ink. I hope you've had a great time learning how to use your pen in a new way. I've had a wonderful time teaching you my favorite techniques with pen and ink.


