
 Lessons: 14Length: 1.4 hours
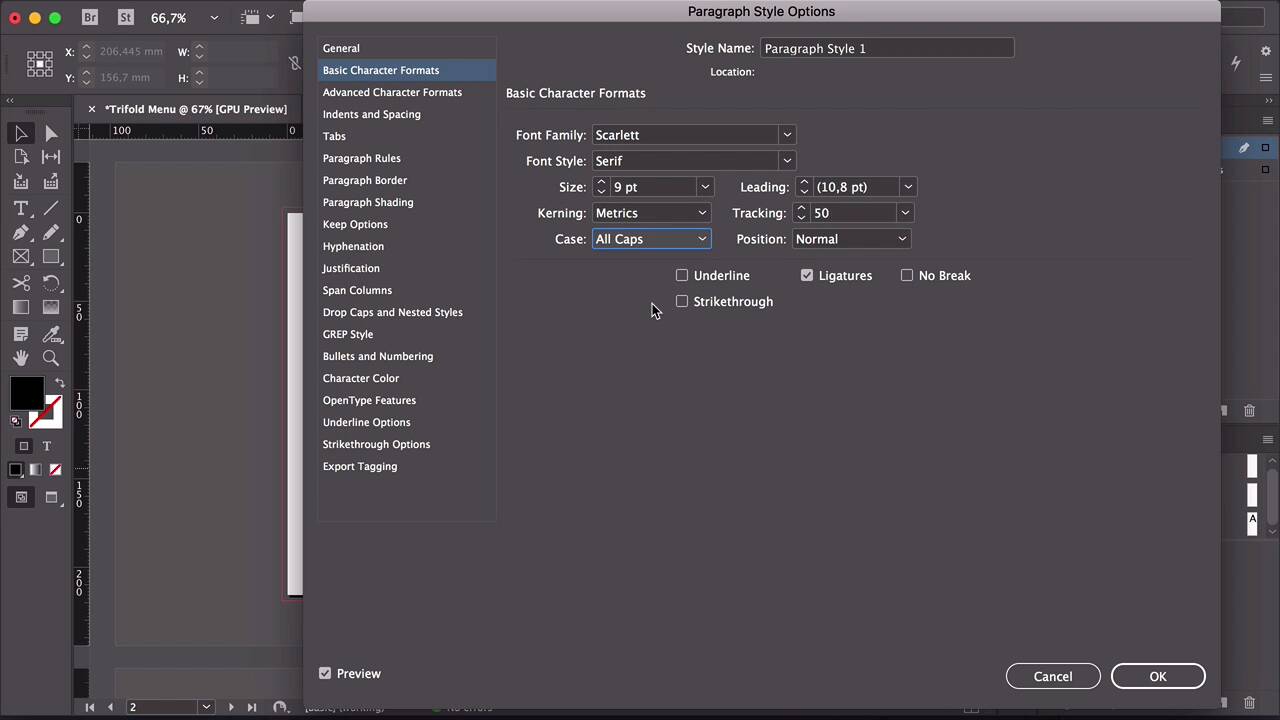
- Overview
- Transcript
3.2 Color Swatches, Paragraph Styles, and Tables
In this lesson, we’ll take what we learned previously and apply it to the trifold menu design. We’ll select sophisticated colour swatches for this high-end brochure. By creating more detailed paragraph styles, you’ll be able to create hierarchy layers on your restaurant menu template.
1.Introduction
1.1Welcome to "Restaurant Menu Design in Adobe InDesign"01:01
1.2Restaurant Menu Design Assets and Software02:04
1.3How to Edit a Restaurant Menu Template12:26
1.4Tips and Tricks05:01
2.How to Create a Menu Card
2.1Setting Up a Menu Card File03:39
2.2Color Swatches and Styles13:12
2.3Using Tables in InDesign05:50
2.4How to Design a Restaurant Menu Card11:44
2.5Preparing the File for Print04:02
3.How to Create a Trifold Menu
3.1Setting Up a Trifold Menu Design File05:42
3.2Color Swatches, Paragraph Styles, and Tables08:05
3.3Completing Your Trifold Menu Design07:56
3.4Preparing the Trifold Menu File for Print03:10
4.Conclusion
4.1Conclusion02:02
3.2 Color Swatches, Paragraph Styles, and Tables
Hi there and welcome back to this course. In this lesson we'll take a look at what we learned previously and apply it to the trifold brochure. We'll select a few colors for the color swatches panel, and use the paragraph styles to style the document. Let's take a look. Head over to the Swatches panel. If you don't have it open, head over to Window. Color swatches. Select the first color, press Shift and Select the last color. We'll delete these so we can make room for our new colors. Add a new swatch, double click, and here I'm looking for a dark yellowish color, almost like a gold. Click OK, and that's it for our swatches. We'll keep it simple and work with the black as well. Open the Paragraphs Styles panel by going to Windows, Styles, Paragraph Styles. Add a new style, double-click, and change the style name to Restaurant Name. Set the basic character formats and set the font family to Scarlett. Synthesize to 45 points. Now head over to Indents and Spacing, set the alignment to Center. And one last thing, let's set the case to all caps on the basic Character Formats option. Click OK, add a new style, Name it the restaurant tag or description. Based on No Paragraph Style. And here you can see that this is the same format that we used for the previous style. So that saves time when you're creating the styles, setting it to No Paragraph Style. Set the size to 12 points, leading to 25. Leave the case as all caps, make sure that Indents and Spacing is Center, and click OK. Add a new style. Set the name to telephone and address based on No Paragraph Style. And here I'll show you the Reset to Base button. So click on the Reset to Base button and you will see on this table settings that everything gets erased. So that means that you will be starting to set this style from the default options that InDesign gives you. Head over to Basic Character Formats. And here you can see that all of the settings are as default settings. So this is useful, for example, if you want to be a little bit more meticulous and be sure that you're starting with a clean slate. Set the font family to Scarlett. Set the size to 9 points, tracking to 200. Ks all caps, under Indent and Spacing, set the alignment to Center, and just set the color to paper. Let's just make sure here that Restaurant Tiger descriptions also set paper, and the same for restaurant name. Add a New Style. Set the name to Menu Title. Based on No Paragraph Style we can Reset to Base and use the font family Scarlett at 18 points, 25 tracking. Set the case to all caps. And under Color, select the Muted Yellow. Create a New Paragraph Style based on No Paragraph Style, and Reset to Base. Set the font family to Scarlett at 9 points, 50 tracking, all caps. Character color to black, and let's not forget the name. Menu item, click OK. Add a new style, Menu description, let's Reset to Base here, font family Scarlett, Size seven. We'll add some tracking here since the font size is so small, that will help to give it some air in between, so it's easier to read said the character color to the muted yellow. And that's it. We'll add the placeholder text. Select the text tool and draw a text box outside the page. Right click, fill with placeholder text. And I just want to select this and already style ID, Menu item. So, we can start designing here. Just duplicate it. Please hold the text to the second spread. Now, let's start with the Inside Menu, let's start with the first panel. So, select the text tool and create a text box. Let's insert a table. Table insert table. Body of rows to 15. Columns to two. Let's extend this all the way to the bottom margin. Head over to Window, Type and Tables. Table we can open the table panel, select all the table, And I want to make the first column wider. I could change the value from the Tables panel or I can double-click on the vertical stroking between the column. And drag towards the right. So roughly 62 maybe 68. So that way we don't need that much of a big space for the price. You know, we can make the price narrower. Okay, now we can select everything and set there will have to be at least, let's see maybe 15 millimeters work. Thirteen, that looks better. So there is no plus sign at the bottom right corner, that means that it fits the till fit in the text box. And I just want to change the inset here to zero to make sure that all the text is placed at the beginning of every cell. Now I want to get rid of the black stroke of the table, so select the whole table, head over to the Options bar, and make sure that all of the edges are selected here on the little table map. Set the stroke to none, and there we have it. So let's add a section name. You can put starters. On the paragraph set the style to Menu, Title. Just want to copy and paste here, Menu item, And now we just need a description so something a little bit longer. Copy, paste here select it, and set the menu description style. Maybe something a little bit, just a little bit longer. Select the Price column by going to the very top, wait until you see the arrow, select it, and set it to Menu items since that's the style I want to use for the price. And let that 12. So we have all the essentials that we need to design the rest of the trifold menu, in the next lesson we wiill show you how to design the rest of the menu. And how you can create a story by using the six panels on a trifold brochure. I'll see you there.


