
 Lessons: 12Length: 1 hour
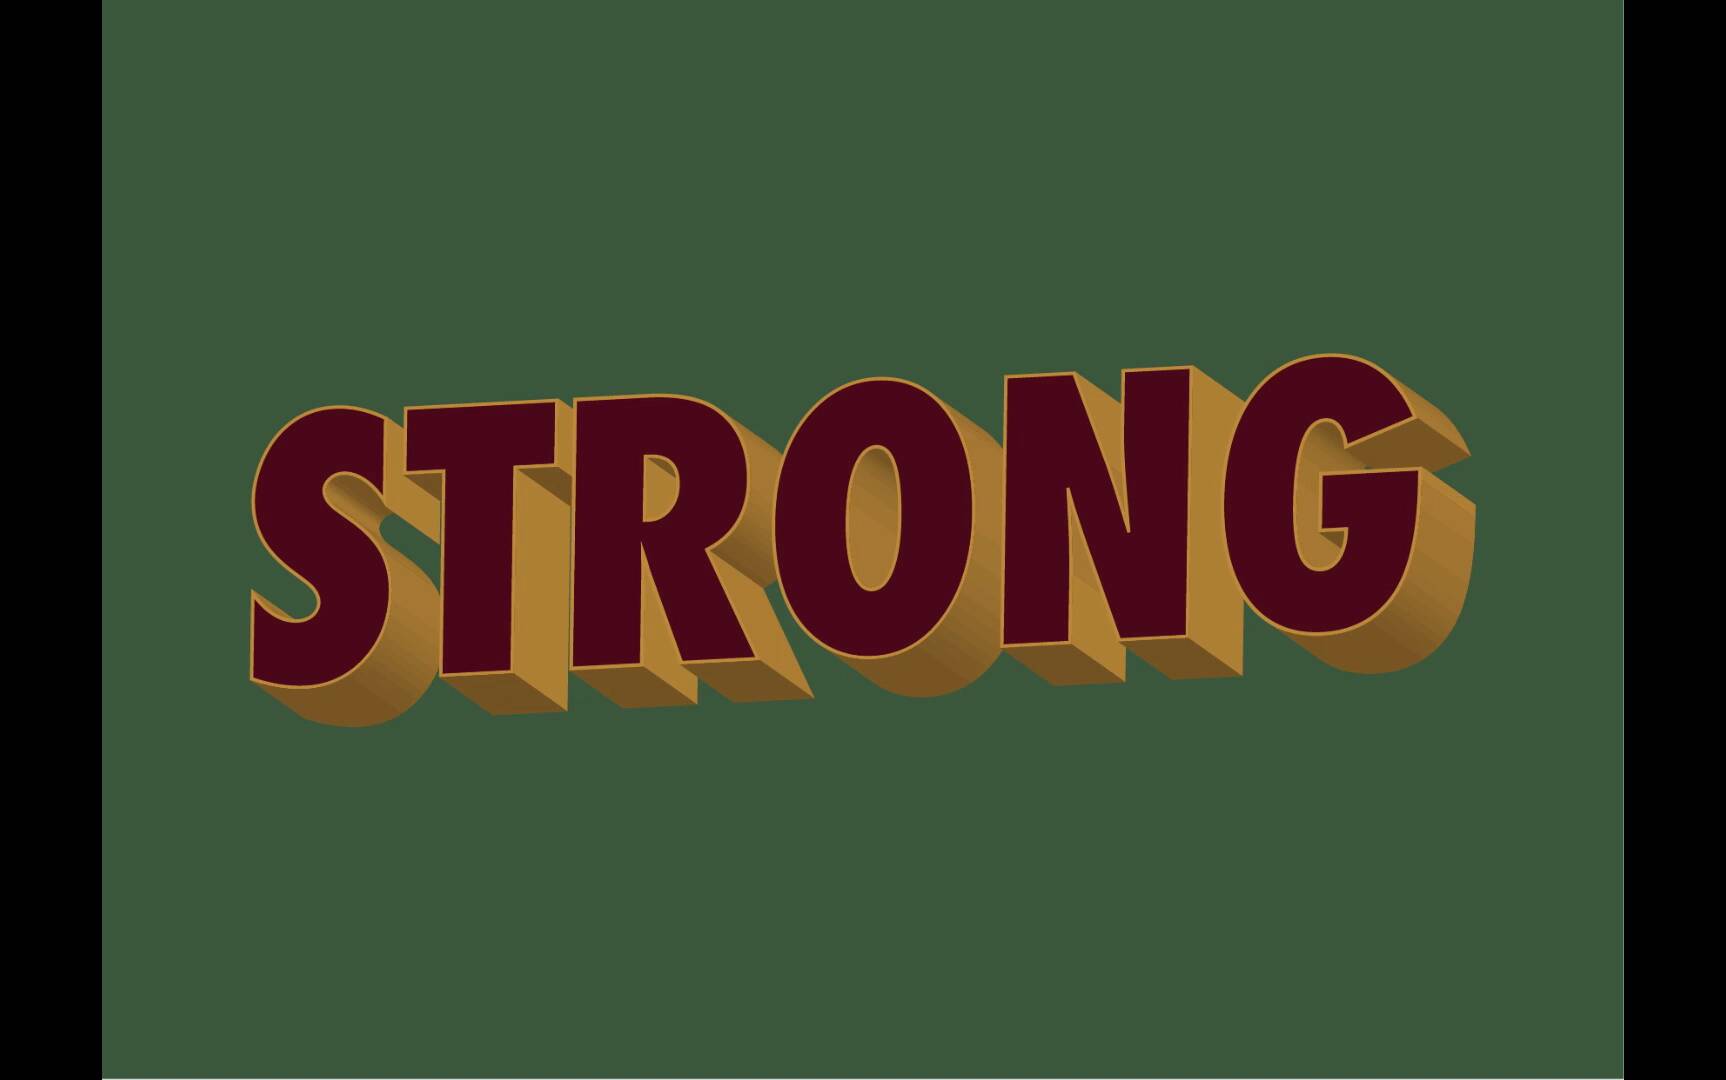
- Overview
- Transcript
3.1 Conclusion
In this final lesson, we round up what we have learned in the course about how to make 3D text in Illustrator. We will recap the techniques and tools you'll need to create your own fantastic three-dimensional text.
Related Links
- Fonts on Envato Elements
- 3D Text Effects on Envato Elements
1.Introduction
1.1Introduction01:07
1.2Tips for Creating 3D Text in Illustrator01:11
1.3Preparing Our 3D Letters01:36
2.Techniques and Tools for Creating 3D Text
2.1Style 1: 3D Block Letters07:15
2.23D Text Style 209:08
2.33D Text Style 304:47
2.43D Text Style 407:19
2.53D Text Style 505:16
2.63D Text Style 604:42
2.73D Text Style 707:02
2.83D Text Style 811:39
3.Conclusion
3.1Conclusion01:10
3.1 Conclusion
Hello everyone, and welcome to the final lesson. So to recap, we've learnt how to use the blend tool and clipping masks to create a striking and simple design. We've looked at how to make shadows with the blend tool, and how to sink parts of letters inside themselves. We've learned how to use the shear tool to create different angles. We've looked at how the free transform tool can be used to create perspective. We've learned how to create bubble like lettering using blur effects. We've also looked at how to use the extrude and bevel tool to quickly but effectively create bold, 3D letters. We've lettered how you can map letters around a shape. And we've learnt how to create ribbon style lettering using the pen tool and gradients. I hope you've enjoyed this course and you've found it useful. If you have any questions or want to share your 3D typography with me, I'd be very excited to see it. You can find me on Instagram @mattwivz. Thanks for watching and see you next time.


