
 Lessons: 12Length: 2.5 hours
- Overview
- Transcript
5.1 Overview
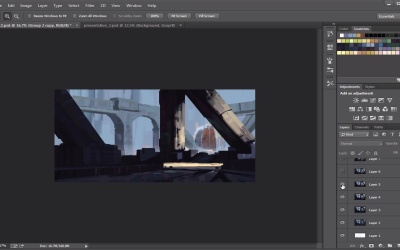
We will take a brief look at our previous course, how it relates to this one, and what the future steps might be. We will also take a look at our finished painting and discuss the process of how we started our painting and how we finished it.
1.Introduction
1.1Introduction00:57
2.Creating an Environment
2.1Line Art / Composition14:13
2.2Blocking In Colors14:46
2.3Adding Form and Lighting12:38
2.4Refining Edges15:16
2.5Refining Edges Continued15:00
2.6Refining Foliage14:52
3.Adding Texture and Foliage
3.1Adding Texture14:47
3.2Texturing Foliage14:57
4.Finishing Up
4.1Adding Finishing Touches14:55
4.2Adding Character13:43
5.Conclusion
5.1Overview03:34
5.1 Overview
All right guys, so now that we've finished, let's do a quick overview of how we started here. Again, the point of all of this was to take a funnel that we already did, and then we wanna add more detail to it. So we can take a look at the presentation one that we did in the last course over here, and that was the one that we picked, right? So we looked at this one and we're like, you know what? If a client came up to us and was like hey Ken, I like this one. Let's add more, detail it. Let's detail it out, let's flesh it out. Let's think of some cool ideas. What could that possibly be? Well, that's what we did here in this course today. So we took this one here, and we're like, all right. Let's figure out what that could be. So we took that idea, and we kind of started out with some nice, some kind of really chill line work. And granted, we did it very kind of polygonal. And the reason why, is because it comes from that painting background, right? So the more I can break it down this way, the easier it is for me to add more detail, and to think about composition and make this piece feel really interesting. But granted, just like we weren't necessarily tied down to this particular composition, we weren't tied down to this one either. Things could easily change as we go. And you can see how that happens as we walk through this one. So we blocked in the color, right, very, very simple, getting some more of warm and cool values. And from there we started to add some lighting and some form to figure out what we wanna do here, in terms of the lighting comes from the right side. You know what kind of colors you want the forms to be in terms of the shadows, all that kind of stuff. From there you can see we started to add some lighting here, a little bit more warmer to warmer values. And here's kinda where the edge really transitions here. These edges get a little bit more softer, to feel a little more painterly. You can see how that happens. There we make it a little bit more wider. Just because he wanted to look more like a wide angle shot, that you might see in a movie or something like that. From there we added in some foliage, we fixed up the water, all that stuff. Added in some of these branches, to get that going. And the next stage, we used some of the photography that we had to get some of that greenery figured out a little bit earlier. Rather than later, so that way our job's easier to design this guy out. And then from here, we move that guy over. Some little shift right there, and then from there, you can see how we put this little foreground element in here to kind of give it a little bit more depth. And then from there, the last thing to do, was to kind of add a little bit more lighting, blend some things out and then there you go. We have a little character there. Everything looks really, really cool. So that's pretty much it in terms of the design process, of how I do things in a normal day to day. I mean, I probably could take this offline and probably add a little more values here and there, but overall, I was pretty happy with that. I thought it came out to be a really, really cool idea. So again, we'll just scroll through here a little bit and see this fun process of designing. And hopefully you guys will find a little way to approach your environments too, as you go on so again you can see all that. So that looks pretty cool. So yeah, that is it for me, guys. I guess I wanna thank you guys for taking this course with me. I hope you guys had a really great time learning with me, as I did with you guys. Hopefully, in the next tutorial, we can probably go over some things about, either using photography or even using 3D modeling as a way to get our job done and help us solve some problems. So hopefully we'll get to that sooner rather than later. But in the meantime, thank you guys very much. I really, really appreciate it and I will see you guys around. Okay, talk to you guys later.


