
 Lessons: 14Length: 1.7 hours
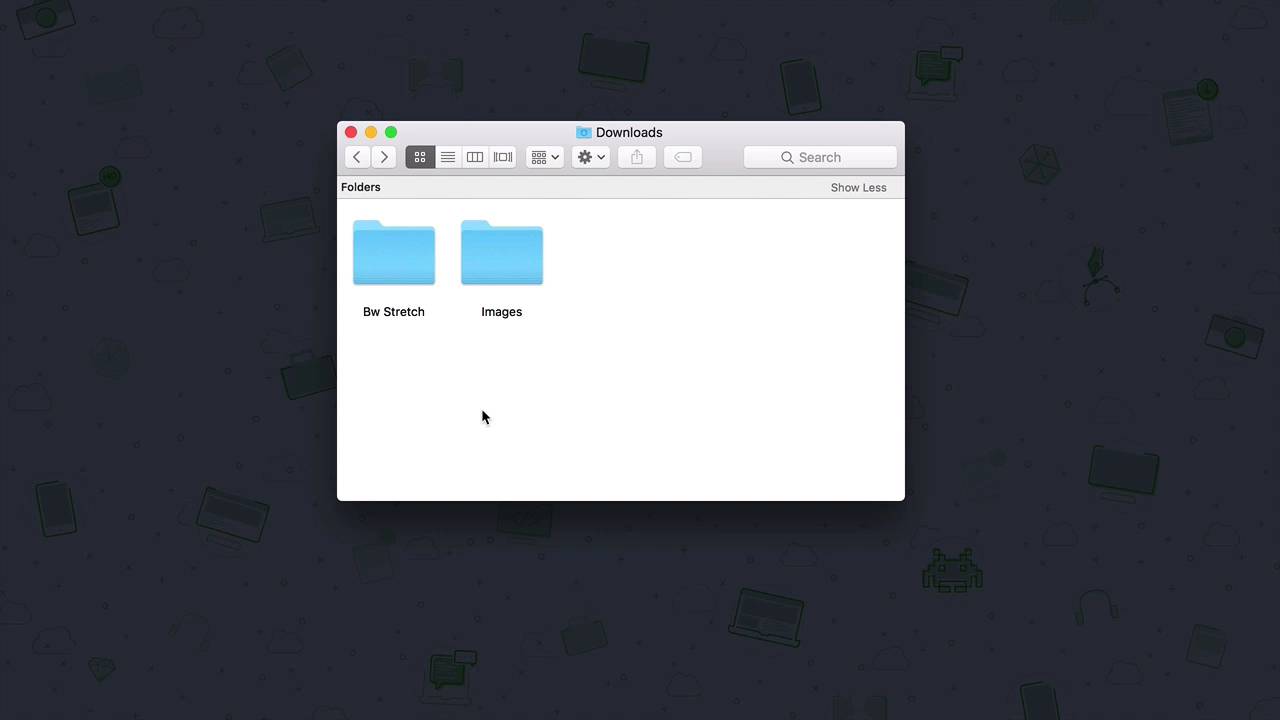
- Overview
- Transcript
1.4 What You’ll Need to Get Started
In this lesson, we’ll take a look at the assets and software that you’ll need to create the poster in this course. Why not start creating your own unique design as you follow along with the course!
Related Links
1.Introduction
1.1Introduction00:54
1.2The Creative Process07:53
1.3Choosing Fonts and Images05:04
1.4What You’ll Need to Get Started01:37
2.Creating a Typography Poster Design in Adobe Photoshop
2.1How to Create a Ready-to-Print Photoshop File06:43
2.2Preparing Images for Printing04:09
2.3How to Use Layer Masks12:24
2.4Typography, Character, and Paragraph Panels11:32
2.5How to Create a Composition15:13
3.Refining the Design
3.1Refining the Design13:13
3.2Further Refinements06:17
4.Preparing Files for Printing and Web
4.1Preparing a File for Print08:55
4.2Preparing a File for Sharing Online05:30
5.Conclusion
5.1Conclusion00:48
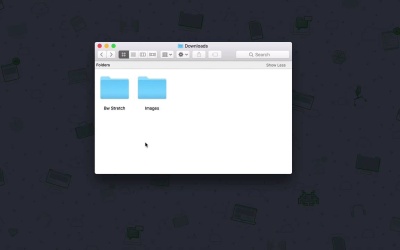
1.4 What You’ll Need to Get Started
Hi there, welcome back. In this quick video, I will show you the images, fonts, and software you need to follow along with the lessons and create your own topographic poster. Let's briefly talk about organization. I've organized the fonts and images into two separate folders. In this one I have the font Bw Stretch. This font is tall, narrow, and includes alternates. It will be a lot of fun to experiment with it. In this other folder I have the images. And we won't be using all of them, but we need options to see what will work best for a poster. Place these two folders somewhere easy to find on your computer. You will also need to make sure to install the fonts on your computer. You can do so by unzipping or decompressing the files we downloaded from the Envato Elements website. As a result, you will get a folder. And you can drag this folder into the font book to install it. Like anything with design, there is no right or wrong software to use. For this course, I will be using Adobe Photoshop. While it is mainly used for photo manipulations, it also has some great design features, which makes it perfect for our course. If you don't have the application, you can download it from the website. You can also get a seven day free trial if you don't want to commit right away. If you will be using a different software, keep in mind that the shortcuts and some of the layouts won't look the same. Now that we have everything we need, we're ready to get started. I'll see you in the next lesson.


