
 Lessons: 9Length: 39 minutes
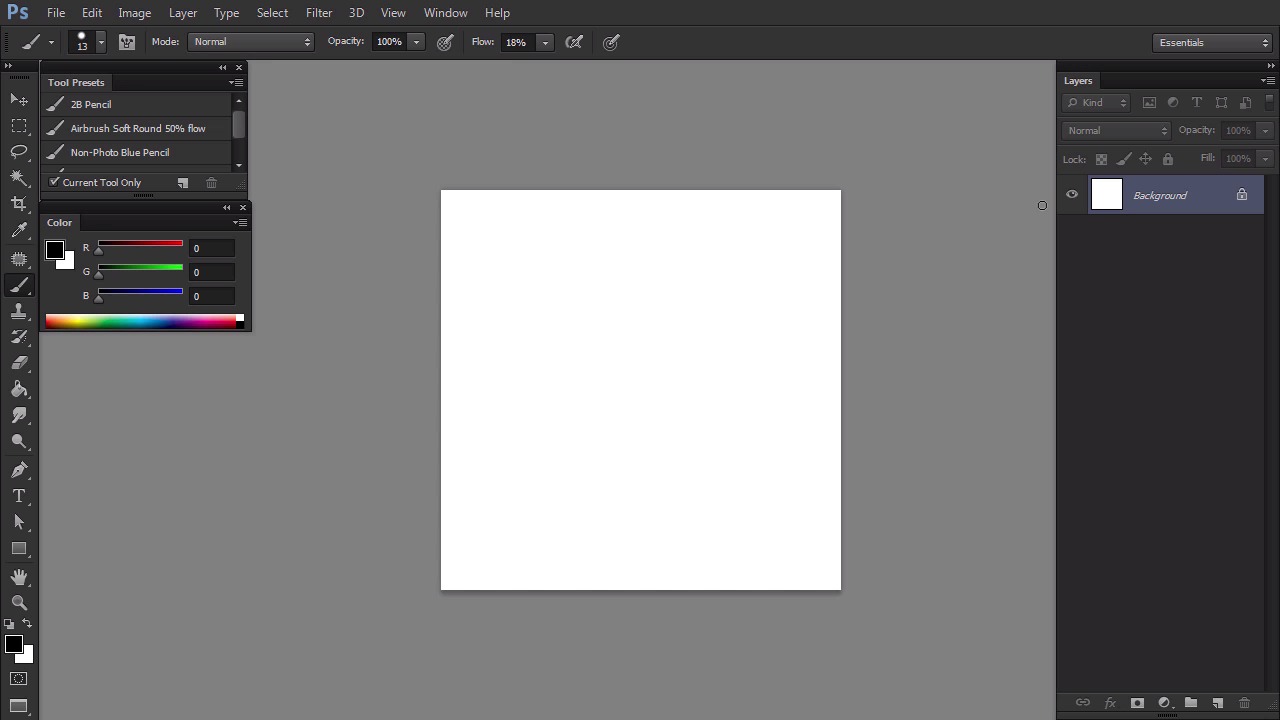
- Overview
- Transcript
1.2 Tools and Resources
New to Photoshop? In this part we’re going to adjust its complicated workspace to our needs, and learn about the tools we’ll use. If you’re “tabletless”, make sure to check the tutorial below first.
Related Links
1.Introduction
1.1Introduction02:15
1.2Tools and Resources04:32
2.Theory of Shading
2.1Light, Shadow, and Color04:20
3.Coloring and Shading
3.1Simple Coloring05:48
3.2Base Light04:44
3.3Main Light03:26
3.4Additional Lights05:44
3.5Additional Tweaks06:18
4.Conclusion
4.1Conclusion01:47
1.2 Tools and Resources
Hi, welcome to simple coloring and shading liner in Adobe Photoshop. My name is Monica Lagriburna and in this part I'm going to show you around Photoshop. The software I use is Photoshop CS6 but older versions should do just fine. My drawing tool is welcome syntex 13 HD which is a screen tablet. Don't worry, this is not required for this tutorial. It will be great if you use the graphics tablet of any manufacturer, but if you can't get one, I also include tips for completely tablet-less people. Open your Photoshop. For a beginner, it looks cluttered and complicated, so let's clean up the workspace. First close all the panels we don't need, so that they don't get in the way. Right click and select close at every panel, except layers and color. We also need another panel that's not shown by default. Open the window menu and select tool presets. We're going to have a lot of layers, so let's reserve some space for them. Drag both tool presets and color panels to the left and make them as small as possible. This is our work space. Now let me show you what we need these panels for. The most important here is the layers panel. You may have heard of layers, the parts of a picture that you can modify separately. For example, if you draw the head from one layer in the eye of another, you'll be able to delete the eye without affecting the head. You can create new layers by clicking the white card icon and remove them with delete key. To paint something on any of the layers, we need a brush. Find its icon among other tools or simply press B key. Go create a new layer and draw something. Then create another layer and draw something else. If you click the little eye next to a layer, it will become invisible. It's not lost, you can show it back anytime. Photoshop comes with a set of default brushes, but for the purpose of this course, we're going to use a very simple set of mine. It's saved as a tool preset, so load it through this panel. We get three brushes here. You can change their size during painting using squared bracket keys. If you don't have a tablet and you don't want to paint with 100% pressure all the time, you can lower it low. Test it. The color panel can be used to change colors but we're going to add just a little bit. Open its menu and select HSV sliders. They let you adjust hue, saturation and brightness separately which is more intuitive than default RGB mixing. You can also pick the color with the color picker. And then use the sliders to make your sample brighter or more saturated. You can always come back to the default black and white by pressing D key. You can always flit between these two by pressing X. Digital painting is difficult, even if you have a tablet. That's why we often use selections to constrain our strokes. You can create a selection with a lasso tool, or, if you don't have a tablet, the pen tool. It's too complex to explain in this course so if you need it, pause the video, and try the tutorial I'll link to in the assets. A selection defines an area of painting, no stroke can cross its borders. This gives us a chance to paint freely without controlling the brush. If the edges of selection disturb you, you can hide them with a shortcut, Ctrl+H You can also remove the selection with the shortcut Ctrl+D. Before we go any further open the file with the line art you can find in the assets or just create a new file and load your own drawing. If you feel confident, you can go straight to the coloring section. If you'd like some more information yet, let's go to the next part to learn the theory this course is based on.


