
 Lessons: 9Length: 39 minutes
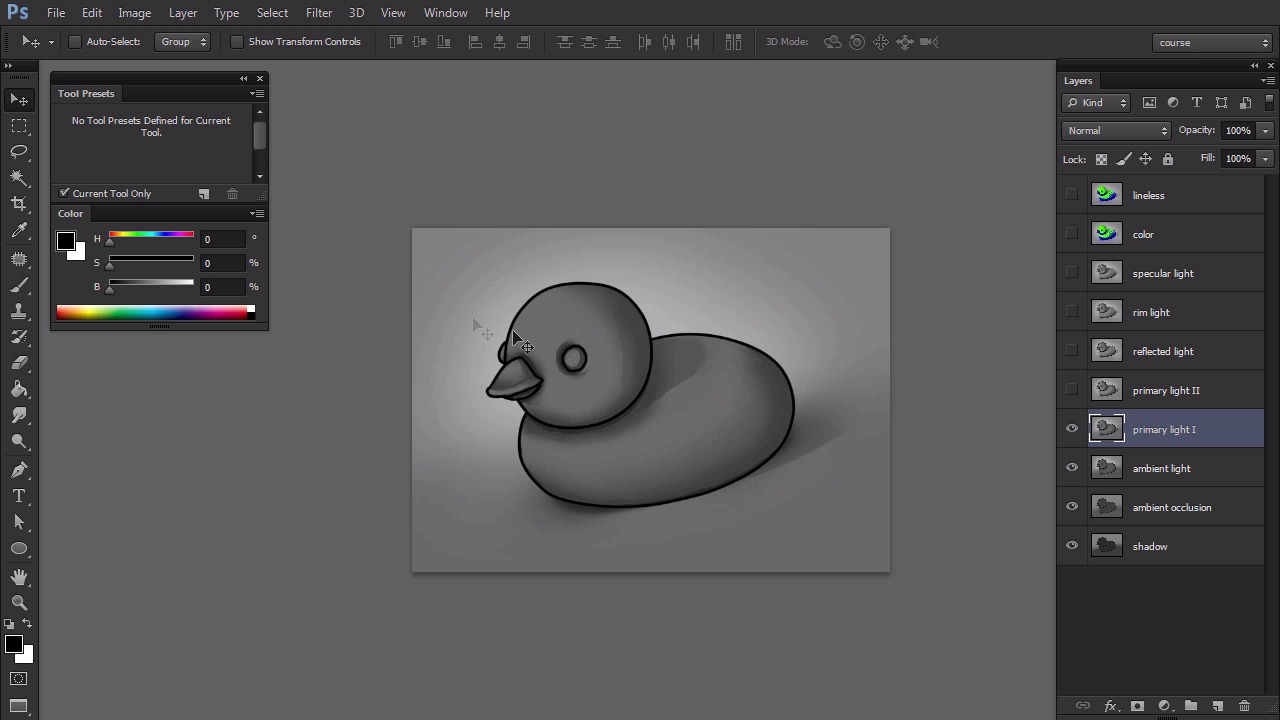
- Overview
- Transcript
2.1 Light, Shadow, and Color
Here I'll show you what kinds of light we can use for shading, and why we need them. If you feel confident, you can skip this lesson, as it's just a preparation for the practical part of the course.
1.Introduction
1.1Introduction02:15
1.2Tools and Resources04:32
2.Theory of Shading
2.1Light, Shadow, and Color04:20
3.Coloring and Shading
3.1Simple Coloring05:48
3.2Base Light04:44
3.3Main Light03:26
3.4Additional Lights05:44
3.5Additional Tweaks06:18
4.Conclusion
4.1Conclusion01:47
2.1 Light, Shadow, and Color
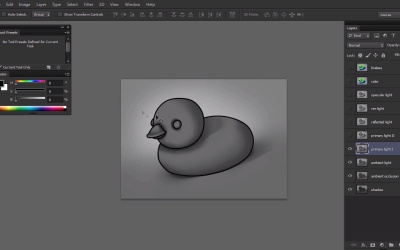
Hi, welcome back to Simple Coloring and Shading the Line Art in Adobe Photoshop. My name is Monica in this part, I'm gong to present the most popular kinds of light we use in painting. Everything we see is created by light. All the colors and every shape, every line we perceive. It's created by our brains according to the information our eyes receive. It makes the topic of light, shadow, and color very complicated, and hard to translate into the language of painting. However, by careful observation of the world around us we are able to recreate rules that our brain used to recognize something as realistic. There are a lot of them, but by applying even a few to your picture you can give it a decent level of. As a beginner, you probably feel more comfortable starting a painting with lines and there's nothing wrong with it. I show you how to make a line art a part of the picture, creating a half realistic style. After finishing this course, you should be able to go even further and remove the lines completely. This is how our painting begins. Our object is dark because there's no light in the scene. This is of course a mental shortcut because no light means we shouldn't see anything. This is an impossible situation. And we should solve it as soon as possible. Let's see what happens if we introduce a subtle light all around, as if the air itself was glowing. This light, even though it's everywhere, can't reach some tight places. This is what we call ambient occlusion. Notice how these very thin stripes of lack of light tell us something about the object. For example, here we can see that the part of the duck lies on the ground and a part doesn't. To make the general form of the object more visible without adding any particular light source, we can add the secondary light, also called ambient light. It makes the ambient occlusion mark complete. It's also necessary if you want to give your object a natural lighting. It is common for an object to be illuminated by some kind of ambient light. The most popular kind of light is primary light. It usually comes from a directional light source. You can tell exactly where it is and which parts of the object it will reach. It can be weak or strong. The power of the primary light is measured in its contrast to the shadow. Shadow should be created automatically when the primary light is added. Because the primary light source is placed in a particular spot it can't illuminate all of the object. It may lead to in fact a fading of the opposite side, that's why we often add the reflected light to make that shadowed side more visible. This light is a part of the primary light that didn't reach the object directly but instead bounced off the ground and atmosphere to hit the object from there. Because of this reflected lights are weaker version of the primary light. Since light goes all around the object, it's impossible for the lines to stay dark. Here we can use the rim light. It comes from light hitting a bigger surface, that for us, because of perspective, seems to be small. Rim light is usually is used as a part of back light. But it's very common even without additional lighting. The last kind we may need is specular light. You can use it only on the wet or glossy surface. It will make it look shiny. It's a very powerful effect but don't overuse it. You get the best results by mixing different kinds of materials in one scene. If the lighting in the scene is created properly, adding the color is just a matter of seconds. Photoshop lets you convert the lighting layers to a special kind of layer, which affects the colors. But working on lights separately, it's easier for you to see the mistakes before they get covered with all the fancy coloring. It's also based on mechanics of seeing. Our eyes react the most to the contrast. Color is just additional information. Even though we didn't get rid of the line art in the process, proper lighting should make it almost obsolete. If you don't like how it looks with the lines, feel free to spend some more time on it to refine the picture. That's the all the theory you need to understand the process of digital painting. Now you're ready to start the course. In the next part we're going to prepare our line up for painting using clipping masks.


