
 Lessons: 12Length: 36 minutes
- Overview
- Transcript
2.1 Start With Basic Brushes
For our first tip, we'll cover Photoshop's basic brushes. Learn why it's important to start out on the essential brush types before tackling more advanced options.
1.Introduction
1.1Introduction01:04
2.Master Brush Basics
2.1Start With Basic Brushes03:16
2.2Brush Efficiency and the Layers Panel03:28
2.3Get to Know Pen Pressure03:46
2.4Learn How to Blend With Brushes03:02
3.Brush Application
3.1Hard vs. Soft Brushes03:00
3.2How to Use Texture Brushes03:04
3.3Using Other Brush Types03:44
4.Photoshop Brush Resources
4.1Installing and Using Custom Brushes03:03
4.2How to Create and Organize Custom Brushes02:51
4.3Take Advantage of Photoshop Brush Presets02:44
5.Conclusion
5.1Conclusion02:45
2.1 Start With Basic Brushes
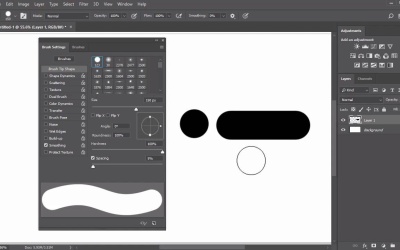
Hello everyone, and welcome back to this course. Before we begin, as someone who's been digitally painting for ten years, I promise that Photoshop brushes don't have to be as hard as they seem. And this course is dedicated to tackling the tool most illustrators and designers have trouble getting into. Feel free to review these videos over and over again until each lesson sticks. To help you see these tips applied in a real-world scenario, I'll be showing you how to use this tool in various stages of my latest digital painting Empathy, along with a few general tips for designers and photographers. Repetition and consistency is key for improvement. And in order to get the most out of these concepts, you'll need to try them out yourself to work up the appropriate muscle memory. Let's begin, here is the first tip, always start with basic brushes. Photoshop will mesmerize you with all the brushes it has available. From the massive brush sets developed by Kyle T Webster to many you can download and even create yourself, the selection is certainly limitless. And naturally, this can all be very overwhelming. Oddly enough, despite the staggering amount available, all you really need is a few essential brushes already included in your presets. Let's check them out. These brushes are a basic Hard Round brush, a Soft Round brush, a Hard Round Pressure Opacity brush, and a tapered brush. Get a handle on these first, at least until you wanna try out different styles or textures. The Hard Round brush, a hard round brush is one with 100% hardness. This means you'll have a brush with solid hard edges which create a choppy, round look when layered. Use this brush to fill the base layers of your project to create texture or to make certain details a lot more crisp. Soft Round brush, soft round brushes vary in hardness. They can be set at 0% for a completely soft edge or adjusted even higher for more balance. Use a soft round brush for general blending, to add atmospheric details, and to improve light and shadows. Hard Round Pressure Opacity brush, this one is my personal favorite. The features of this brush are only available to users with a graphics tablet. I use an Intuos Draw, but there are many brands available to try out. This brush depends on your pen pressure to decide the amount of color or ink that appears on the screen. Press your pen harder for a deeper, more pigmented saturation or lighter for an airy result. The tapered brush, great for illustrators, this brush is exactly what you need to create crisp, clean sketches. The tapered end allows your pen tablet to read your pen pressure as the pen flicks up, creating a similar result you would get from working on paper. Let's compare it to a basic Hard Round brush to see the difference. Keep in mind, you may start some sketches with other brushes, but a tapered one is great for clean, final results. For the cleanest sketch possible, just be patient. Even if you have to redraw the same line over and over, do it until you're happy with the result. In the beginning, these simple brushes are really all you need. So create a new document and work out a few doodles to help you get started. Let's move on to the next lesson where we'll learn how to be more efficient with these brushes in combination with a few Layers panel tricks.


