
 Lessons: 12Length: 36 minutes
- Overview
- Transcript
2.2 Brush Efficiency and the Layers Panel
In this lesson, we’ll cover our second tip for how to conquer brush efficiency. Memorize essential keyboard shortcuts related to the brush tool. Then, learn more about painting with the Layers panel for an improved workflow.
Related Links
1.Introduction
1.1Introduction01:04
2.Master Brush Basics
2.1Start With Basic Brushes03:16
2.2Brush Efficiency and the Layers Panel03:28
2.3Get to Know Pen Pressure03:46
2.4Learn How to Blend With Brushes03:02
3.Brush Application
3.1Hard vs. Soft Brushes03:00
3.2How to Use Texture Brushes03:04
3.3Using Other Brush Types03:44
4.Photoshop Brush Resources
4.1Installing and Using Custom Brushes03:03
4.2How to Create and Organize Custom Brushes02:51
4.3Take Advantage of Photoshop Brush Presets02:44
5.Conclusion
5.1Conclusion02:45
2.2 Brush Efficiency and the Layers Panel
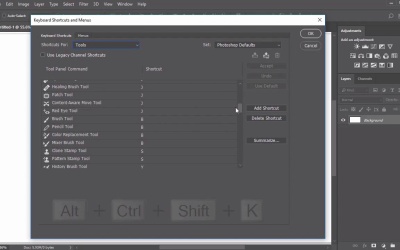
Hello everyone and welcome back to this course. In our second tip we'll learn how to make the most out of our preset brushes for efficient, no hassle illustrations and designs. Let's begin with keyboard shortcuts. Keyboard shortcuts are sometimes put on the back burner, although they're essential for helping you work faster in Photoshop. So memorize these keyboard shortcuts to help you create stronger, faster work with the brush tool. First, the letter B on your keyboard, selects the brush tool. Access the brush panel for more customization by hitting F5 on your keyboard, or by going to Window>Brushes. To change the brush size, hit the left or right square brackets to increase or decrease the size of this tool. When changing these options, hold down on the key for a seamless change or hit it just a few times to get the size you need. Similarly, you can also change the brush hardness with the left or right curly brackets. See the difference? Luckily, these options are also accessible by right clicking your canvas or selecting the drop down option while the brush tool is selected. Slide these options back and forth to get the settings you need. Creating digital illustrations often mean you have to know other tools too. In this case, the eye dropper tool is very helpful for color sampling. It automatically sets the sampled color as the new foreground or active color. So to access this option, make sure the brush tool is selected, then hold the Alt key. Click down over the color you need to add that color as your new foreground color. Then begin painting with it. Pretty helpful, right? If you have any problems with these keyboard shortcuts, you do have the ability to change them in the software preferences. I wouldn't recommend this however, as most tutorials will be dependent on the preset options currently available. For more help with brush efficiency, let's learn how it relates to the Layers panel. There are many misconceptions about digital art that I'd like to alleviate. One of them is whether or not you should paint on just one layer. And the only benefit I see with it is that it may help with file size. Otherwise, forcing yourself to paint on one layer is unnecessary and can hold back your learning experience. So instead, get into the habit of freely experimenting. Whenever you're unsure of painting a new detail simply create a new layer. Use this layer to test out the shading, lighting and colors of your work then decide if you like it. If you do, keep working on the layer or feel free to merge it with others to save file size. But if you don't, then delete the layer and create a new one to experiment again. I've had paintings that were 50 layers long and 250 layers long. But neither is a reflection of quality but more so how much I just decided to tinker or mess with the painting until it was finished. Another great thing about the layers panel is that you can use the brush tool to help in other art and design related projects. Add a simple layer mask to your images for instance to remove the backgrounds for non destructive editing. Learn more about this type of editing in my course, how to create a double exposure effect in Photoshop. Simply use a hard round brush with crisp clean edges to paint black onto the mask to remove the background completely. It's super simple and effective. I hope these initial tips will help you go far with brush efficiency. Let's move on to the next lesson in this course, where we'll learn a little more about pen pressure.


