
 Lessons: 15Length: 31 minutes
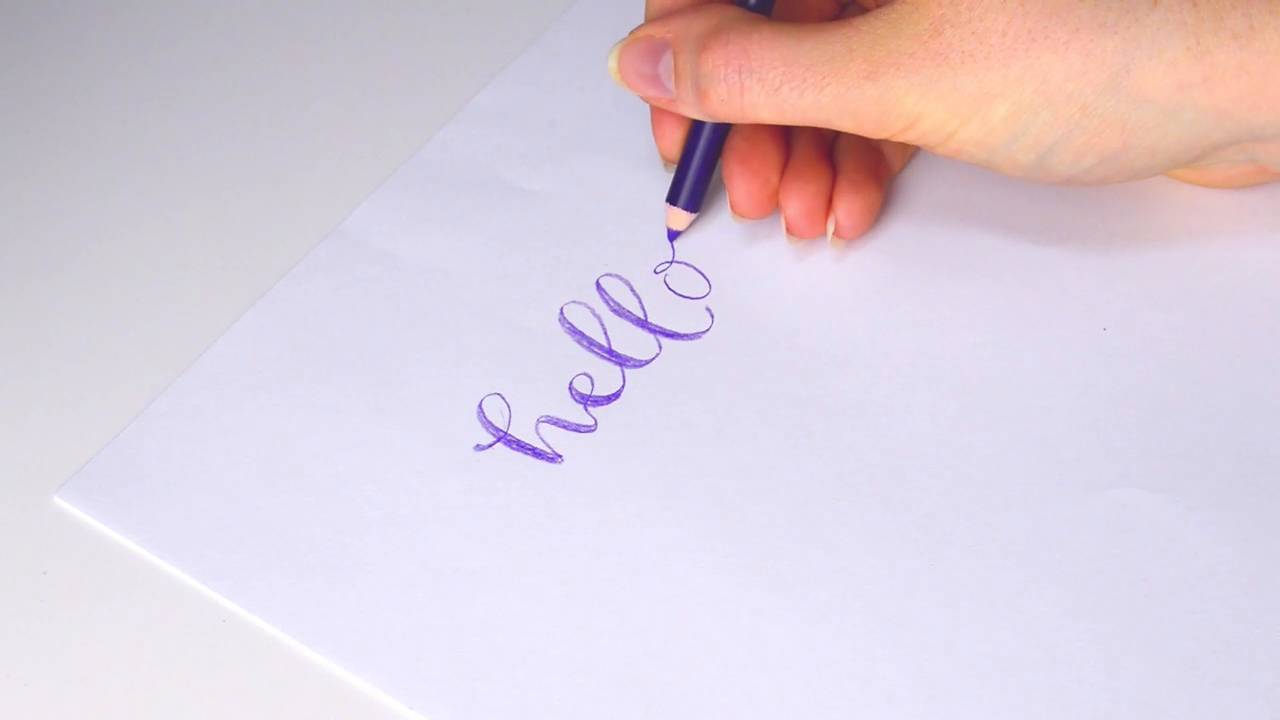
- Overview
- Transcript
6.2 Using Different Materials
Lettering doesn’t have to be created with pen and ink. You will learn how to create lettering with other materials including paint, coloured pencils, biro, and traditional dip pens.
1.Introduction
1.1Introduction01:18
1.2What's the Difference Between Hand Lettering and Calligraphy?00:58
2.Getting Started
2.1The Tools You'll Need02:47
3.The Basics
3.1Practising Your Lines and Strokes04:30
3.2Turning Lines Into Letterforms02:09
4.Hand Lettering Your Own Alphabet
4.1Letter Your Alphabet01:15
4.2Joining Letters and Extra Flourishes04:41
4.3Learn About the Baseline03:08
5.First Project
5.1Plan the Composition02:03
5.2Sketching and Refinement01:31
5.3Inking01:39
6.Second Project
6.1Mixing Lettering Styles01:38
6.2Using Different Materials01:39
6.3Creating a Cohesive Piece01:29
7.Conclusion
7.1Conclusion00:22
6.2 Using Different Materials
Hello again. While it's easiest to learn and the most classical look to use a brush pen for hand lettering, the techniques learned can be applied to different types of media too. Here I am using watercolor and a thick tapered paint brush to letter. You need to use paint that can be watered down to allow for the flow of the movement. And a brush that responds to pressure, just like the brush pens we used earlier. Following on from the previous session, use the thicker down stroke technique on standard tools like pencils or. As these don't respond to pressure, you can write out the lettering in your own creative style. And then at the second line, next to your original letters, where the down strokes are applied. Joined neatly at the end of each character, or where they're going to out strokes, the result is a lovely lettering style that has been created with our brush nib. Traditionally, calligraphy was created using a dip pen after quill pens and before fountain pens were developed. They don't have an ink reservoir so need to be dipped into an ink to fill their nibs. There are many different types of nibs that are interchangeable, but they all allow for more pressure to be applied so the down strokes are thicker resulting in the classic lettering style. There are plenty of other art materials that you can use for lettering. So I definitely recommend experimenting and playing with different tools to practice your personal style and seeing what are you favorites. Join me again in the next lesson to learn how to apply different lettering styles into one cohesive piece.


