
 Lessons: 15Length: 31 minutes
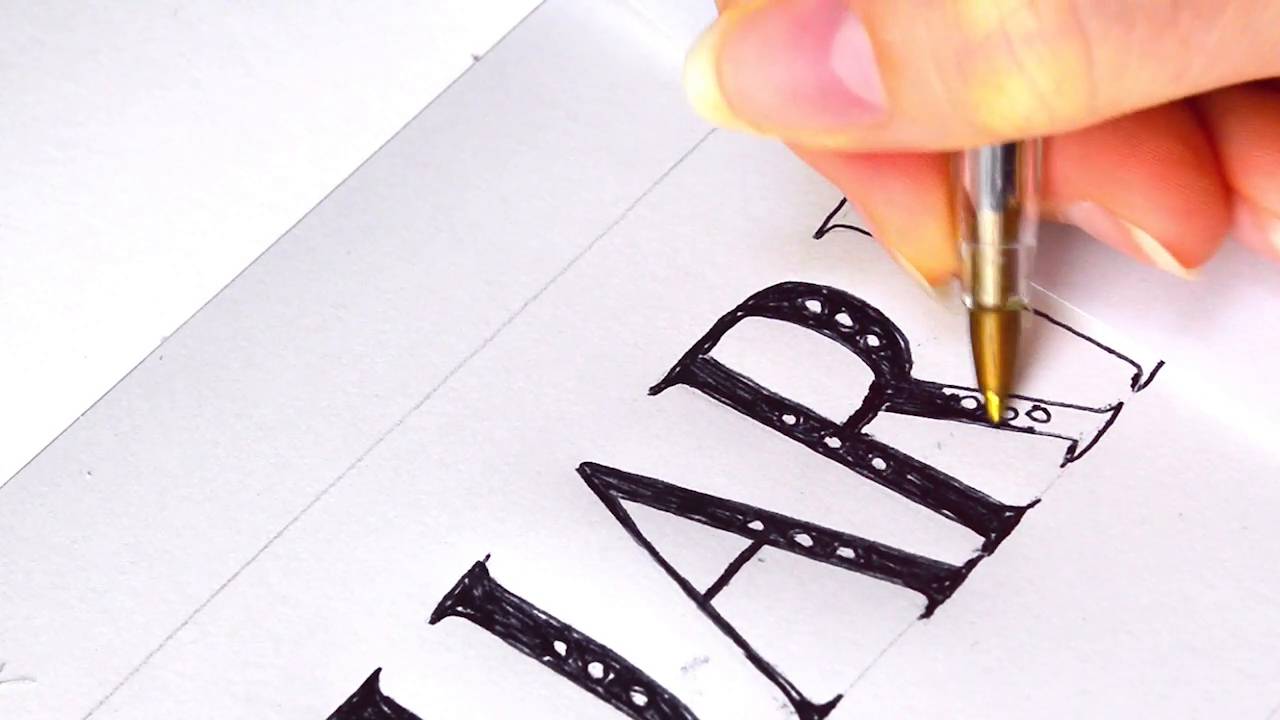

- Overview
- Transcript
6.3 Creating a Cohesive Piece
In this lesson, you'll bring together everything you've picked up to bring together various styles of lettering into one finished piece.
1.Introduction
1.1Introduction01:18
1.2What's the Difference Between Hand Lettering and Calligraphy?00:58
2.Getting Started
2.1The Tools You'll Need02:47
3.The Basics
3.1Practising Your Lines and Strokes04:30
3.2Turning Lines Into Letterforms02:09
4.Hand Lettering Your Own Alphabet
4.1Letter Your Alphabet01:15
4.2Joining Letters and Extra Flourishes04:41
4.3Learn About the Baseline03:08
5.First Project
5.1Plan the Composition02:03
5.2Sketching and Refinement01:31
5.3Inking01:39
6.Second Project
6.1Mixing Lettering Styles01:38
6.2Using Different Materials01:39
6.3Creating a Cohesive Piece01:29
7.Conclusion
7.1Conclusion00:22
6.3 Creating a Cohesive Piece
Welcome back. As we are nearing the end of the course, I wanted to teach you a project that applies every lesson and technique you've learned. As with the first lettering project you created, we will choose a quote, decide the heirarchy, and then create some thumbnails. Instead of using the basic lettering style though, we'll create a piece of art that incorporates some of the different styles we went through in the previous lesson. And join them together to create one cohesive piece. I'm going to create a serif font with a biro. Colored pencil for faux brush lettering and a brush pan for the word I want the most emphasis applied to. You can make so much lettering styles to whatever you prefer and use a personal lettering style you have developed to create really unique pieces. The possibilities for lettering in this way are endless and no two pieces in the world will be the exact same. The beauty of hand lettering is that you can create your own style and I hope you feel inspired and excited to have created the first of many projects.


