
 Lessons: 15Length: 31 minutes
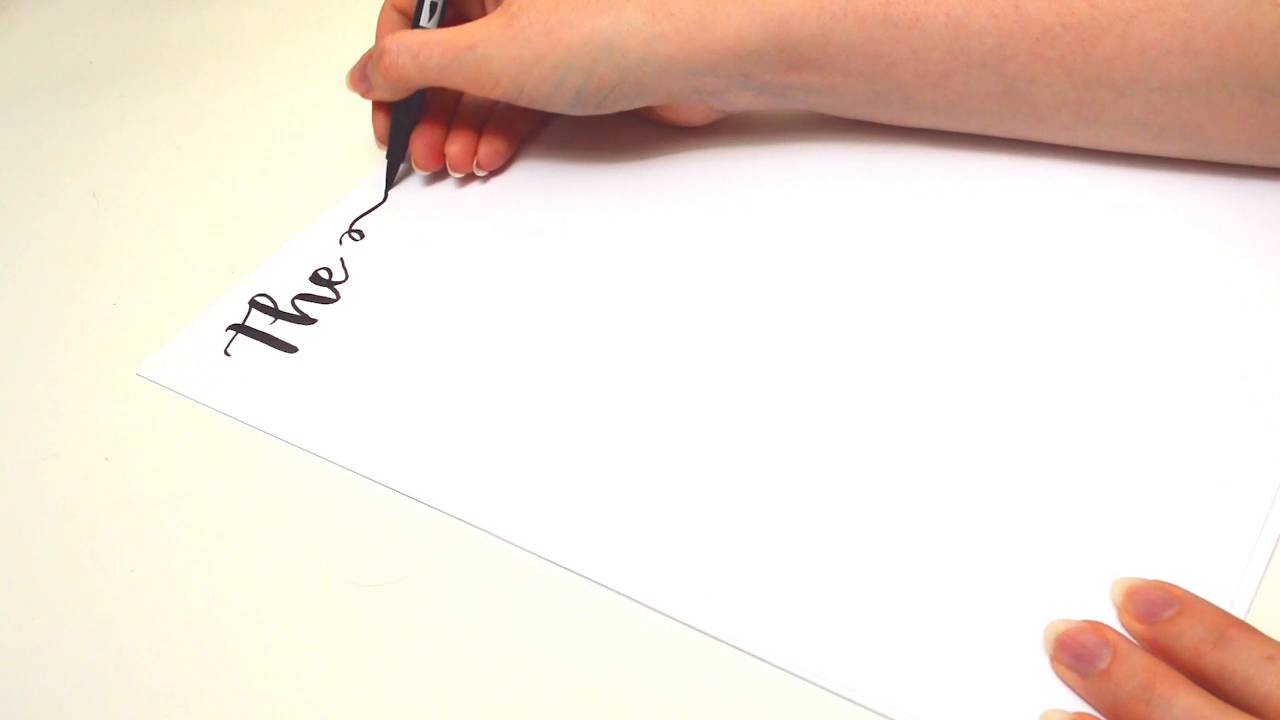
- Overview
- Transcript
5.2 Sketching and Refinement
Now that you have the basis of your piece, you'll refine the lettering and take a closer look at the spacing and consistency of the individual letters.
1.Introduction
1.1Introduction01:18
1.2What's the Difference Between Hand Lettering and Calligraphy?00:58
2.Getting Started
2.1The Tools You'll Need02:47
3.The Basics
3.1Practising Your Lines and Strokes04:30
3.2Turning Lines Into Letterforms02:09
4.Hand Lettering Your Own Alphabet
4.1Letter Your Alphabet01:15
4.2Joining Letters and Extra Flourishes04:41
4.3Learn About the Baseline03:08
5.First Project
5.1Plan the Composition02:03
5.2Sketching and Refinement01:31
5.3Inking01:39
6.Second Project
6.1Mixing Lettering Styles01:38
6.2Using Different Materials01:39
6.3Creating a Cohesive Piece01:29
7.Conclusion
7.1Conclusion00:22
5.2 Sketching and Refinement
Hello again. In this lesson we'll refine your thumbnail sketch further. I like to redraw my thumbnail sketch larger which gives me more room to play. Depending on the personal lettering style you've been practicing you may have some loops and swashes added already. But often with lettered pieces there is always room for more. I've added some extra swashes here on the f and the s but I may choose not to ink these in the final piece. Now you have the layout of your piece sketched out, we can practice the lettering of your words. It's always a good idea to do this before you go straight into the final piece because like a singer warming up their voice, we need to loosen up our wrists and get comfortable with the movement. It's also at the point where you can practice the styling of your letters. Practice each word as many times as you like to find the styling you prefer and until you feel comfortable with the flow and are happy with the result. I also like to mark particular words that I think are the best. So I know which ones have the styling I prefer to take over to the final piece. Before we start lettering the artwork, lightly sketch out the layout using your fine thumbnail sketch you created earlier. Use an eraser to rub out any mistakes to get your layout just how you like it. Once done, it's time for the really fun part, lettering your final piece.


