
 Lessons: 12Length: 1.3 hours
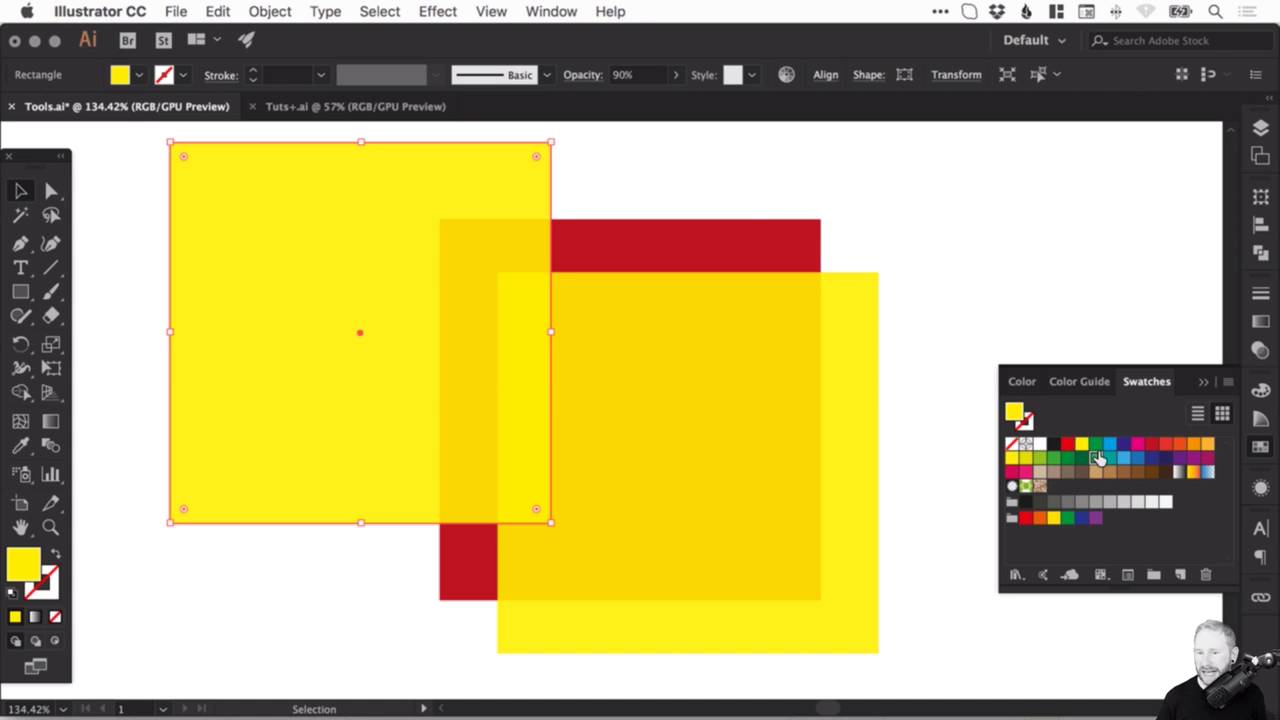
- Overview
- Transcript
3.3 The Transparency Panel
In this lesson, we’ll be taking a look at some of the options available in the Transparency panel, and how they can be used to blend shapes together.
1.Introduction
1.1Welcome to the Course!00:36
2.Adobe Illustrator’s Tools
2.1Shapes and Lines05:40
2.2The Pen Tool04:50
2.3The Selection Tools04:07
3.Useful Panels
3.1The Stroke Panel06:24
3.2The Layers Panel01:49
3.3The Transparency Panel03:21
3.4The Pathfinder Panel08:47
4.Other Essential Features
4.1Global Swatches05:08
4.2Gradients03:48
4.3Additional Tools04:32
5.Practical Application
5.1Designing Our “d” Logo26:22
3.3 The Transparency Panel
[MUSIC] Right, so that's layers, transparency. Okay, so we've got a solid red fill, and if I just duplicate this layer by holding Alt and dragging to create a copy and I'll go ahead and give this another fill. Now, at the moment we've got the yellow square on top of the red square. However, we can adjust the transparency? And I've got this panel over here on the right. And Transparency panel has something called Opacity. Now this will determine the opacity of the shape. So as I decrease from a 100%, oops, the shape becomes gradually more see through. And I can see through it and it shows the red underneath. In fact, it actually combines those shapes. So of course, when you merge yellow and red, you create orange. And that's exactly what's happening where these shapes overlap. Now if I go to 0% opacity, the shape becomes invisible. It is still there, and I can still select it, and I can see an outline mode, but with the opacity of 0 there's no color to it, so your fill, your stroke will all become invisible. So let's just bump that up, you can go for 90% or so. And you can type that in and press Enter, so you get a little bit of opacity there as you blend these shapes. In fact, we can even create another one. And add some more colors. And we can set different opacities, and you can see as we blend all of these shapes together, we get a whole mix of different colors. Look at this, very creative. Now something else we can also do is we can use the blending options. Now, if you use Photoshop, it's very similar to this. Let's bring that opacity back to 100 for all of them. And if I select the blue shape and change the blending mode to Multiply for example, It blends into the shapes underneath in a slightly different way to opacity. Opacity is very gradual, you can adjust the percentage and you can see the change happening in real time. These blending modes, they're definitely worth having a play with but they all behave slightly differently and they blend different colors together in very different ways. For example, Darken and Multiply are very good for blending darker images onto light backgrounds. And Lighten and Screen, they behave very similarly, blending lighter images onto dark backgrounds. So it's definitely worth having a play with these. It's quite fun actually because you can really get some very interesting color combinations. So if I use Soft Light here for the green one, you can see that it blends through and it gives me a whole bunch of other different shapes. So by blending all of these shapes with different blending modes [LAUGH] you can see they create very unpredictable color combinations. But as you become more familiar with some of the different blending modes, then you'll probably have some favorites like me as well. You can really learn to use those to take advantage of them and kinda get the desired effect that you're looking for.


